Port Management
Note
Images of GS1024E are for reference only; details may vary by model.
Port Settings
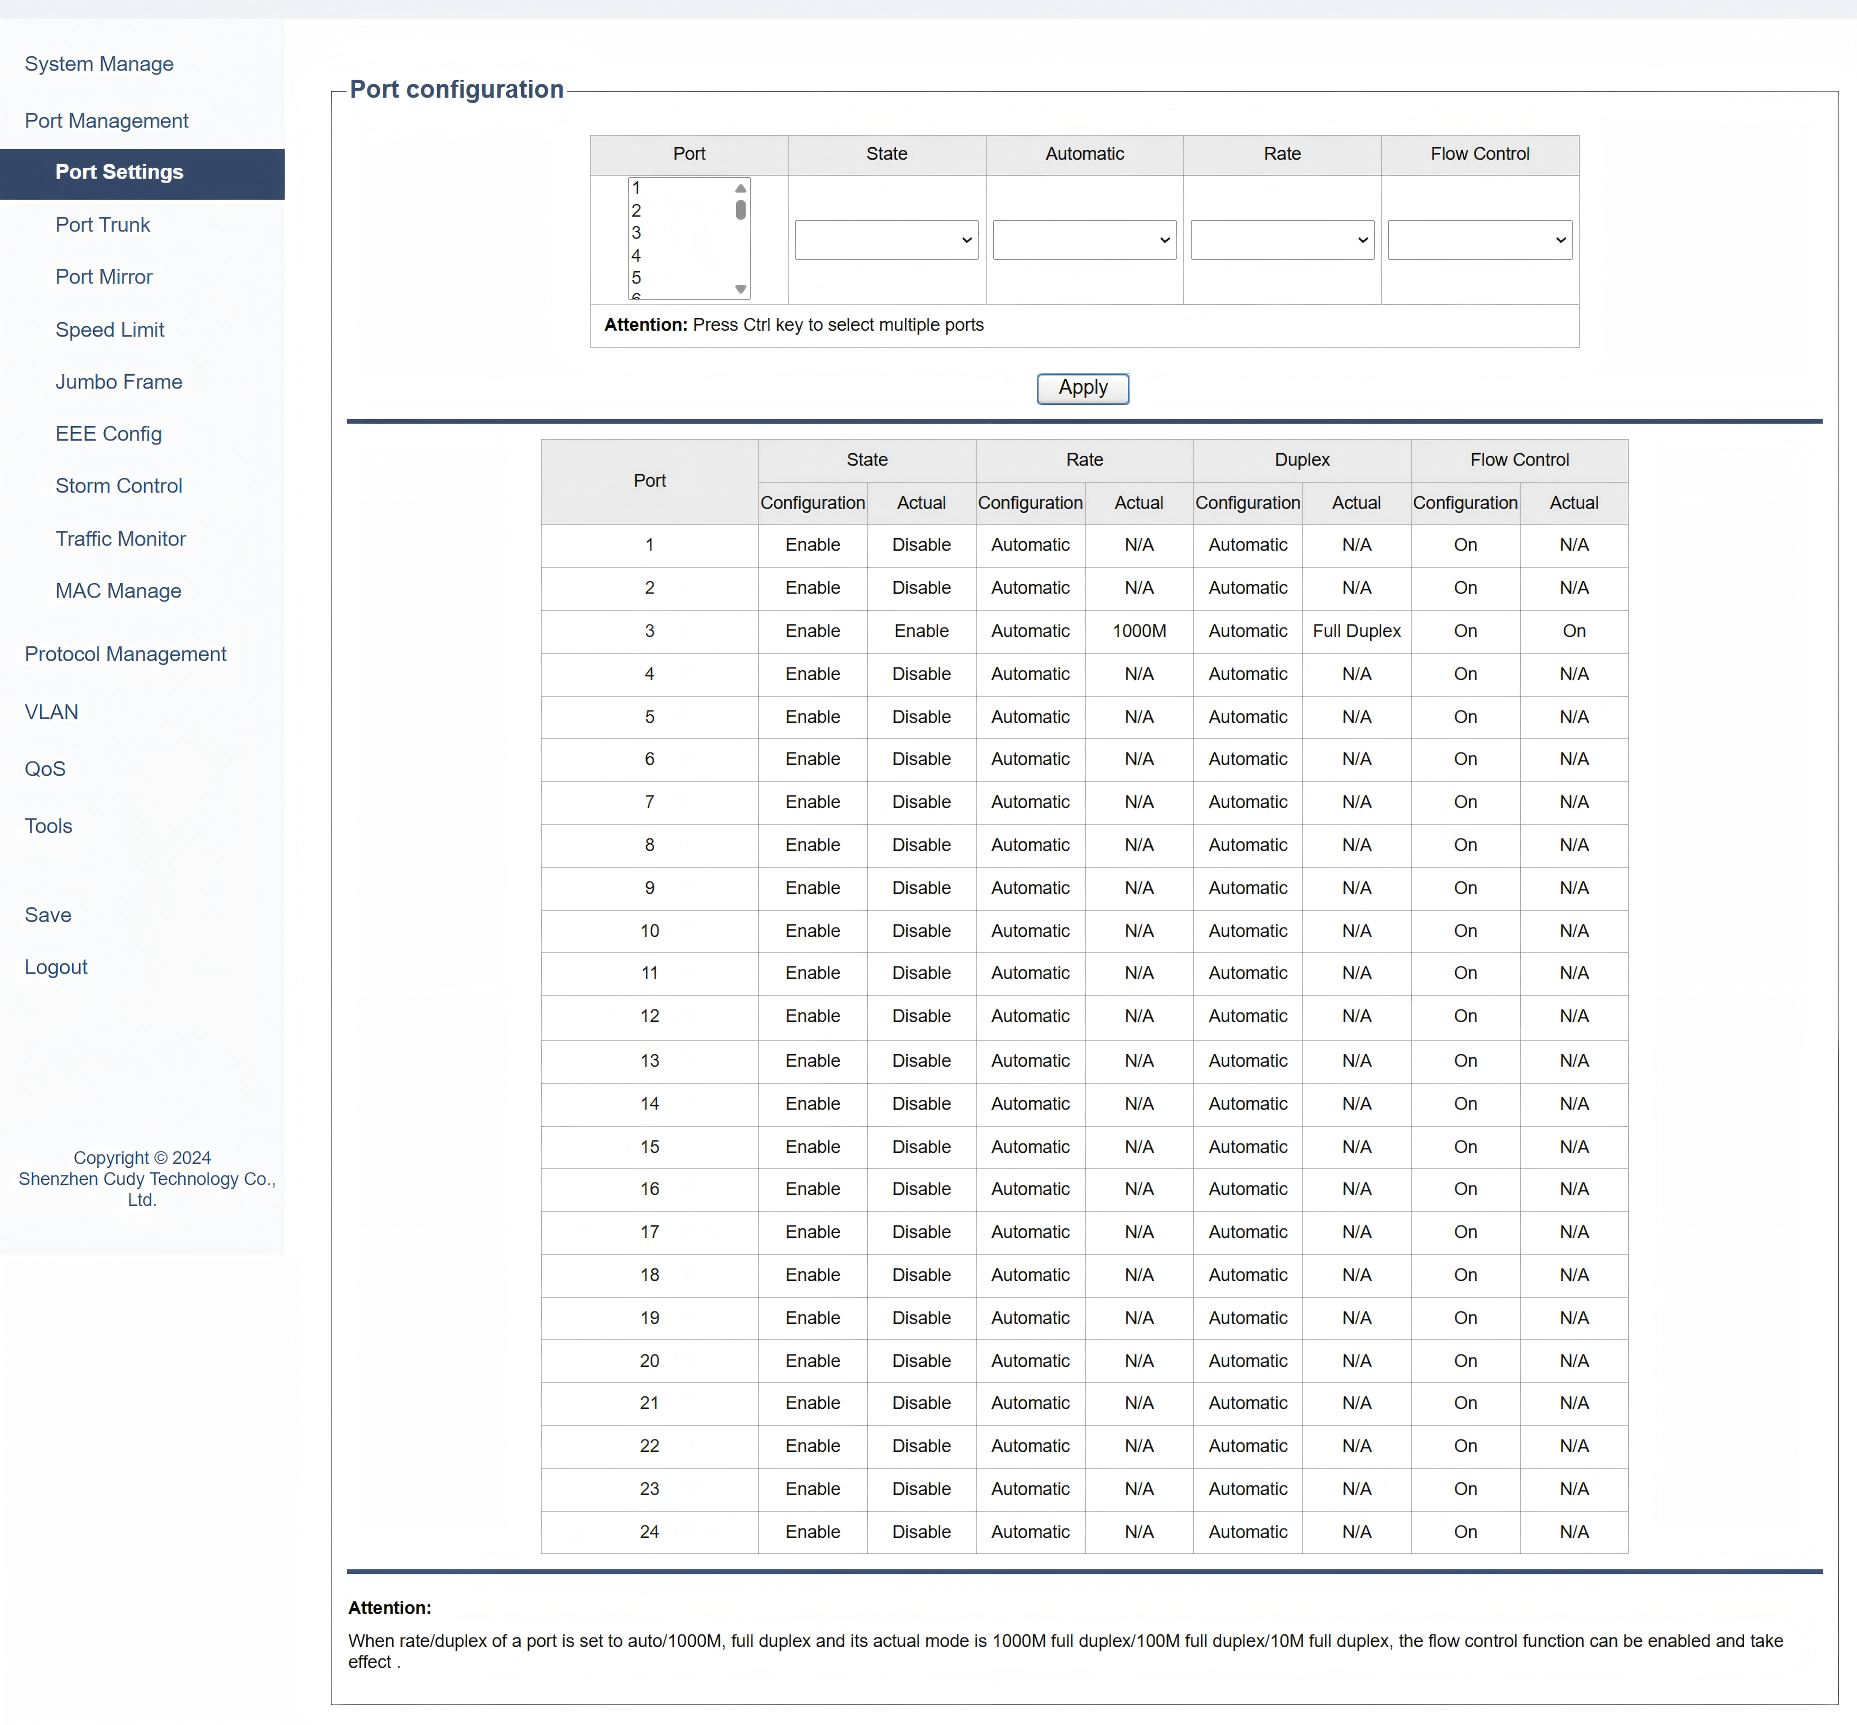
On the Port Management >> Port Settings page, you can configure the port parameters:
1) Specify the physical port(s) on the switch. Press Ctrl key to select multiple ports at once.
2) Configure the basic parameters for the selected port(s).
- State: Select Enabled or Disabled. When Enabled is selected, the port can forward the packets normally.
- Automatic: Turn On or Off the auto-negotiation for the port.
- Rate: Select the data transfer rate and mode (half or full duplex) for the port.
- Flow Control: Turn On or Off the flow control to manage data transmission. When On is selected, the switch can synchronize the speed with its peer to avoid the packet loss caused by congestion.
3) Click Apply to save and apply your changes or settings. The table below displays the current state for each port and will change with the new settings.
Note
-
When rate/duplex of a port is set to auto/1000M, full duplex and its actual mode is 1000M full duplex, 100M full duplex or 10M full duplex, the flow control function can be enabled and take effect.
-
It is recommended to set the ports on both ends of a link with the same speed and duplex mode.
-
Keep the port that is connected to the management device enabled, or you cannot access the switch.
-
The parameters of the port members in a LAG should be set as the same.
Port Trunk
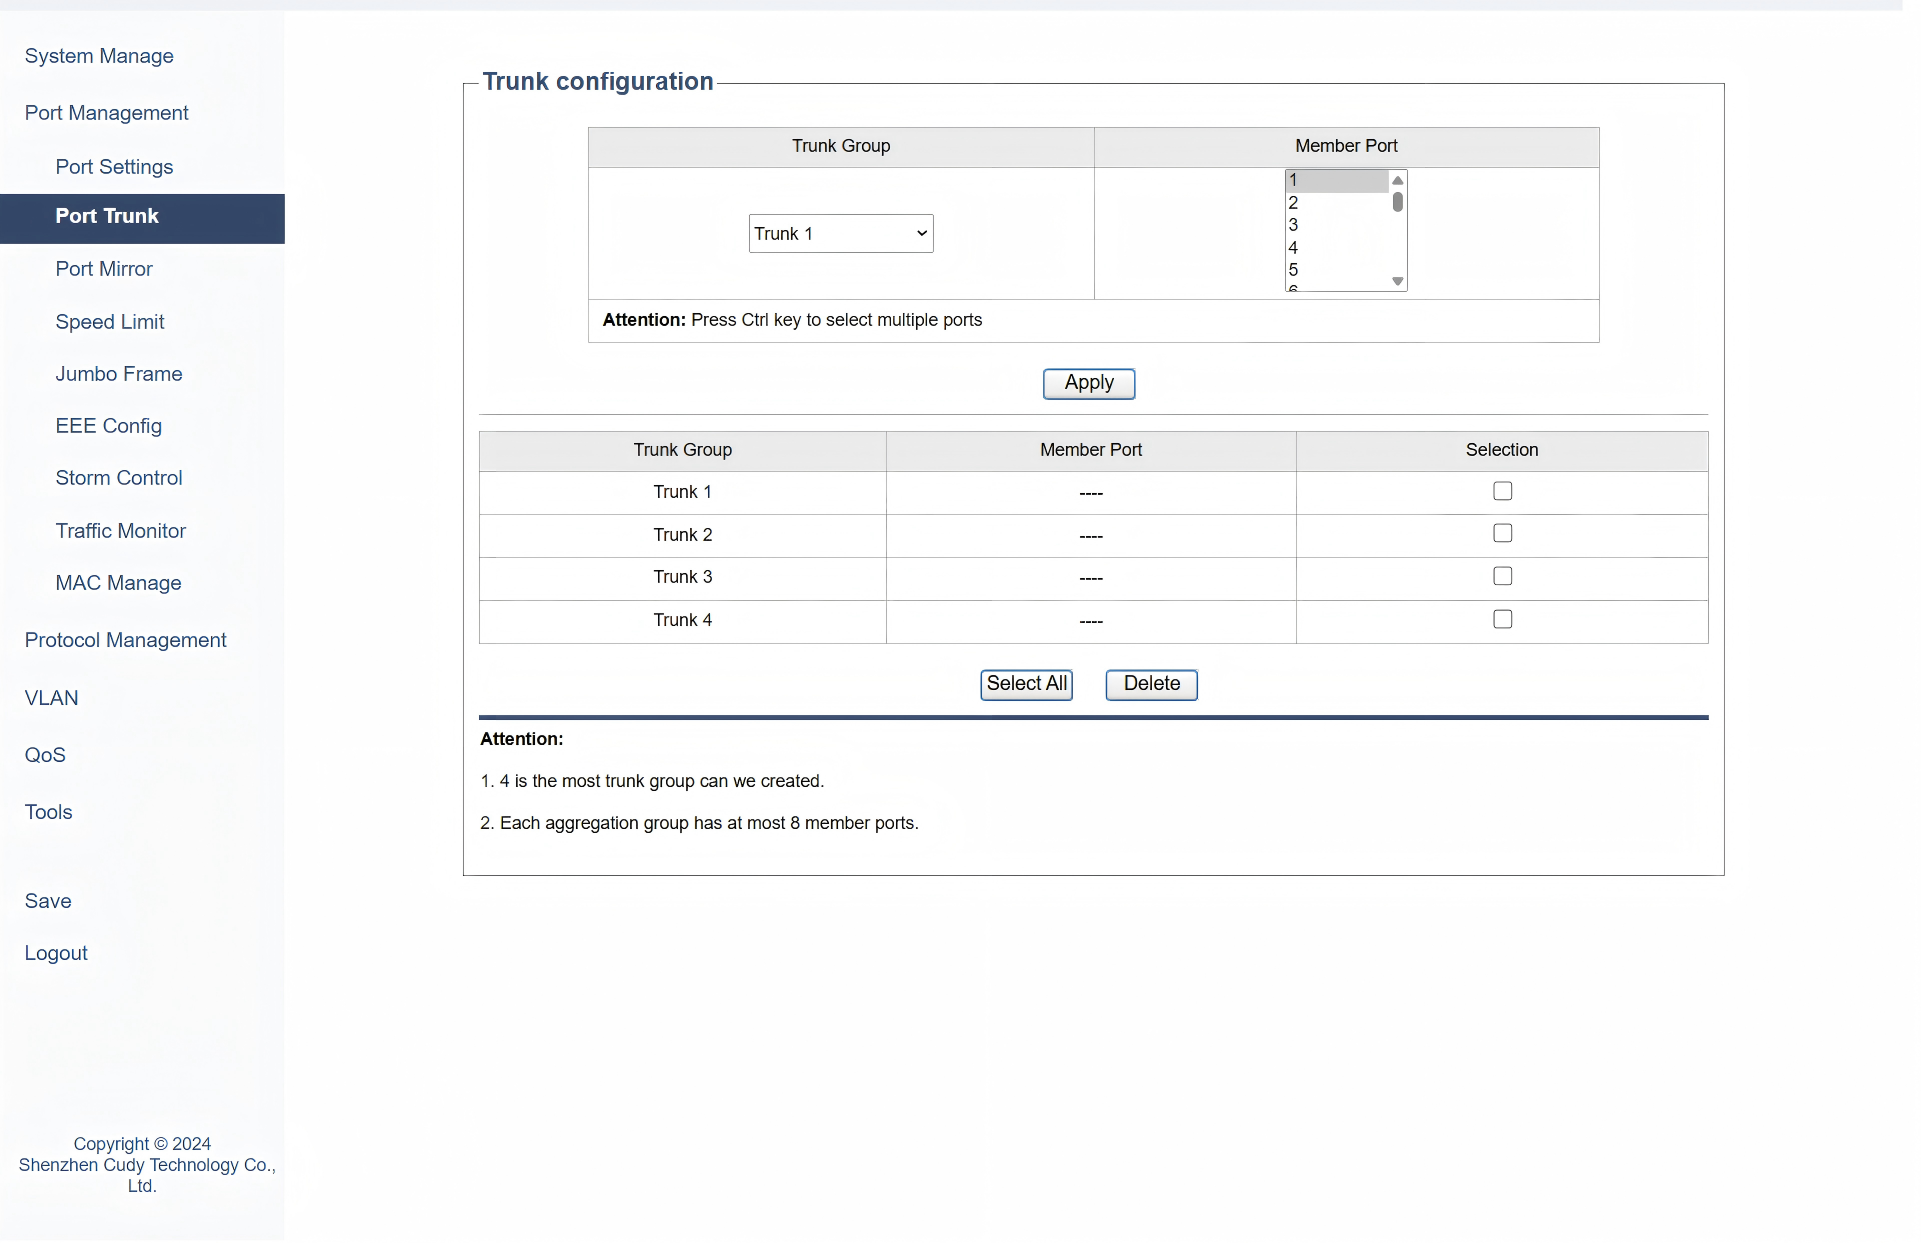
On the Port Management >> Port Trunk page, you can configure the port trunk:
1) Select a Trunk Group of ports that can be managed as a single logical link. 4 trunk groups are available.
2) Specify the member port(s) for the selected trunk group. Press Ctrl key to select multiple ports at once.
3) Click Apply to save and apply your changes or settings.
4) The table below displays the current state of the trunk group(s) and will change with the new settings. You may click Select All to select all the entries, or click Delete to delete the selected entries.
Note
- 4 is the most trunk group can we created.
- Each aggregation group has at most 8 member ports.
Port Mirror
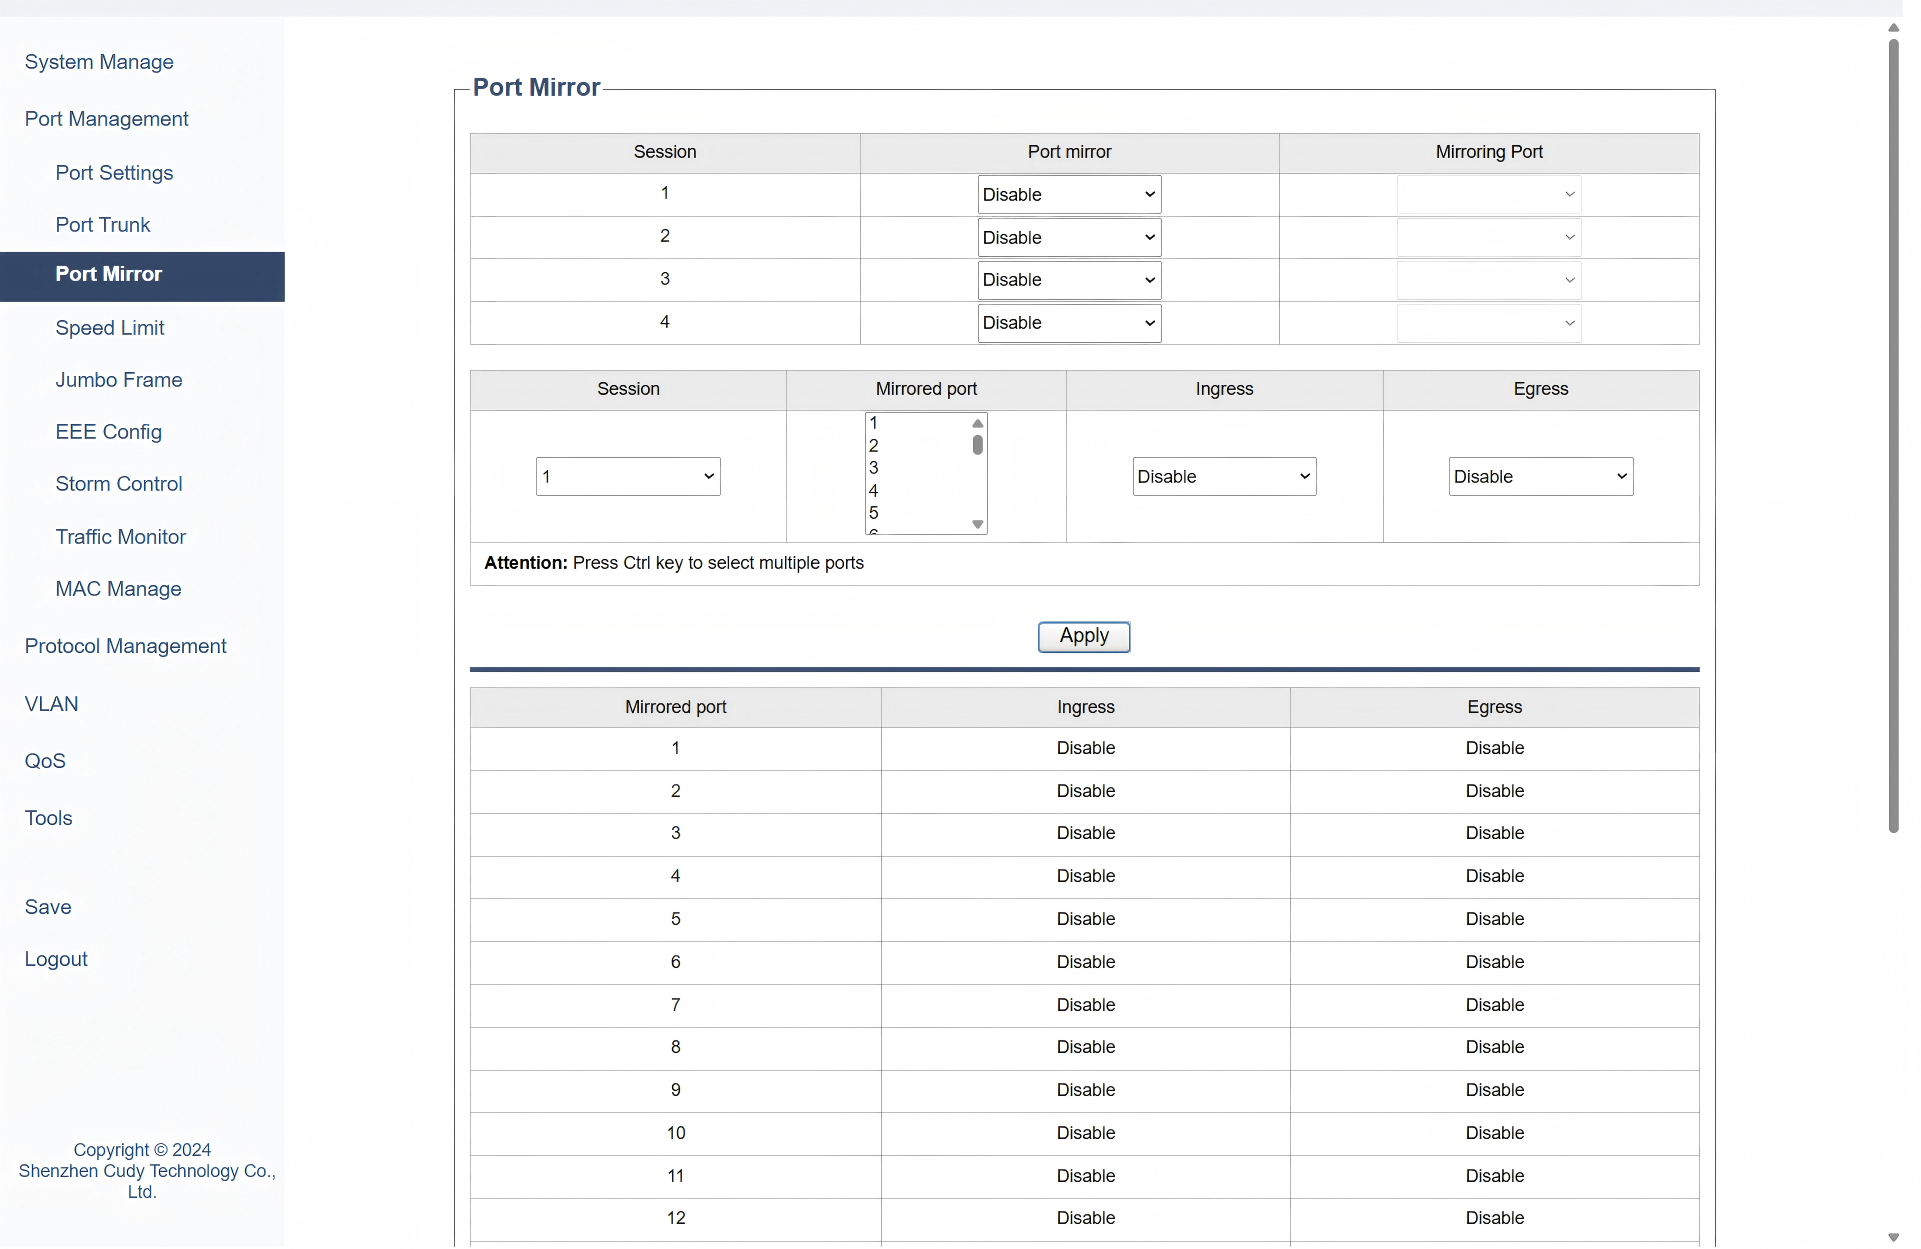
On the Port Management >> Port Mirror page, you can configure the port mirroring:
1) Enable the port mirror feature globally. Specify a mirroring port. Click Apply.
- Session: Displays the session number.
- Status: Select to enable/disable the port mirror feature.
- Mirroring Port: Select a port from the drop-down list as the mirroring port.
2) Select one or more mirrored ports, enable or disable the ingress packets and egress packets to be mirrored for the ports. Click Apply.
- Mirroring Port: Select one or multiple desired port(s) as the mirrored port(s).
- Ingress: Select to enable/disable the Ingress feature. When the Ingress is enabled, the incoming packets received by the mirrored port will be copied to the
- Egress: Select to enable/disable the Egress feature. When the Egress is enabled, the outgoing packets sent by the mirrored port will be copied to the mirroring port.
3) In the table below, you can verify the configuration result for port mirroring.
Note
The LAG member ports cannot be set as a mirroring port but a mirrored port.
Speed Limit
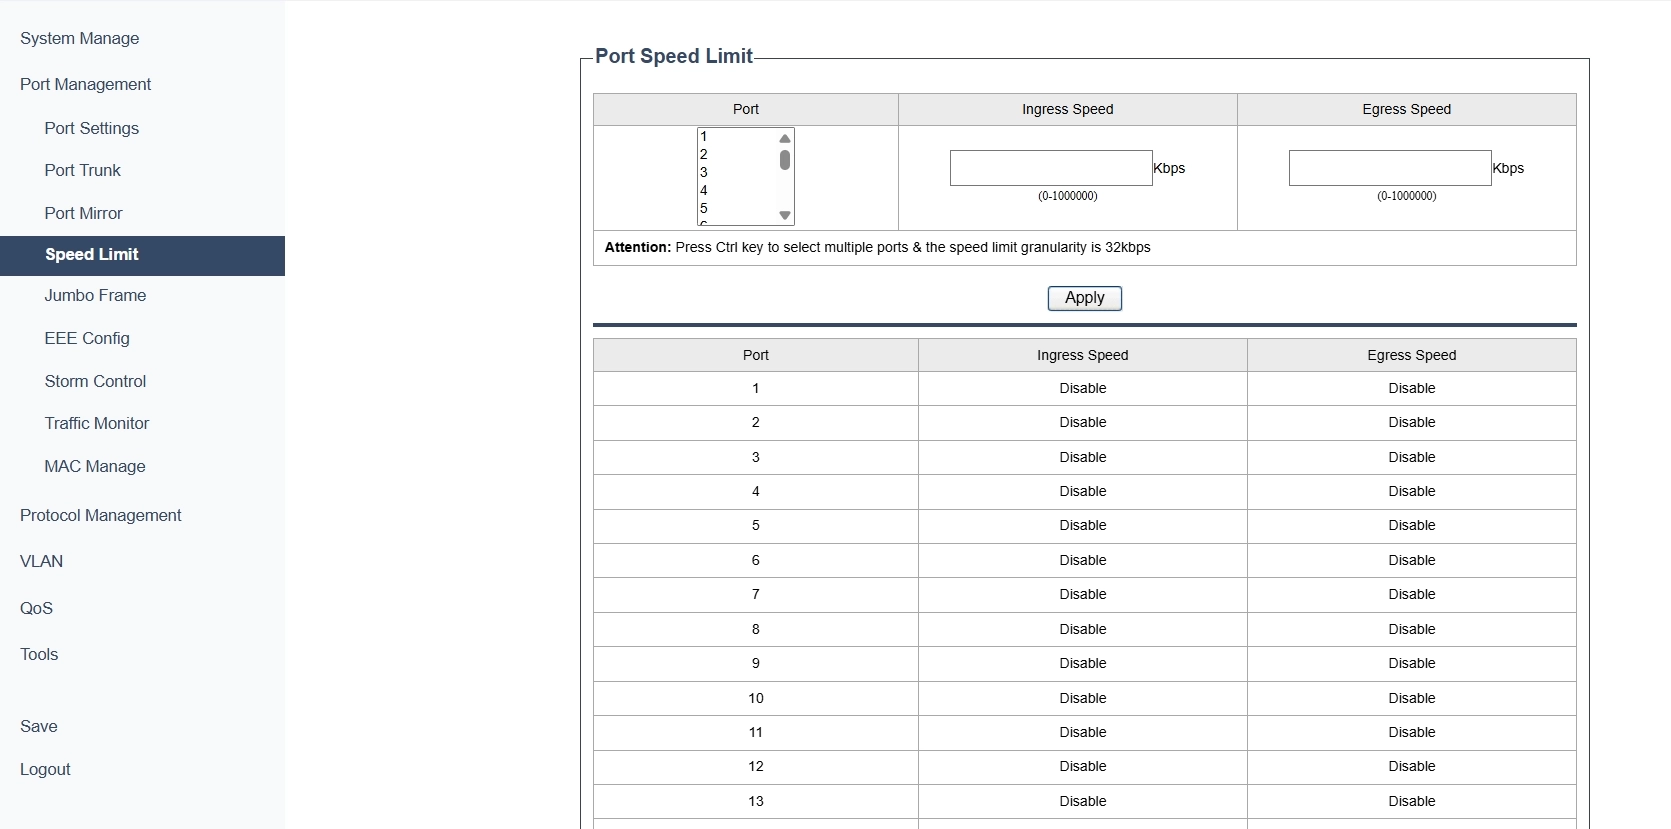
On the Port Management >> Speed Limit page, you can configure the speed limit for the ports:
1) Select the desired ports and configure the ingress/egress speed for the ports.
- Ingress Speed: Configure the bandwidth for receiving packets on the port. If the speed for receiving packets on the port exceeds the ingress speed, the packets will be discarded.
- Egress Speed: Configure the bandwidth for sending packets on the port. If the speed for sending packets on the port exceeds the egress speed, the packets will be discarded.
Note
If the Ingress and Egress speed are set as 0, the speed limit feature is disabled.
2) Click Apply to save and apply your changes or settings.
Note
- For a port, the ingress speed control feature and the storm control feature cannot be enabled at the same time. If you enable ingress speed control for a port, storm control will be disabled for that port automatically.
- When egress speed is set for one or more ports, it is recommended to disable the flow control on each port to ensure the switch works normally.
- For ports in the same LAG, speed limit should be configured the same to ensure a successful port aggregation.
Jumbo Frame
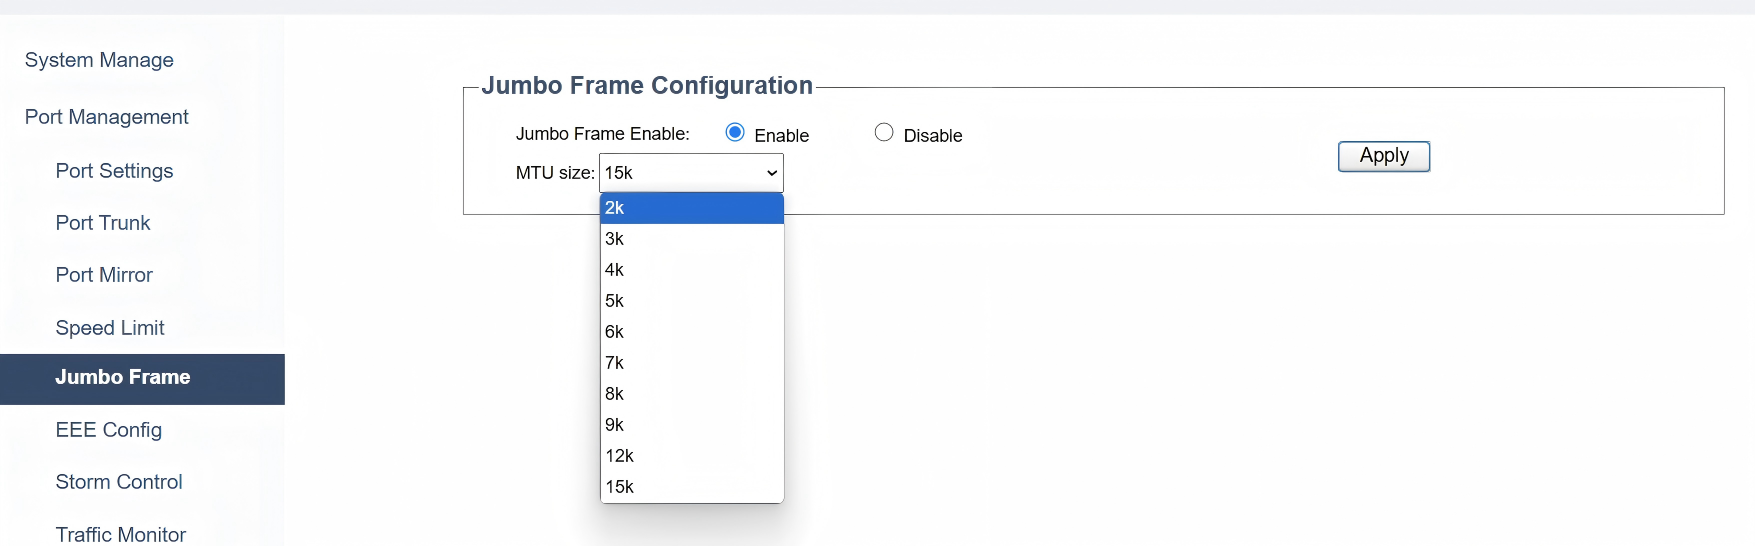
On the Port Management >> Jumbo Frame page, you can configure the Jumbo Frame for the ports:
1) Select to Enable or Disable jumbo frame feature.
2) Set the MTU (Maximum Transmission Unit) Size for jumbo frames. Bigger MTUs enhance throughput but need compatible devices and careful management to avoid issues.
3) Click Apply to save and apply your changes or settings.
EEE Config
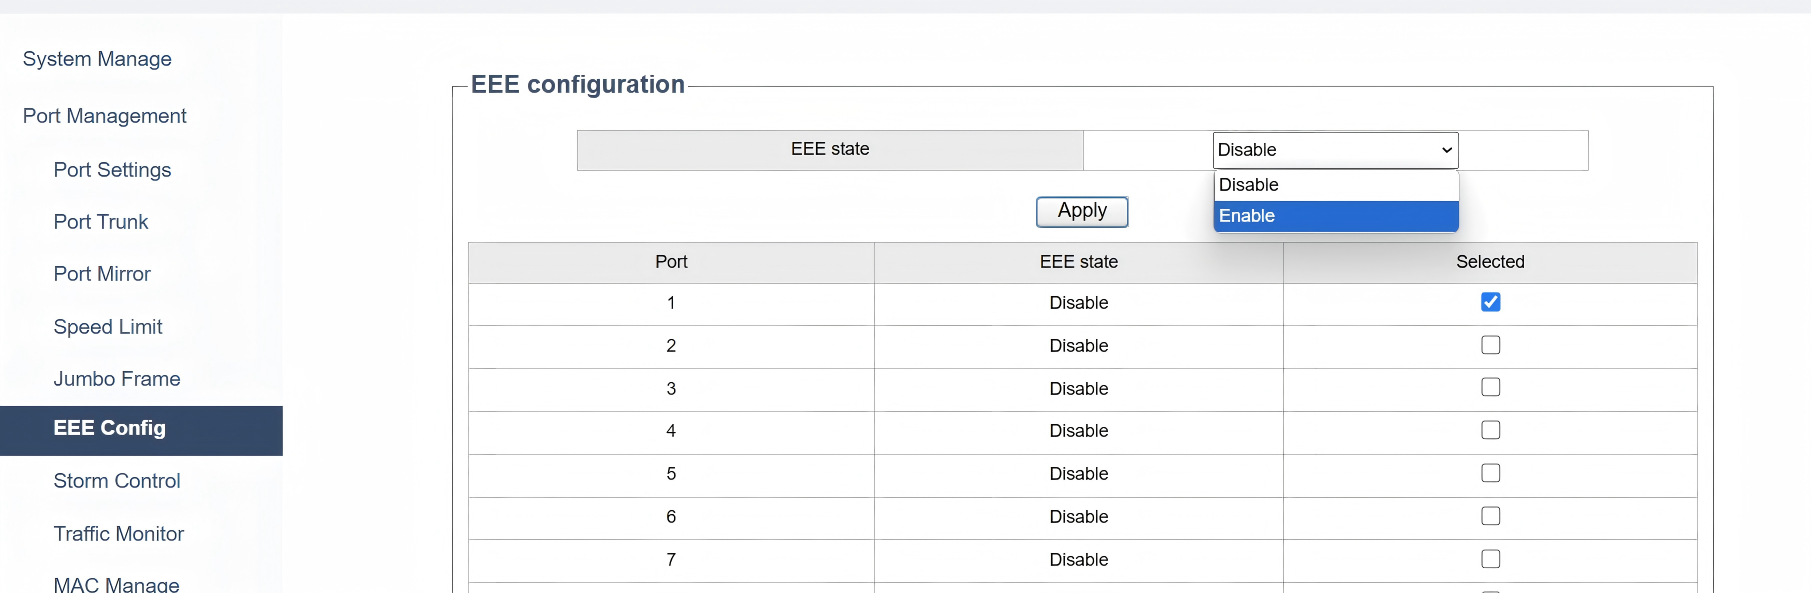
On the Port Management >> EEE Config page, you can enable EEE(Energy Efficient Ethernet) on ports to allow power reduction:
1) Select one or more port(s) to enable/disable EEE.
2) Select to Enable or Disable the EEE State for the selected port(s).
3) Click Apply to save and apply your changes or settings.
Note
If the port is a member port of an LAG, it will follow the EEE configuration of the LAG and not its own.
Storm Control
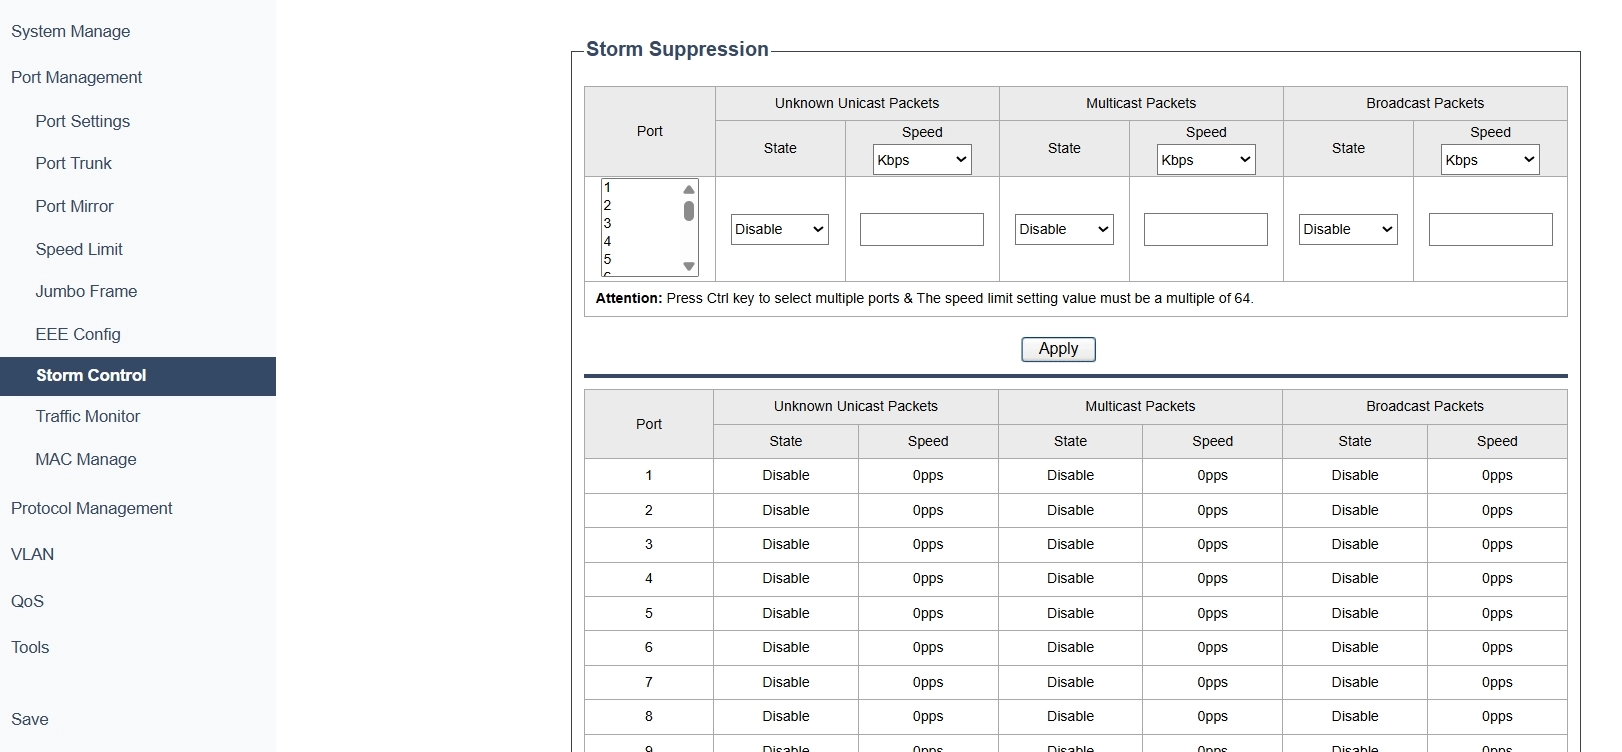
On the Port Management >> Storm Control page, you can control traffic storms by limiting the speed of unknown unicast, multicast, and broadcast packets.
1) Specify the port(s) to apply storm control to. Press Ctrl key to select multiple ports.
2) Configure the following parameters:
- Unknown Unicast Packets: Specify the upper rate limit for receiving unknown unicast frames. The traffic exceeding the limit will be processed according to the Action configurations.
- Multicast Packets: Specify the upper rate limit for receiving multicast packets. The multicast traffic exceeding the limit will be processed according to the Action configurations.
- Broadcast Packets: Specify the upper rate limit for receiving broadcast packets. The broadcast traffic exceeding the limit will be processed according to the Action configurations.
- Speed: Specify the speed for the broadcast threshold, multicast threshold and unknown unicast frames threshold on the desired port. The speed limit setting value must be a multiple of 64.
- kbps: The switch will limit the maximum speed of the specific kinds of traffic in kilo-bits per second.
- pps: The switch will limit the maximum speed of the specific kinds of traffic in packets per second.
3) Click Apply to save and apply your changes or settings.
Note
- For a port, the storm control feature and the ingress speed control feature cannot be enabled at the same time. If you enable storm control for a port, ingress speed control will be disabled for that port automatically.
- For ports in the same LAG, storm control should be configured the same to ensure a successful port aggregation.
Traffic Monitor
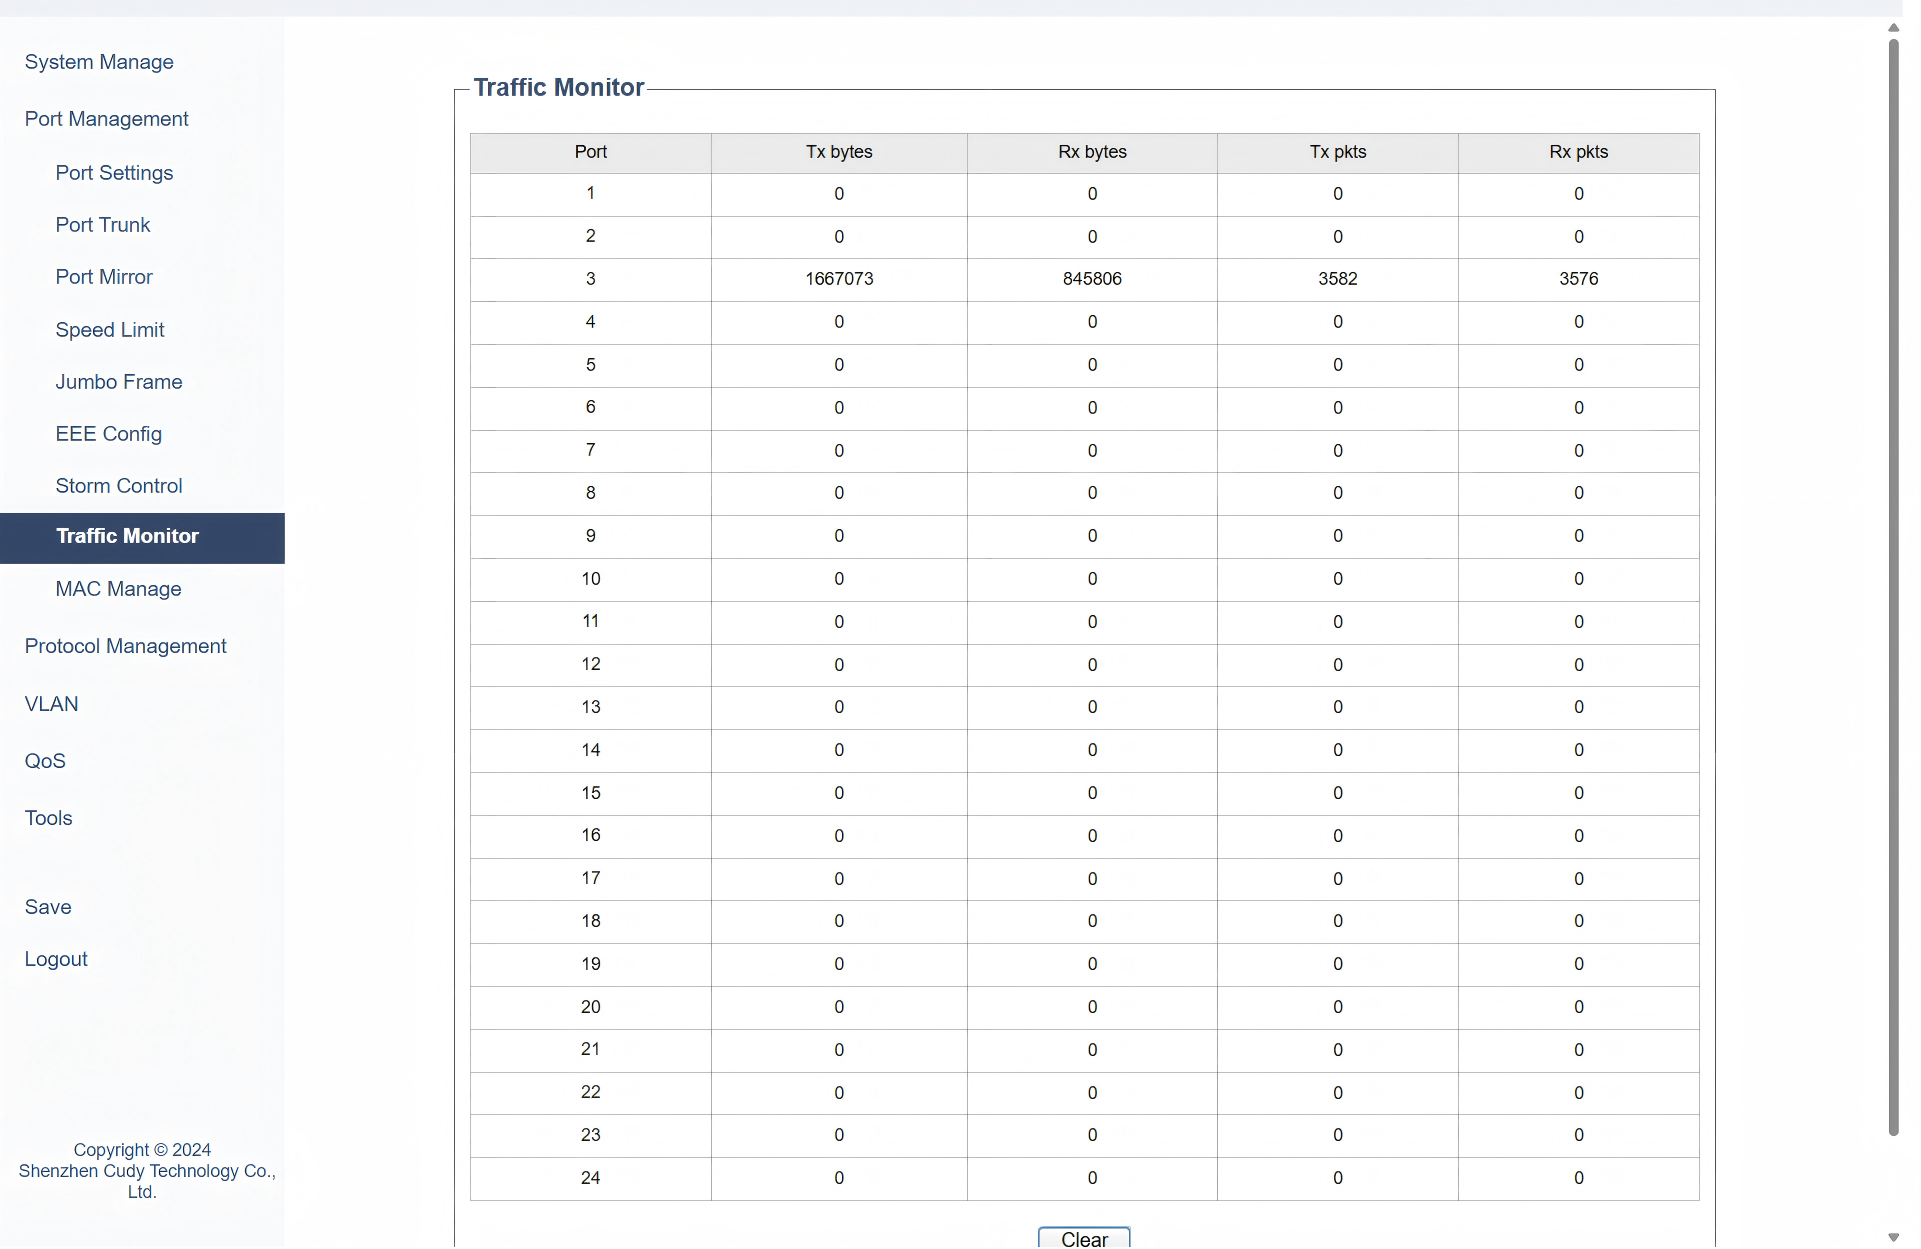
On the Port Management >> Traffic Monitor page, you can track real-time data flow metrics including Tx/Rx bytes (transmitted/received data volume) and Tx/Rx pkts (packet counts) per port, in order to monitor bandwidth usage and detect anomalies. You may click Clear to empty the traffic data in the table.
- Port: Displays the port being monitored.
- Tx bytes: Displays the number of transmitted bytes. Error packets are counted.
- Rx bytes: Displays the number of received bytes. Error packets are counted.
- Tx pkts: Displays the number of transmitted packets.
- Rx pkts: Displays the number of received packets.
Note
Because of the supporting feature of jumbo frame, the frames with more than 15360 bytes can not be forwarded.
MAC Manage
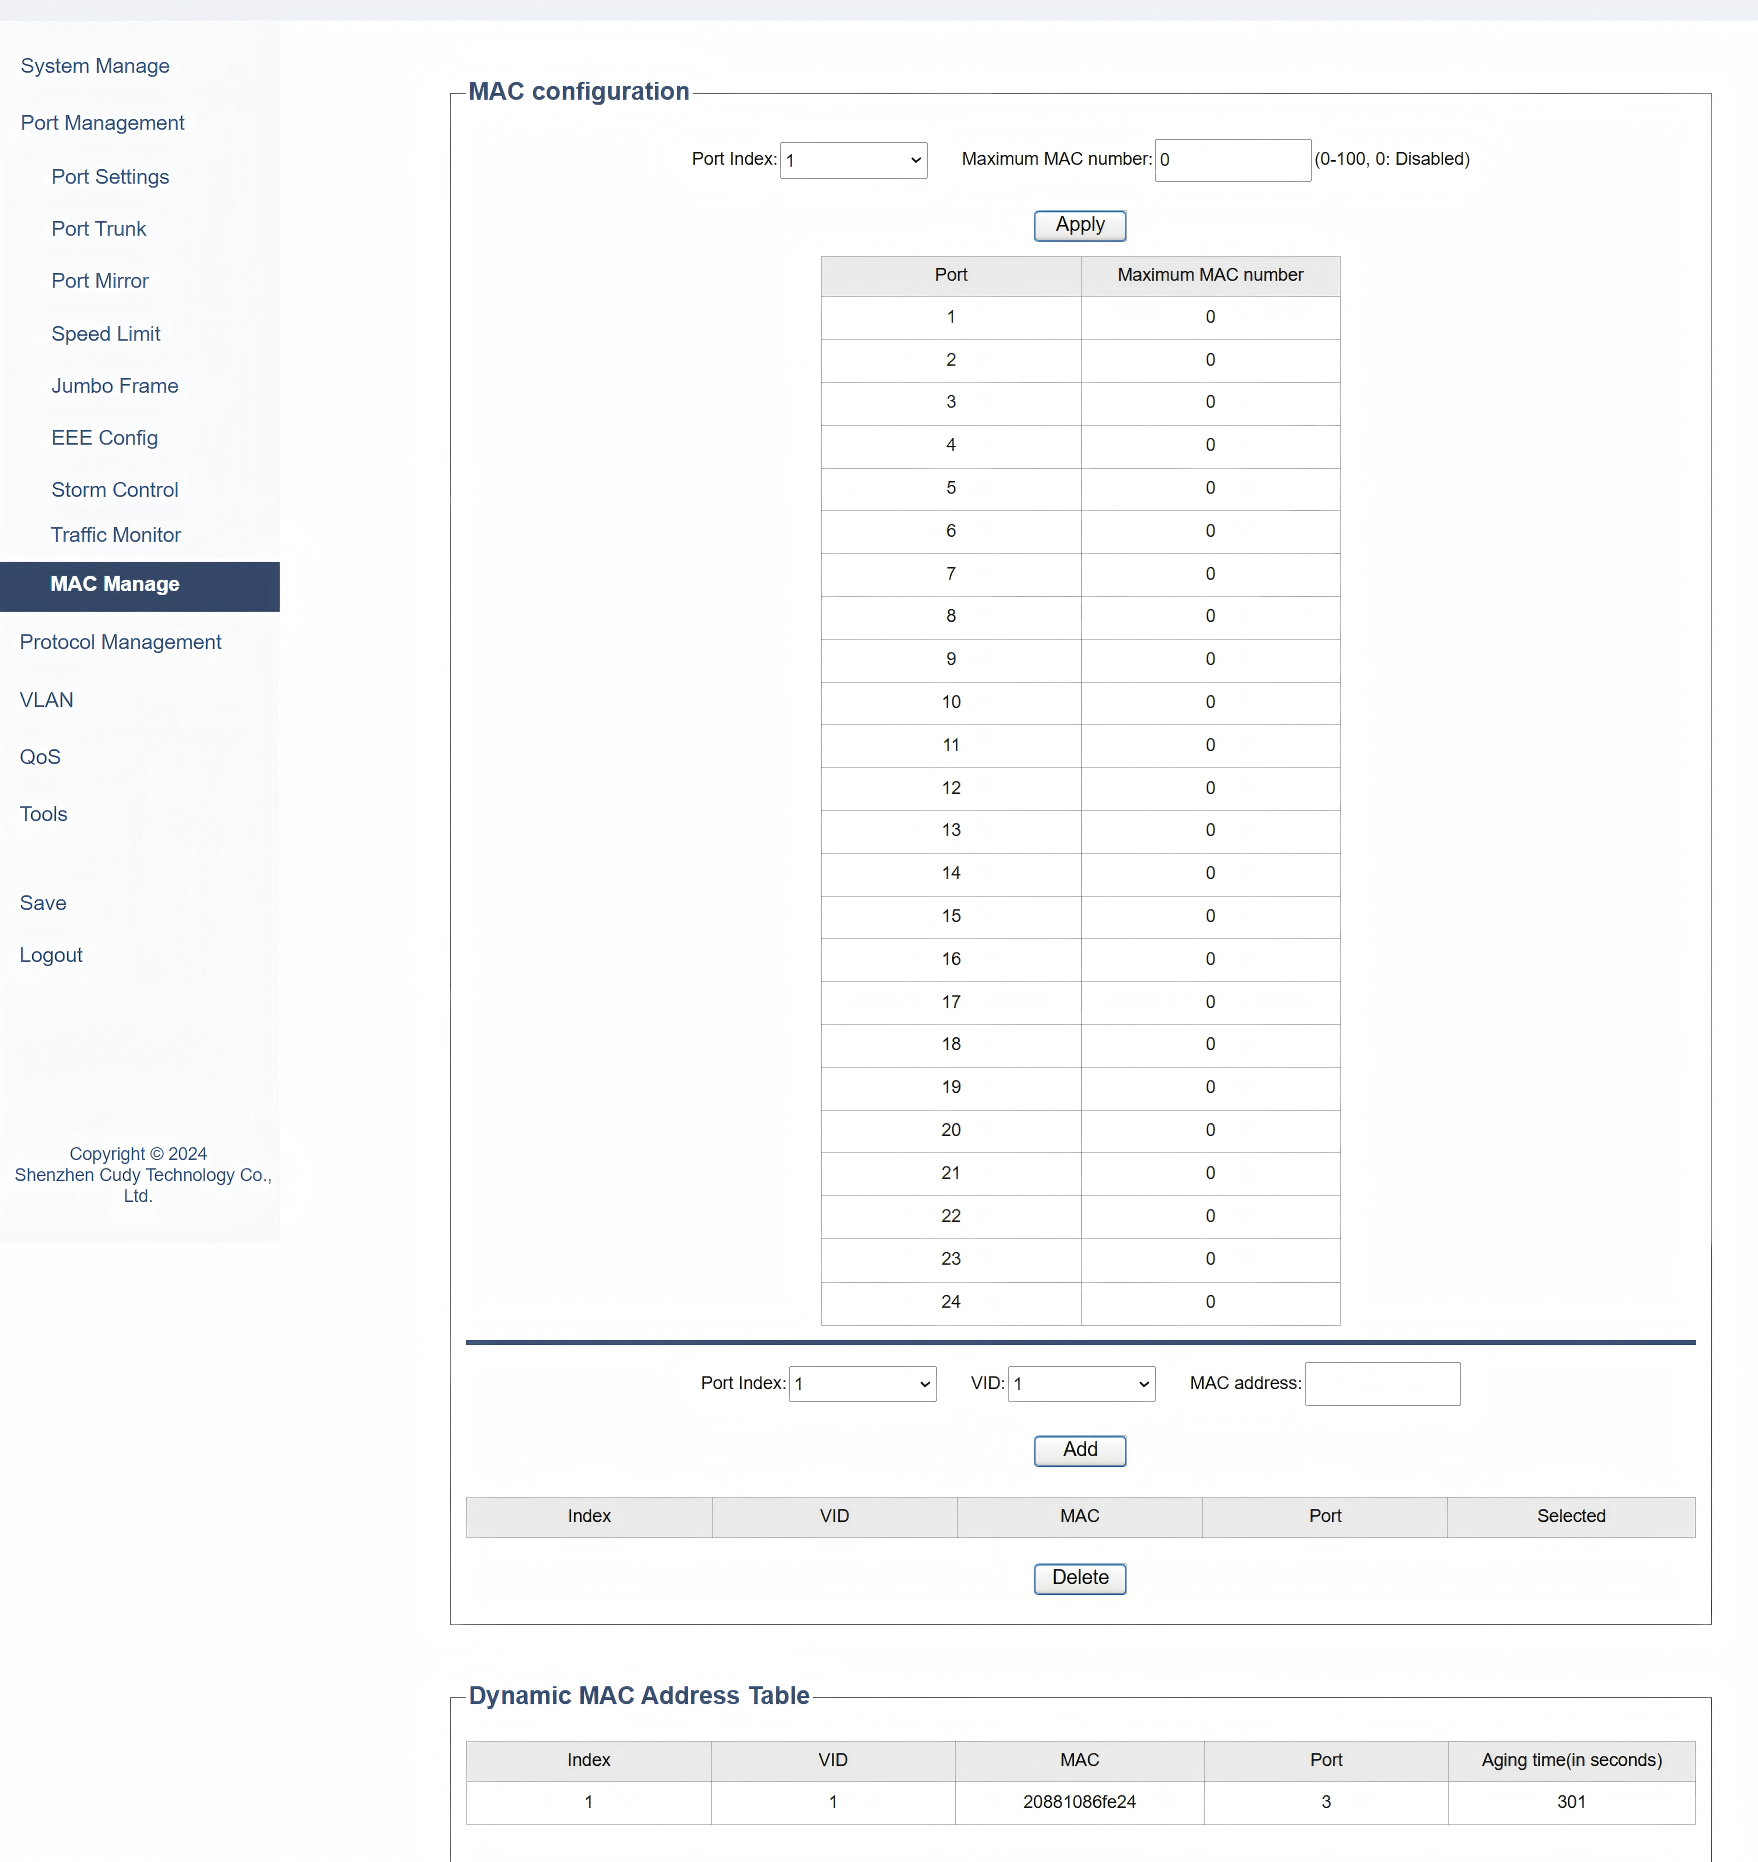
On the Port Management >> MAC Manage page, you can manage MAC addresses to enhance network security:
1) From the drop-down list of Port Index select the port for MAC address management.
2) Configure the following parameters.
- Maximum MAC number: Set the maximum number of MAC addresses allowed on the specified port(s). 0 means disabled.
- VID: Specify the VLAN ID.
- MAC address: Enter the MAC addresses associated with the port.
3) Click Apply to save and apply your changes or settings.
4) On the Static MAC Address Table, you can Add a new MAC address entry or Delete any selected MAC address entries.
5) On the Dynamic MAC Address Table, it displays the VLAN ID, MAC address, port and aging time.