System Status
Note
RE3600 is used as an example in this guide. Refer to your actual product for more details.
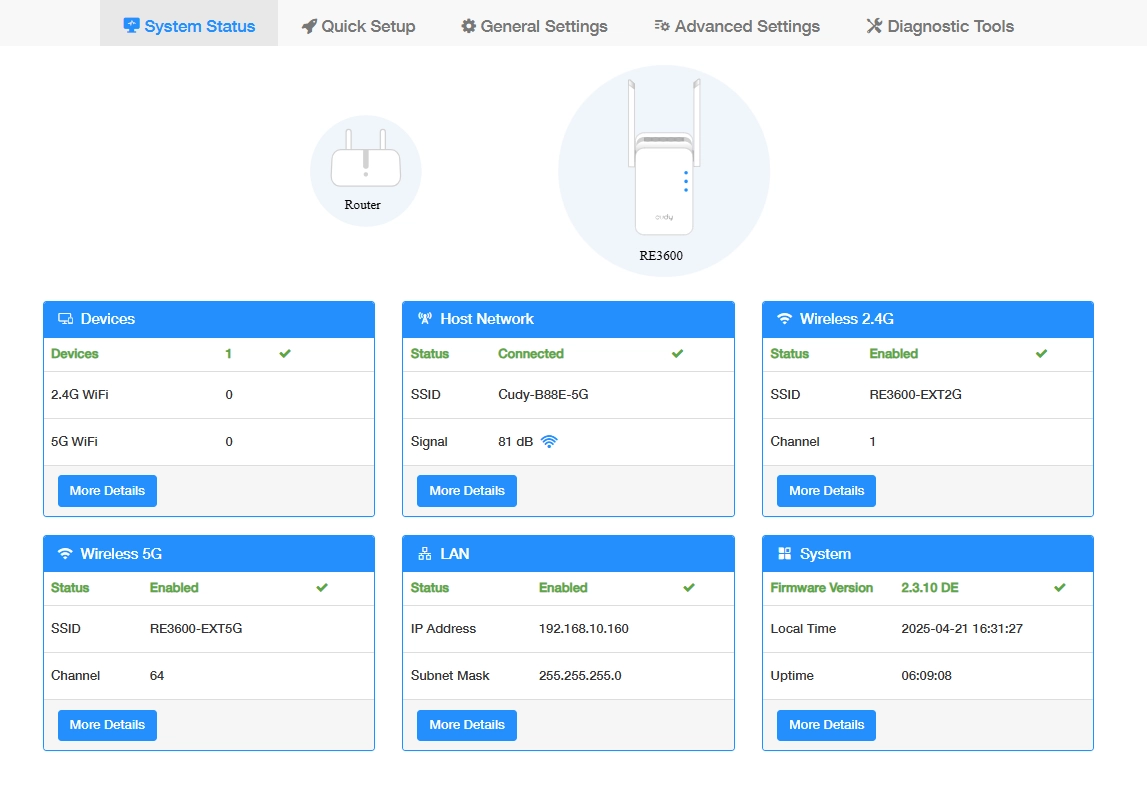
Devices
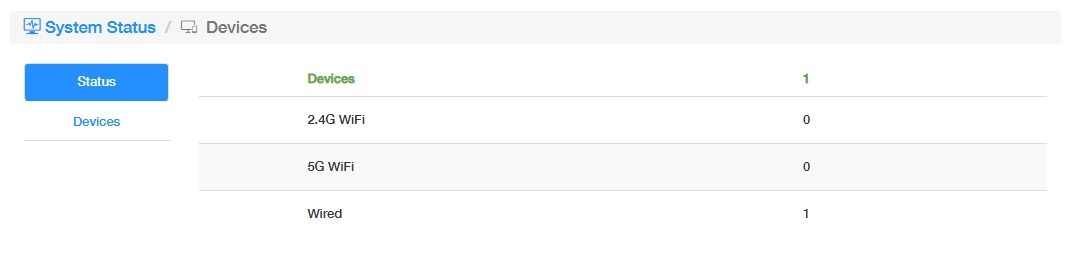
Shows the number of devices connected to this range extender, via Ethernet cable or 2.4G WiFi or 5G WiFi. Click More Details to know more information about these devices.
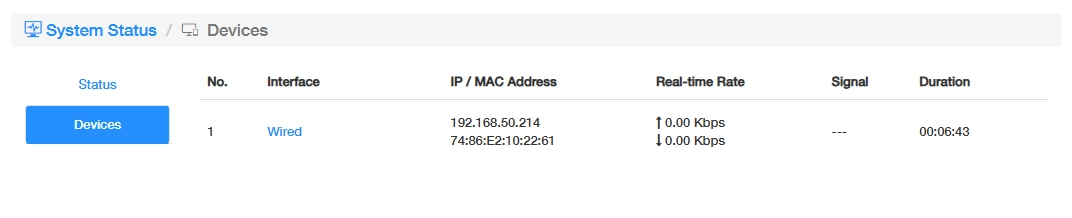
- Interface: The interface through which the device is connected.
- IP/MAC Address: The IP and MAC addresses of the connected device.
- Real-time Rate: The current data transmission rate of the device.
- Signal: The signal strength between the Range Extender and the device.
- Duration: The length of time the device has been connected.
Host Network
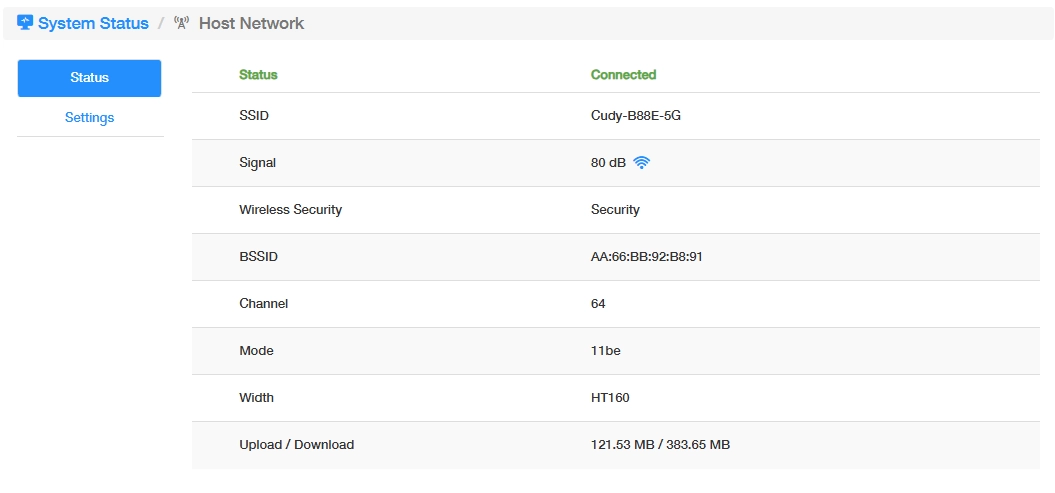
Shows the status, SSID and signal about the Host Network being extended by this Range Extender. Click More Details to know more information about it or make changes.
- Status
Shows more details about the host network.
- Settings
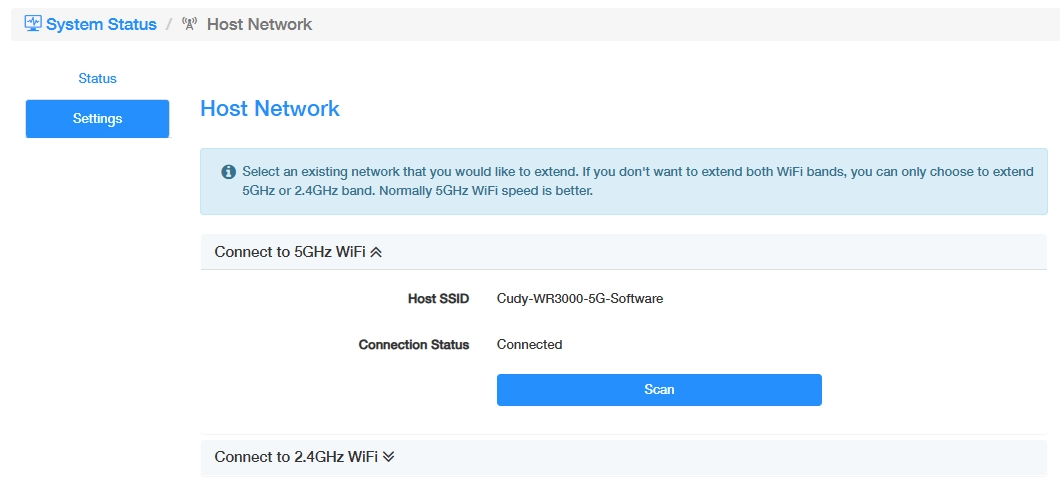
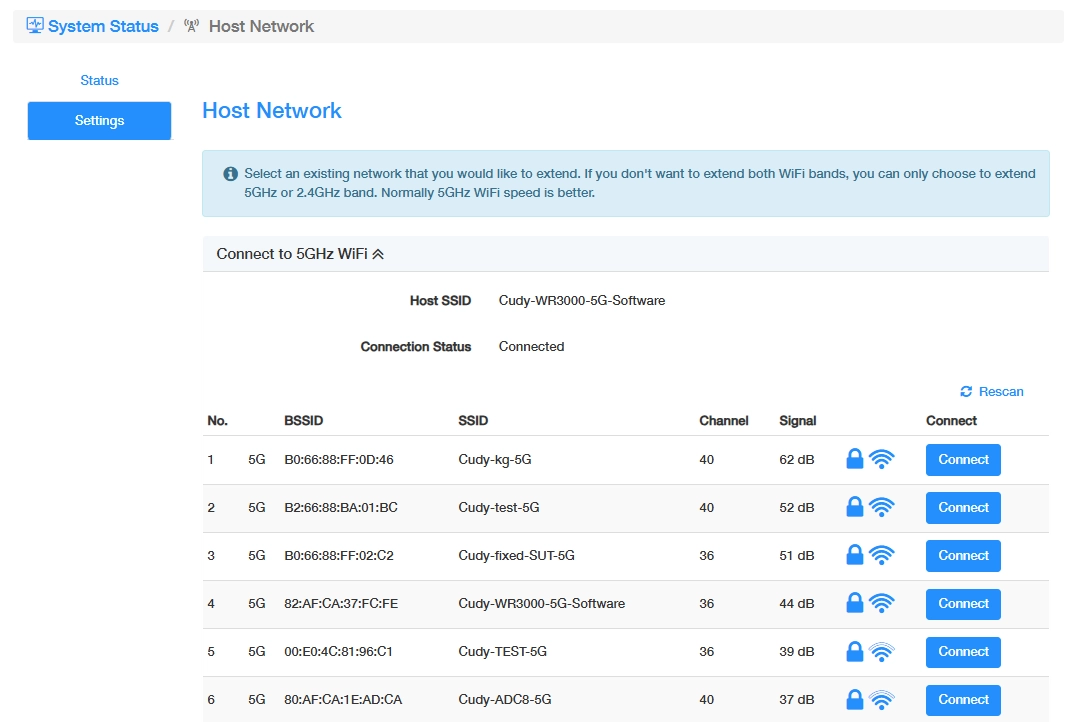
If you want to change the host network, click Scan to find more available network, and click Connect.
Wireless 2.4G
Shows the extended Wireless 2.4G status, SSID and channel. Click More Details to know more information about it or make changes.
On the System Status -> Wireless 2.4G -> Settings or General Settings -> Wireless 2.4G, you may customize the range extender's 2.4GHz wireless settings, including SSID and password, mode, transmit power, and so on.
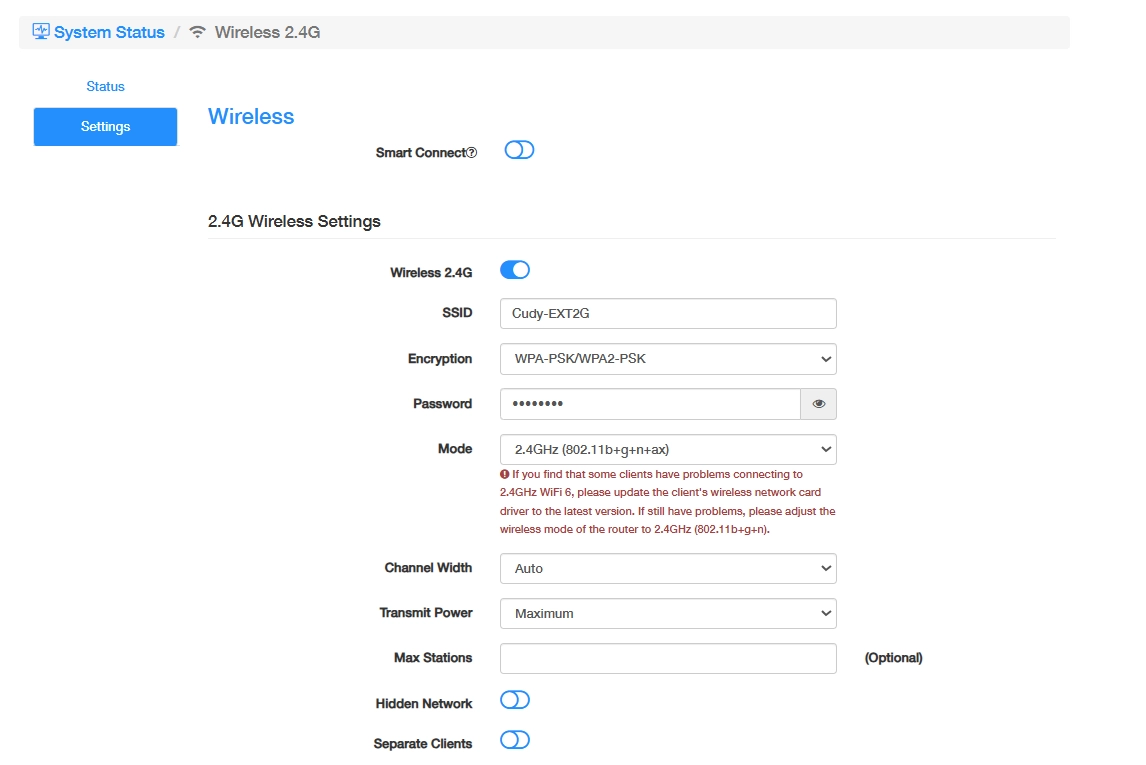
- Enable Wireless 2.4G.
- Customize your SSID (wireless network name).
- Select a strong Encryption and create a secure Password for your wireless network. Click Save & Apply to save these basic settings, or Advanced to continue with more and advanced settings.
- Select a proper Mode and Transmit Power.
- (Optional) Enter the maximum number of devices you want to allow on your network in the Max Stations field.
- Enable Hidden Network, if you don’t want your SSID to display automatically. Then you need to manually join the network.
- (If any) Enable Separate Clients to isolate the wireless clients from each other.
- Click Save & Apply to apply your new settings.
Wireless 5G
Shows the extended Wireless 5G status, SSID and channel. Click More Details to know more information about it or make changes.
On the System Status -> Wireless 5G -> Settings or General Settings -> Wireless 5G, you may customize the range extender's 5GHz wireless settings, including SSID and password, mode, transmit power, and so on.
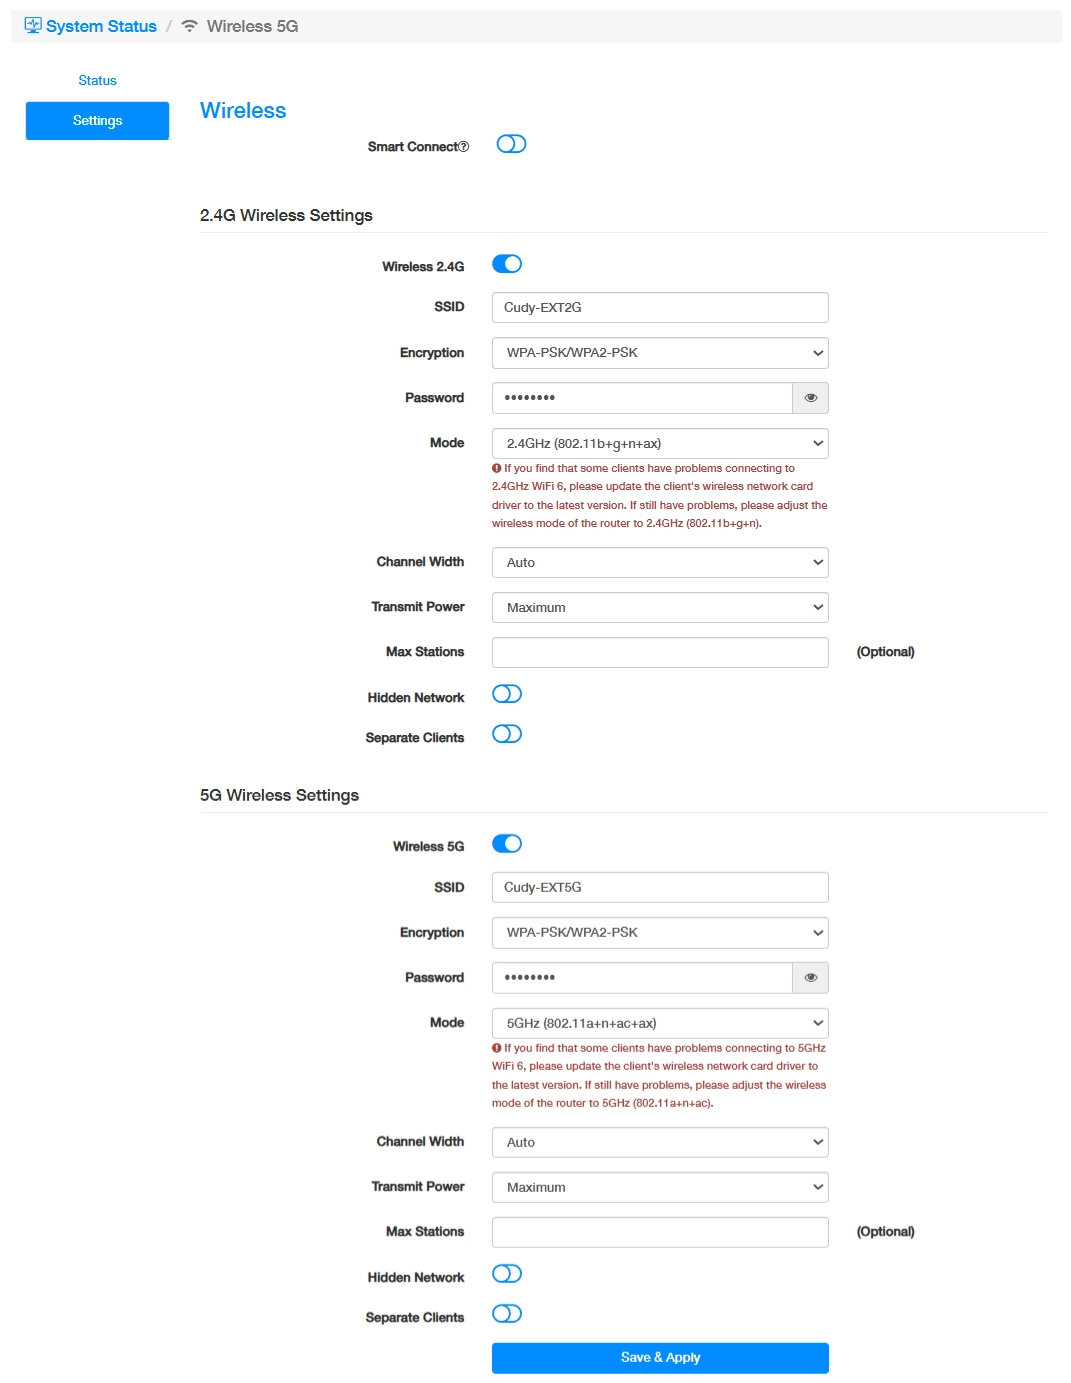
- Enable Wireless 5G.
- Customize your SSID (wireless network name).
- Select a strong Encryption and create a secure Password for your wireless network. Click Save & Apply to save these basic settings, or Advanced to continue with more and advanced settings.
- Select a proper Mode and Transmit Power.
- (Optional) Enter the maximum number of devices you want to allow on your network in the Max Stations field.
- Enable Hidden Network, if you don’t want your SSID to display automatically. Then you need to manually join the network.
- (If any) Enable Separate Clients to isolate the wireless clients from each other.
- Click Save & Apply to apply your new settings.
Note
When Smart Connect is enabled, 2.4GHz and 5GHz networks share the same network name and password (only one SSID will be displayed). Your wireless devices will automatically switch to connect to the Wi-Fi band that provides the fastest speed.
LAN
Shows the LAN port status, IP address and subnet mask. Click More Details to know more information about it or make changes.
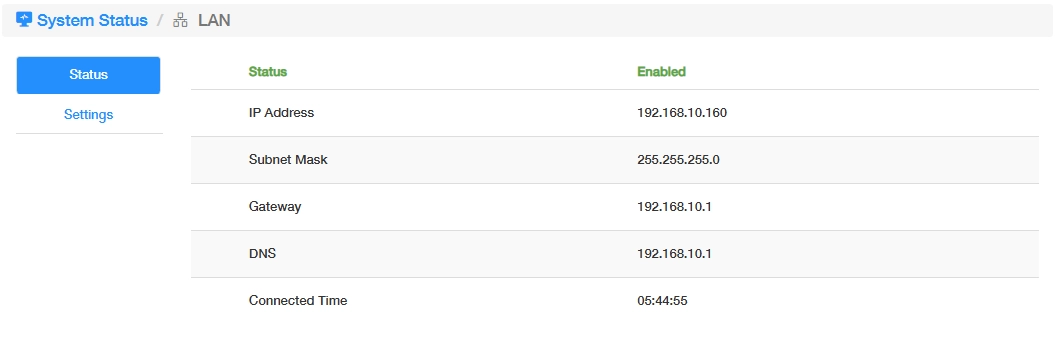
If you do need to assign a fixed IP address, you may go to System Status -> LAN -> Settings or Advanced Settings -> Network -> LAN, and follow the steps below.
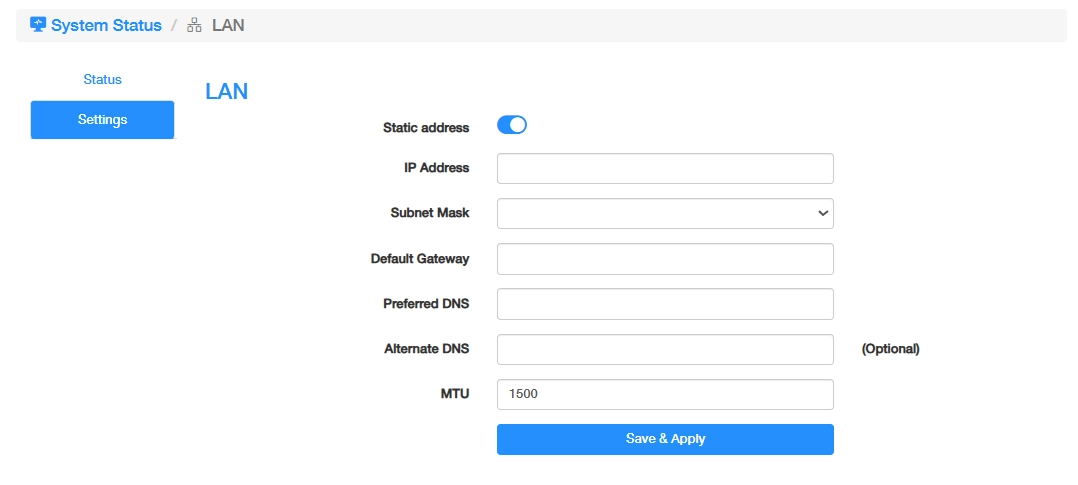
- Enable Static address.
- Set an unused IP address in the same subnet as the main router. For example, if the main router is 192.168.1.1, you can use 192.168.1.250.
- Select a subnet mask from the drop-down list or customize it. Usually the same as the main router's subnet mask, such as 255.255.255.0.
- Enter the IP address of the main router in the Default Gateway field, such as 192.168.1.1.
- Enter a preferred DNS server, such as the main router's IP address or a public DNS server.
- Enter an alternate DNS server as backup if needed.
- It is recommended to keep the default MTU value unless your ISP or network administrator specifies otherwise.
- Click Save & Apply.
Note
By default, the Range Extender automatically obtains an IP address from the main router. It is recommended to keep this setting unless you need to assign a fixed IP address for network management. Incorrect settings may prevent the Range Extender from accessing the network or being reachable for management.
System
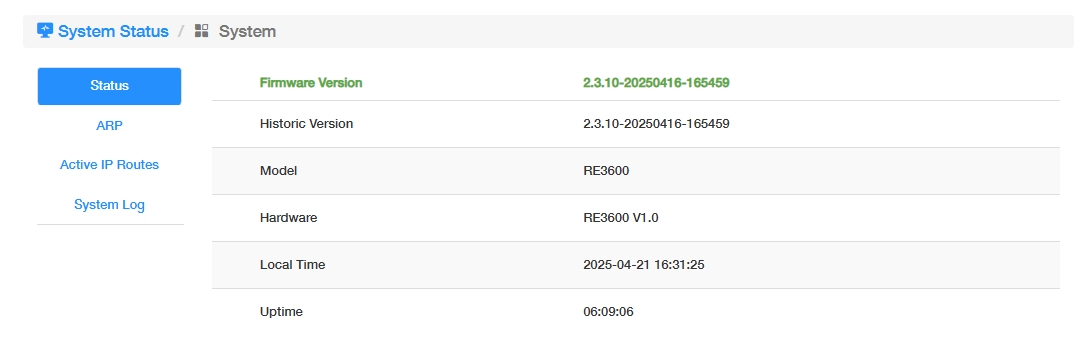
Shows the system firmware version, local time and uptime. Click More Details to view more information about it or make changes.
-
Status shows the range extender info about firmware version, model, hardware version, local time and uptime.
-
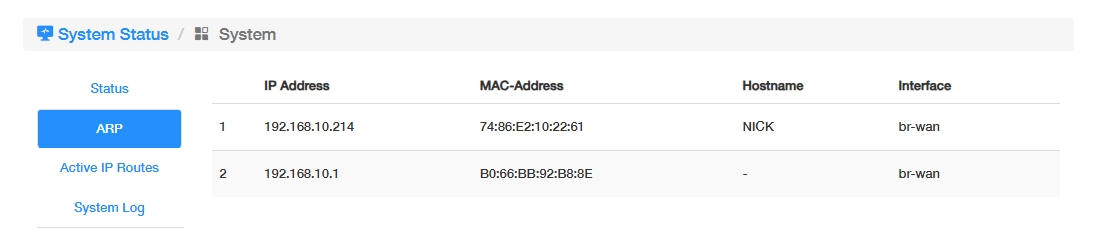
ARP lists the connected devices' IP address with its bound MAC address, Hostname and Interfaces.
-
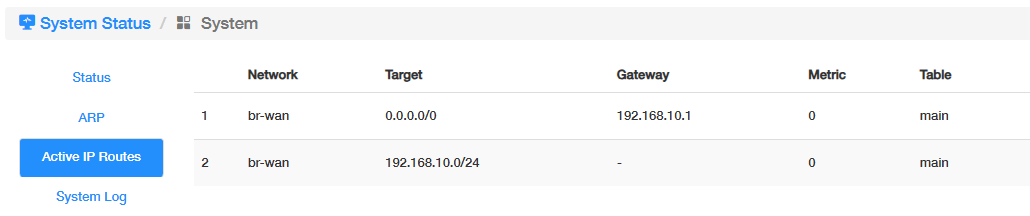
Active IP Routes table contains a list of routes to network destinations associated with and known by the range extender.
-
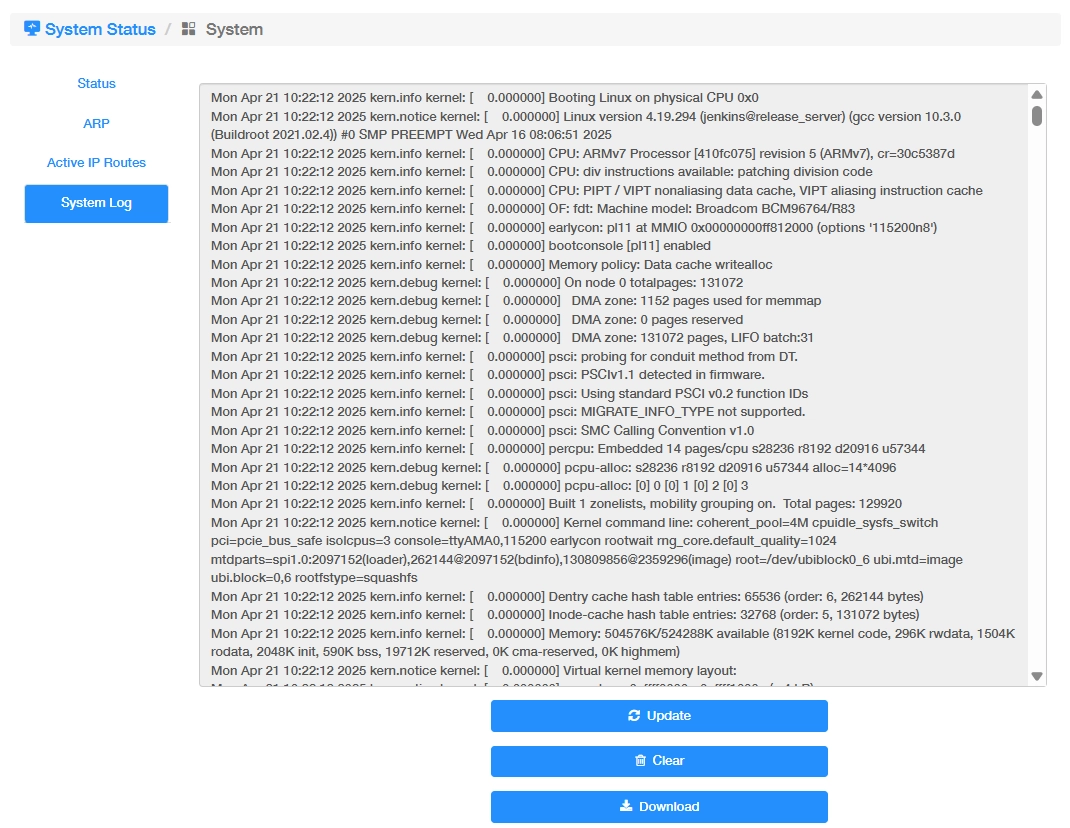
System Log tracks all the range extender behaviors. It is used for technical support to diagnose and troubleshoot for the range extender.