Quick Installation Guide
Note
RE3600 is used as an example in this guide. Refer to your actual product for more details.
Follow the instructions below to get your range extender ready for use fast and easy.
-
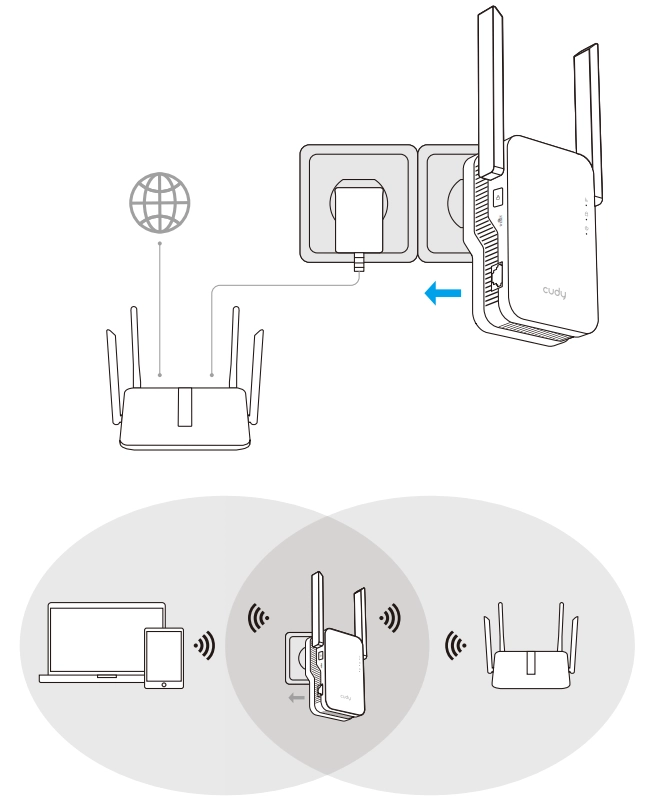
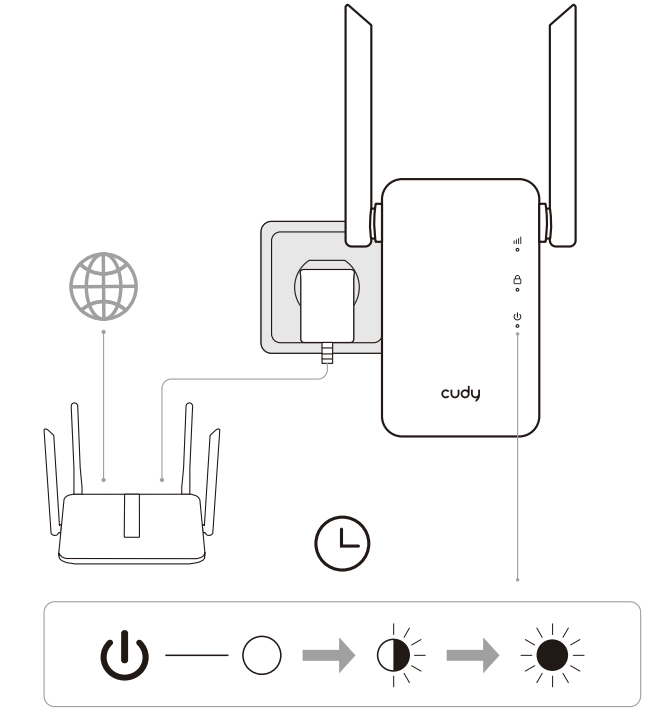
Plug the Extender into a socket near the router, and wait for it to boot up.
-
Pair the extender with the router using Method A or B.
-
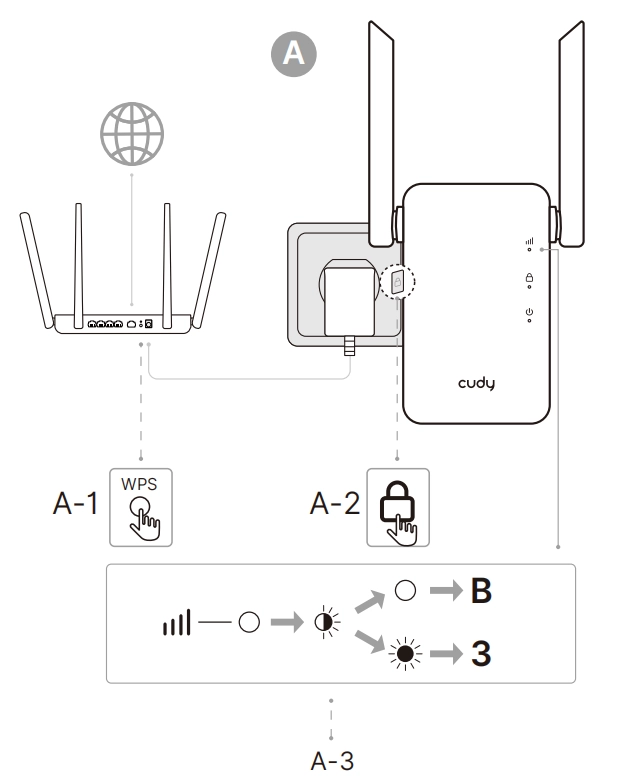
Method A: Press the WPS buttons on the router and the Extender, and wait for the LED to light up.
-
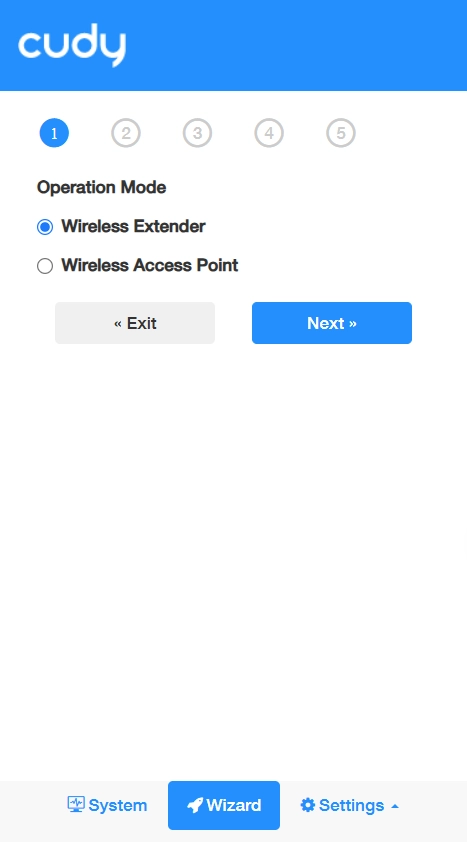
Method B: Connect your phone or computer to the Extender's Wi-Fi. The setup page will automatically open in your browser. Follow the on-screen instructions to complete the Quick Setup.
- Select Wireless Extender as the operation mode. Click Next.
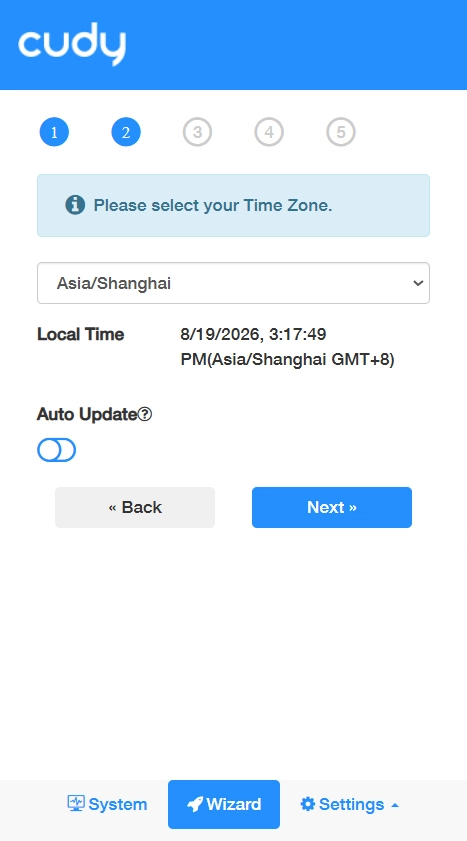
- Select your time zone from the drop-down list. Click Next.
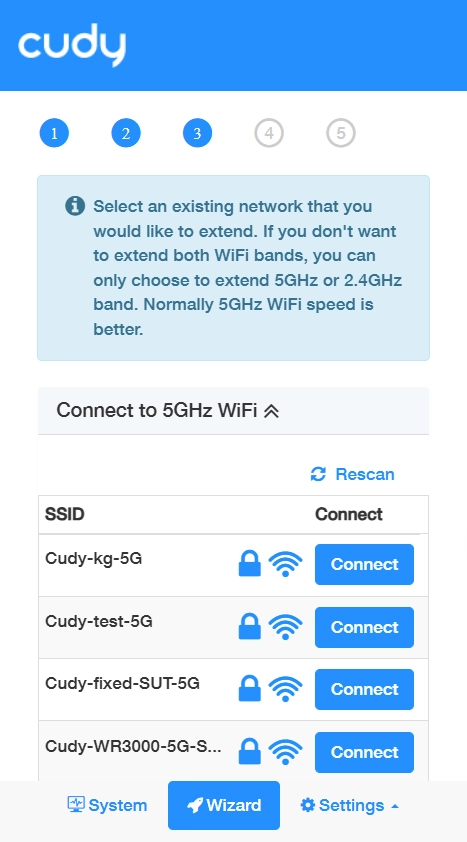
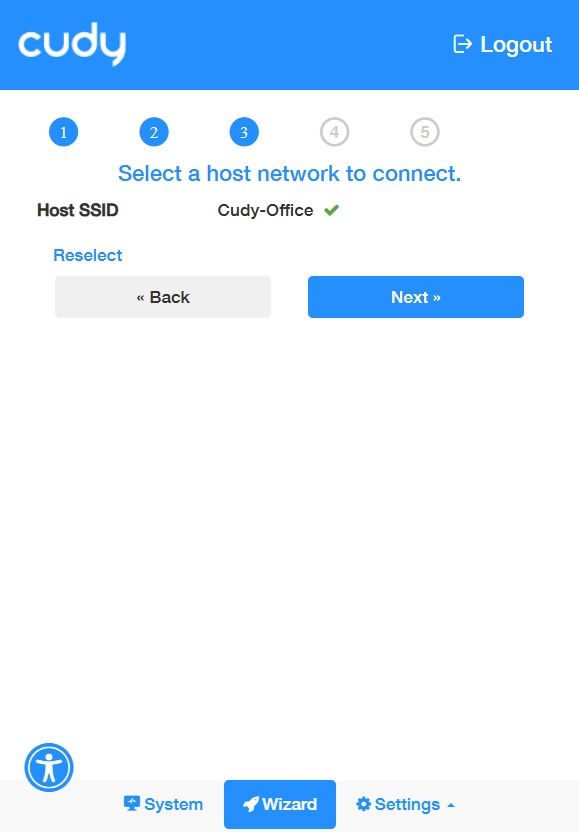
- Select an existing network your want to extend. Click Connect.
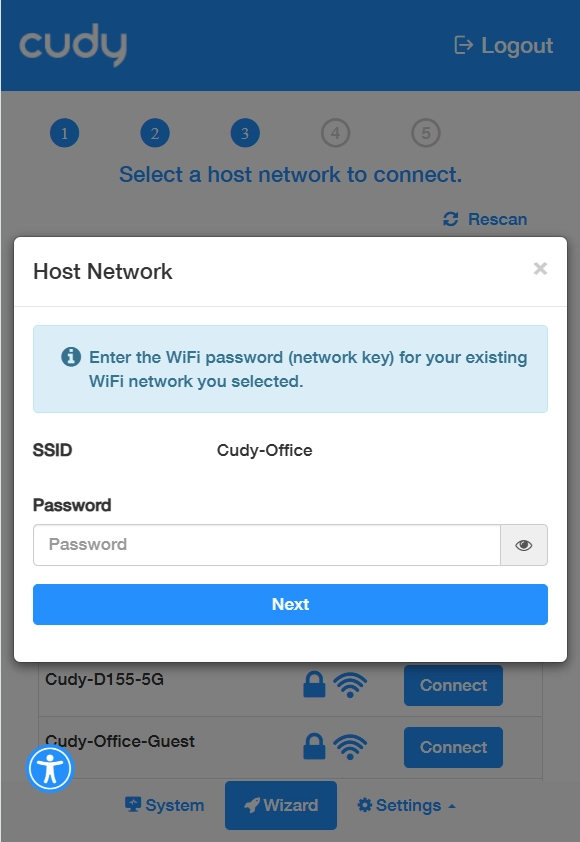
- Enter its password if required, and click Next.
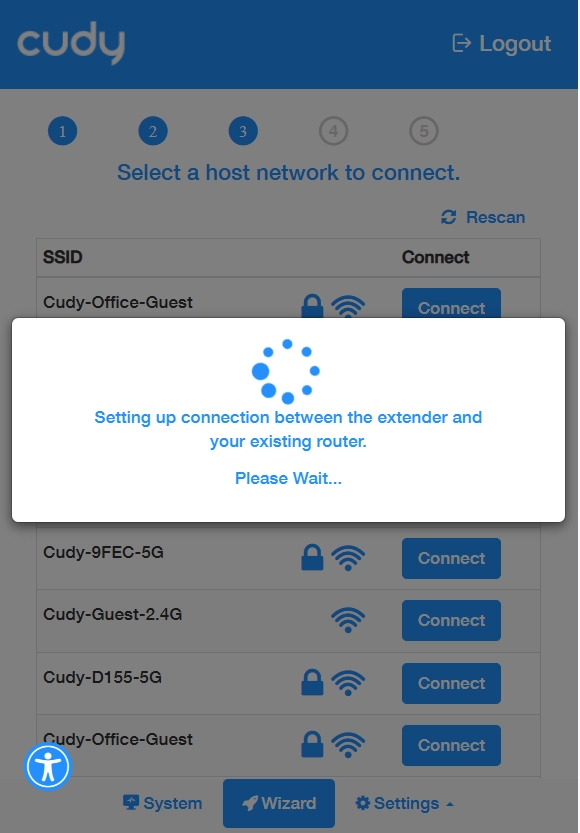
- Wait for a few moments until successful connection.
- Successfully connected. Click Next.
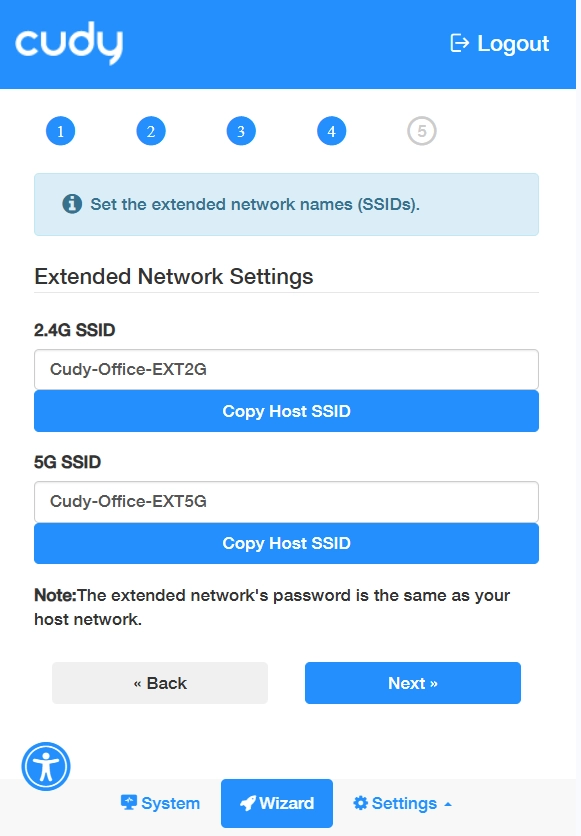
- Set the extended network name (SSID) or just keep it as default. Passwords will be the same as the host network. Click Next.
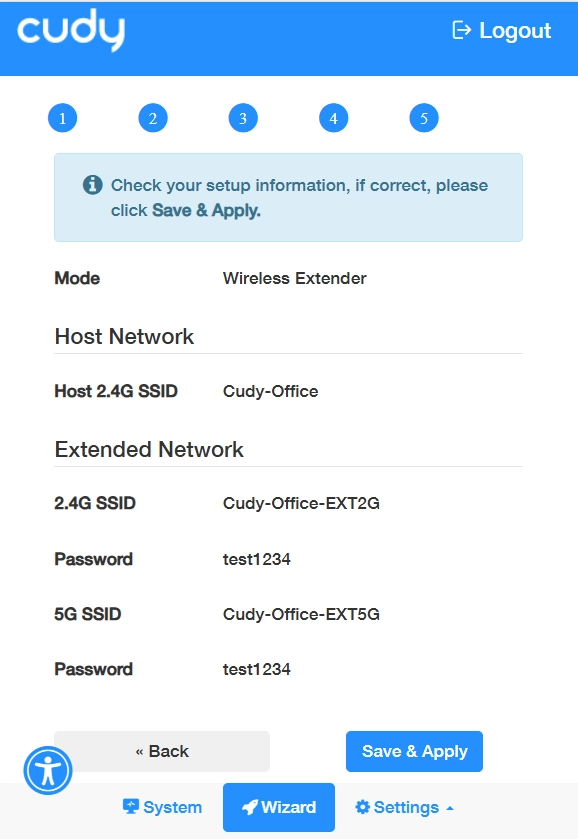
- Confirm your settings and click Save & Apply, or click Back to make adjustments.
- Select Wireless Extender as the operation mode. Click Next.
-
-
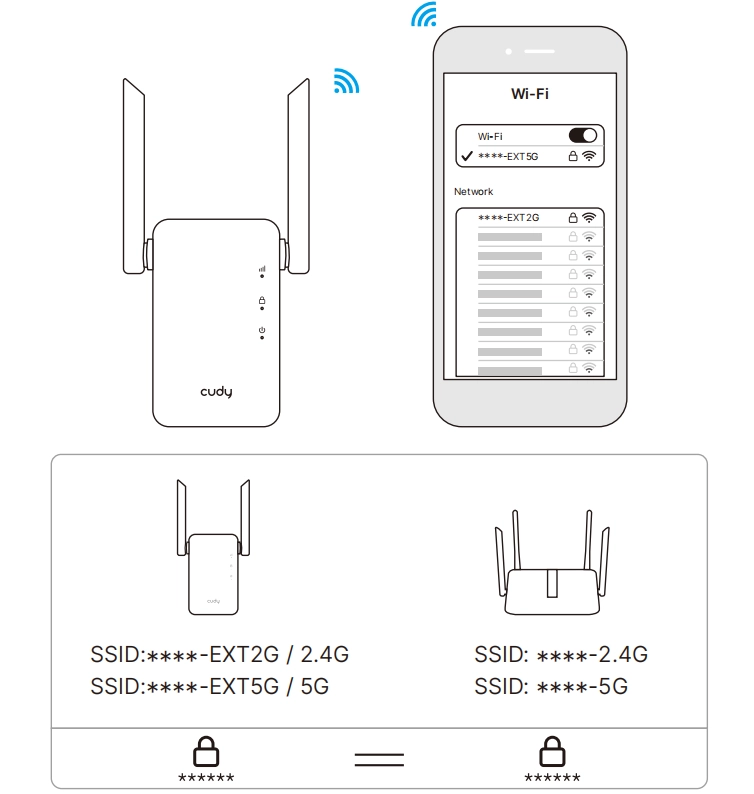
Connect your device to the extended Wi-Fi and verify Internet access. By default, the extended Wi-Fi uses the same password as your router's Wi-Fi. When paired via WPS, it uses the same Wi-Fi name (SSID) as your router.
-
Relocate the extender between the Wi-Fi coverage area and the area where you want to expand the Wi-Fi signal.