Advanced Settings
Note
RE3600 is used as an example in this guide. Refer to your actual product for more details.
Network
LAN
Range Extender automatically obtains an IP address from the main router by default. It is recommended to keep this setting unless you need to assign a fixed IP address for network management. Incorrect settings may prevent the Range Extender from accessing the network or being reachable for management.
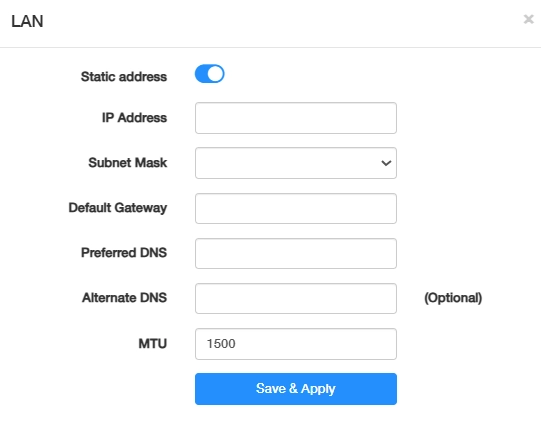
If you do need to assign a fixed IP address, please follow the steps below.
- Enable Static address.
- Set an unused IP address in the same subnet as the main router. For example, if the main router is 192.168.1.1, you can use 192.168.1.250.
- Select a subnet mask from the drop-down list or customize it. Usually the same as the main router's subnet mask, such as 255.255.255.0.
- Enter the IP address of the main router in the Default Gateway field, such as 192.168.1.1.
- Enter a preferred DNS server, such as the main router's IP address or a public DNS server.
- Enter an alternate DNS server as backup if needed.
- It is recommended to keep the default MTU value unless your ISP or network administrator specifies otherwise.
- Click Save & Apply.
Example
If the main router's network settings are:
- Router IP:
192.168.1.1 - Subnet Mask:
255.255.255.0
You can configure the Range Extender as:
IP Address:        192.168.1.250
Subnet Mask:       255.255.255.0
Default Gateway:   192.168.1.1
Preferred DNS:     192.168.1.1
Alternate DNS:     Optional
MTU:               Keep the default value
System
System is to manage the range extender's systematic features. It includes System Time, Firmware, Backup/Restore, Admin Account, Language, Timed Reboot, Reboot, Reset, and LED Control.
System Time
Is the time displayed while the range extender is running. The system time you configure here will be used for other time-based functions like WiFi schedule, parental control, etc.
To configure the system time, please follow the steps below.
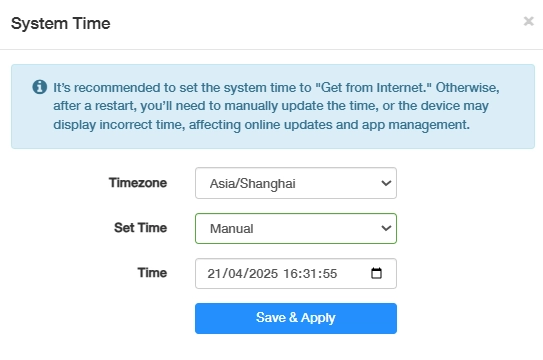
- Select your Timezone from the drop-down list.
-
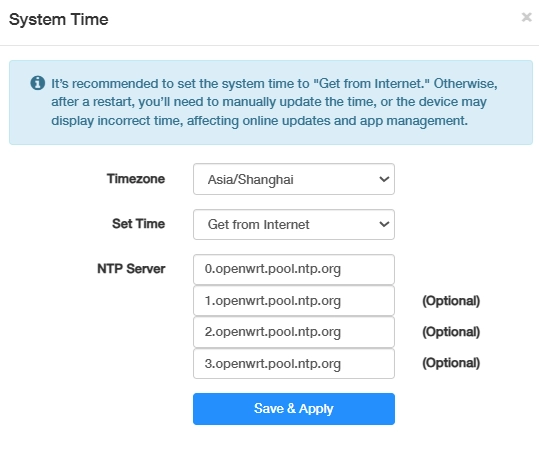
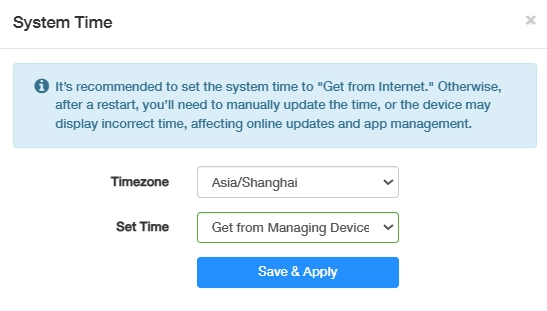
Select the Set Time method: Get from Internet, Get from Managing Device, or Manual.
-
Get from the Internet: Range Extender will synchronize the time with the Internet of the NTP server, for which you've entered its IP address or domain name.
-
Get from Managing Device: Range Extender will synchronize the time with your device connected.
-
Manual: Range Extender will display the time you have manually set (YY/MM/DD HH:MM:SS).
-
-
Click Save & Apply.
Firmware
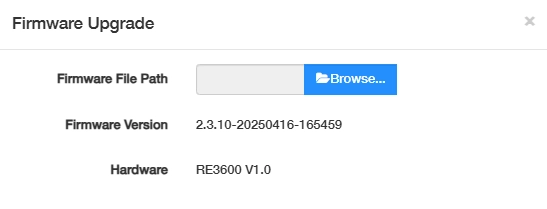
The current firmware version and hardware version will be displayed. Click Browse... to locate and upload the latest firmware file you have already downloaded from www.cudy.com. Wait a few minutes for the update and reboot to complete.
For more about firmware upgrading, please refer to General Settings-> Firmware.
Note
If you fail to update the firmware for the range extender, please contact our technical support support@cudy.com.
Backup/Restore
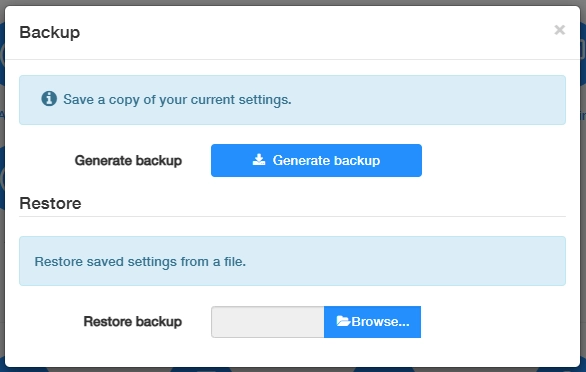
The settings are stored as a configuration file in the range extender. You can back up the configuration file in your computer for future use, or restore the range extender to a previous settings from the backup file when needed. Moreover, if necessary you can erase the current settings and reset the range extender to the default factory settings.
To configure the system backup and restore, please follow the steps below.
-
Click Generate backup to download and save a copy of the current settings in your local computer in the form of .bin file.
-
Click Browse... to locate and upload the backup configuration file stored in your computer.
-
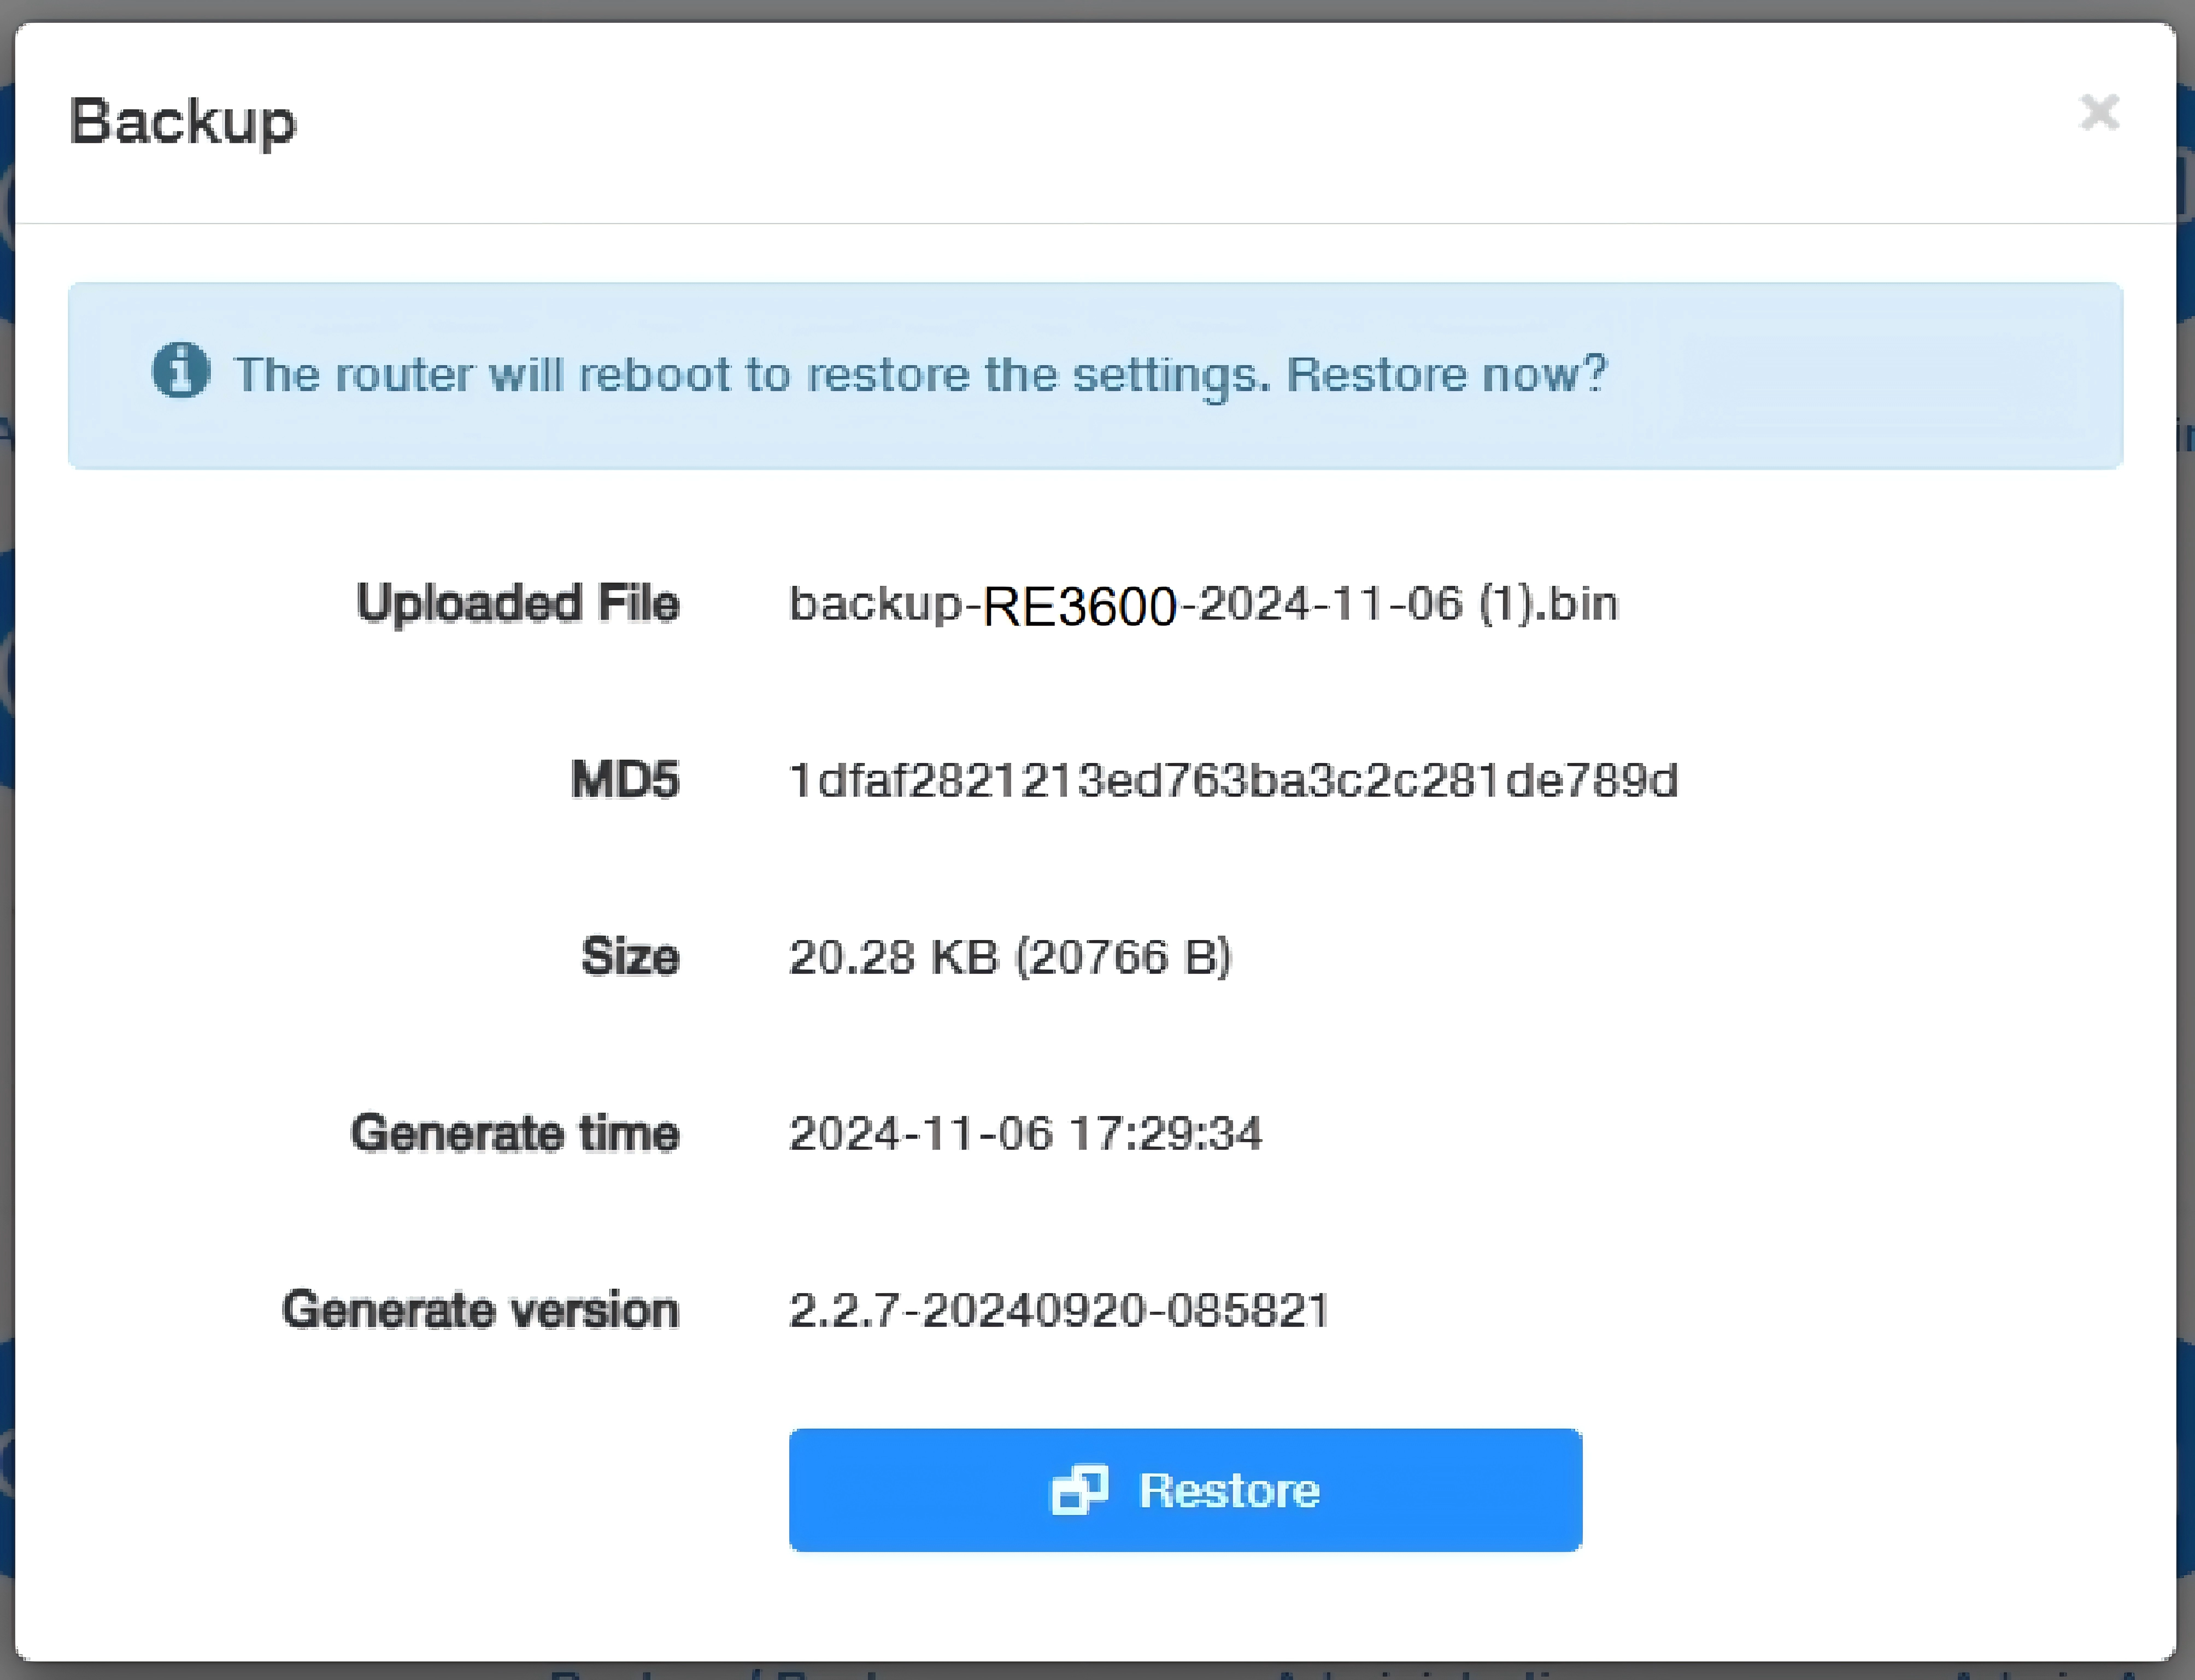
Click Restore to restore and reboot. It may take a few minutes. Please do not turn off or reset the range extender in this process.
Admin Account
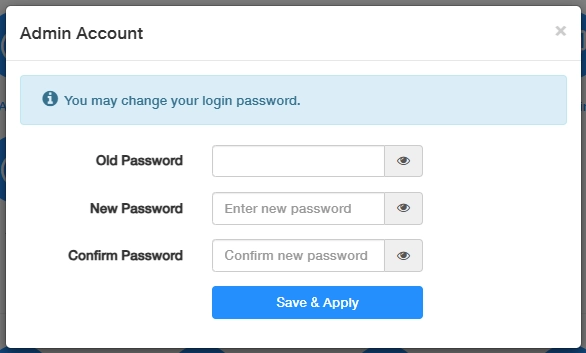
Changes your login password for the range extender's web management page.
-
Enter the old password.
-
Create a new password and Confirm it.
-
Click Save & Apply for the new password to take effect.
Note
The password should be a value between 8 and 64 characters long.
Language
Customizes the range extender's web management language. Otherwise, the range extender will auto-detect your system language and synchronize it.
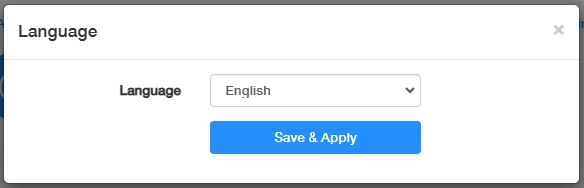
If any change, please click Save & Apply for the settings to take effect.
Timed Reboot
Will clean the cache to enhance the running performance of the range extender as scheduled.
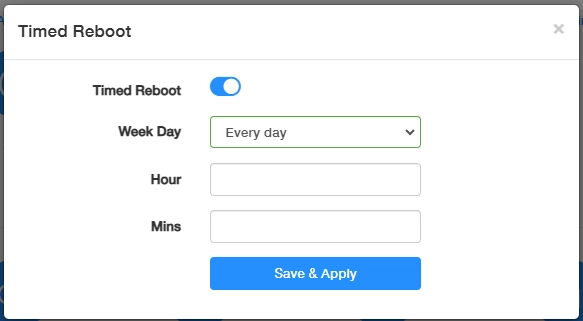
To set the reboot schedule, please follow the steps below.
- Enable Timed Reboot.
- Select the Week Day to specify how often you would like the range extender to reboot.
- Set the specific Hour and Minute when the range extender should reboot on the specified day.
- Click Save & Apply for the settings to take effect.
Reboot
Rebooting the range extender after working for a long periods of time can release some storage space in the Random Access Memory (RAM) and improve system performance, making the operation of the range extender smoother. Rebooting does not affect any settings of the range extender.
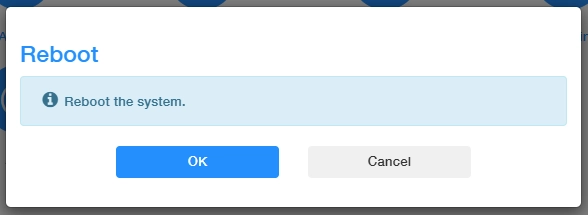
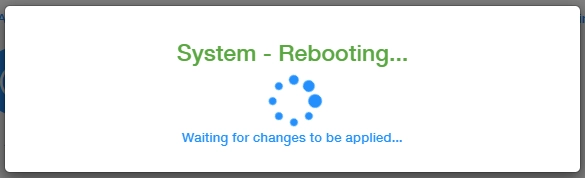
Click OK to reboot the system immediately. Wait a few minutes for the system to reboot. After rebooting, the changes and settings will take effect.
Note
You may also reboot the range extender by turning off its power supply.
Reset
Will help you erase all the current settings and restore the range extender to its factory defaults. Alternatively, you may reset the range extender via the RESET button on the range extender panel, or on this web management page.
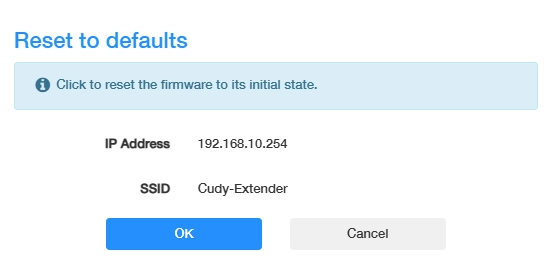
On this page, it will display the range extender's default information, including its IP address and SSID. Before you click OK to reset it, you may note them down for your renewal connection to the range extender. Also these defaults are on the product label for your reference.
Please wait a moment for it to reboot and reset.
Note
- During the rebooting process, do not turn off or reset the router.
- We strongly recommend you to back up the current configuration settings before resetting the range extender.
LED Control
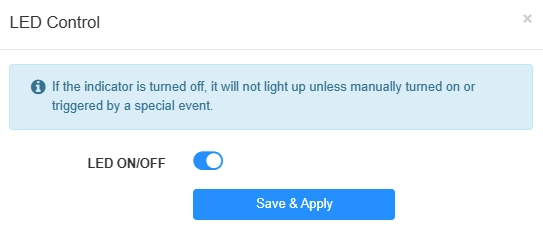
The LEDs indicate the range extender's activities and status. LED Control allows you to turn them on or off when necessary. If turned off, the LEDs will not light up unless manually turned on or triggered by a special event.