LAN
On the LAN page, you can follow the steps to configure the LAN interfaces.
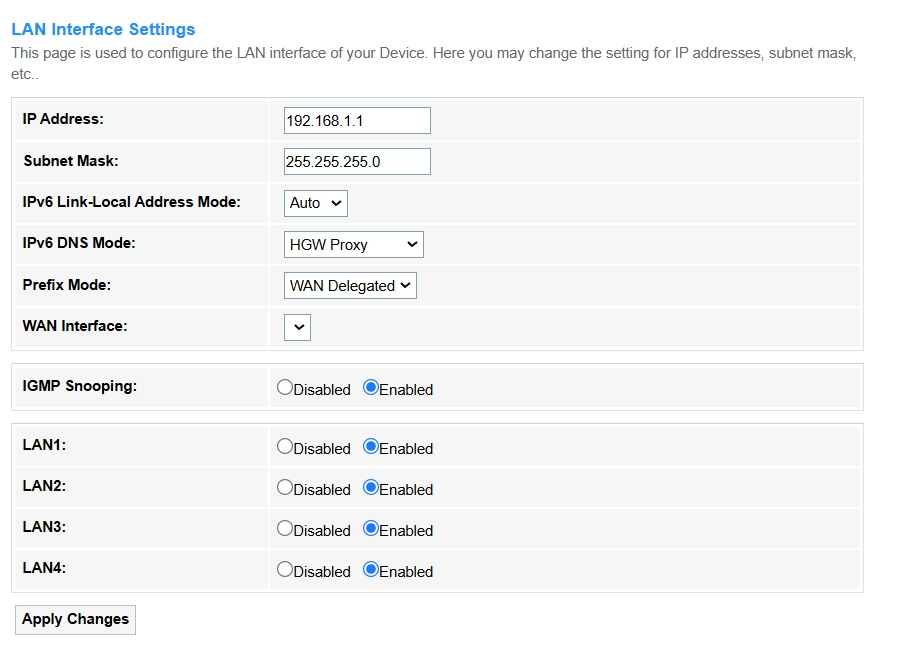
- Enter a Unique identifier for a device on the network (e.g.,192.168.1.1 or 2001:db8::1) in the IP Address field.
- Enter the network segment (e.g., 255.255.255.0 splits IP into network/host parts) in the Subnet Mask field .
-
Select an IPv6 Link-Local Address Mode to obtain an addresses for local communication without DHCP.
- Auto: Automatically generate an IPv6 Link - Local Address for local communication.
- Static: Manually enter an IPv6 Link - Local Address for local communication.
-
Select an IPv6 DNS Mode to assign the DNS servers.
- HGW Proxy: Select it if your ISP requires centralized DNS management or when you need IPv4 compatibility in an IPv6-only network. Avoid it if you prioritize direct DNS queries for privacy or per-device customization.
- WAN Connection: Select it if you want devices to bypass the router's proxy and directly use ISP-assigned or custom DNS servers (e.g.,for privacy or granular control). IPv6 DNS address(es) will be automatically assigned.
- Static: Select it if you need to manually specify custom DNS servers for enhanced privacy or performance. Then manually enter the provided IPv6 DNS1 (preferred) and IPv6 DNS2 (alternate) addresses.
-
Select the Prefix Mode for the Router to obtain an IPv6 network address range.
- WAN Connection: Automatic ISP assignment, common for home use.
- Static: Manually set a fixed prefix, usually for business/lab networks.
-
Enable IGMP Snooping to optimize multicast traffic for LAN ports (reduces unnecessary flooding).
- Enable LAN1~ LAN4 for multicast filtering.
- Click Apply Changes to save and activate the settings. It may briefly disconnect services.
Note
For enterprise networks, IPv6 settings often require ISP compatibility checks.