Advanced Settings - System
The System section allows you to manage the router's system settings, including System Time, Firmware, Backup/Restore, Administration, Admin Account, Language, Timed Reboot, Reboot, Reset, LED Control, and TR-069.
System Time
It is the time displayed while the router is running. The system time you configure here will be used for other time-based functions like WiFi schedule, parental control, etc.
To configure the system time, please follow the steps below.
- Select your Timezone from the drop-down list.
-
Select the Set Time method: Get from Internet, Get from Managing Device, or Manual.
-
Get from the Internet: Router will synchronize the time with the Internet of the NTP server, for which you’ve entered its IP address or domain name.

-
Get from Managing Device: Router will synchronize the time with your device connected.

-
Manual: Router will display the time you have manually set (YY/MM/DD HH:MM:SS).

-
-
Click Save & Apply.
Backup/Restore
The router settings are stored in a configuration file. You can back up this file to your computer for future use or restore previous settings from a backup. You can also reset the router to its factory defaults if needed.
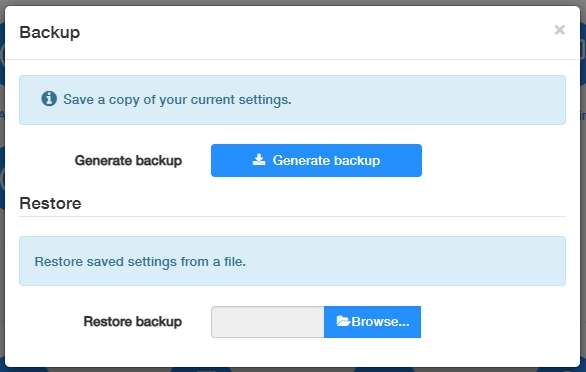
To configure the system backup and restore, please follow the steps below.
- Click Generate backup to download and save a copy of the current settings in your local computer in the form of .bin file.
- Click Browse... to locate and upload the backup configuration file stored in your computer.
- Click Restore to restore and reboot. It may take a few minutes. Please do not turn off or reset the router in this process.

Administration
Allows you to access and manage the router from the local network devices via Local Management, and access and manage the router over the Internet via Remote Management.

-
Local Management
- HTTPS Only: If enabled, you can access the router only via HTTPS, otherwise both HTTP and HTTPS are accessible.
- Local Managers: You can select All Devices to allow all LAN-connected devices to manage the router. If you want to specify certain devices to manage the router, please select Specified Devices and select or customize the device with its MAC address.
-
Remote Management
- Remote Management: If enabled, the remote devices on the Internet can access and manage the router. Otherwise, no remote devices on the Internet can do that.
- HTTPS port: Recommended to keep it as default settings, or enter a value between 1024 and 65535.
- Remote Managers: You can select All Devices to allow all the remote devices on the Internet to manage the router. If you want to specify a certain device to manage the router, please select Specified Devices and enter the specific IP address in the Only this IP address field.
Save & Apply the above settings, and then the devices on the Internet can log in to https://router’s WAN IP address:port number (e.g. https://113.116.60.229:1024) to manage the router.
Note
- You can find the WAN IP address of the router on System Status -> WAN.
- The router’s WAN IP is usually a dynamic IP. Please refer to Advanced Settings -> Network -> DDNS if you want to log into the router via a domain name.
Admin Account
Change your login password for the router’s web management page.
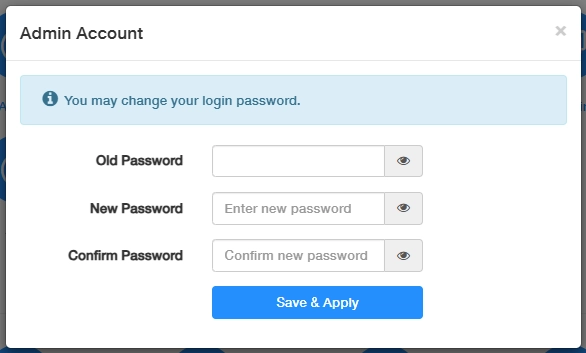
- Enter the old password.
- Create a new password and Confirm it.
- Click Save & Apply for the new password to take effect.
Note
The password should be a value between 8 and 64 characters long.
Language
Customize the router's web management language. Otherwise, the router will auto-detect your system language and synchronize it.
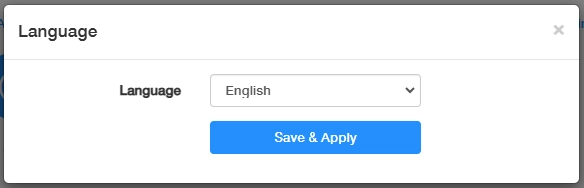
If any change, please click Save & Apply for the settings to take effect.
Timed Reboot
Will clean the cache to enhance the running performance of the router as scheduled.
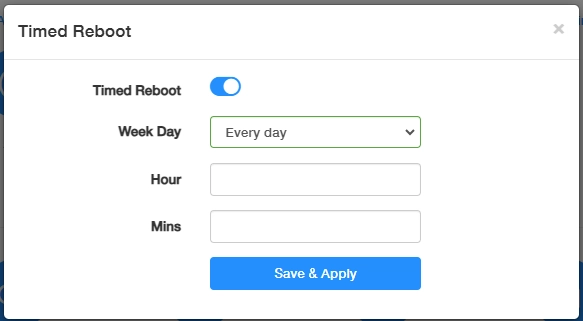
To set the reboot schedule, please follow the steps below.
- Enable Timed Reboot.
- Select the Week Day to specify how often you would like the router to reboot.
- Set the specific Hour and Minute when the router should reboot on the specified day.
- Click Save & Apply for the settings to take effect.
Reboot
Rebooting the router may help improve system performance. It does not affect your router settings.
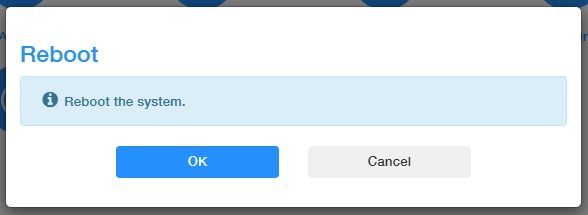

Click OK to reboot the system immediately. Wait a few minutes for the system to reboot. After rebooting, the changes and settings will take effect.
Note
You may also reboot the router by turning off its power supply.
Reset
Resetting erases all current settings and restores the router to its factory defaults. You can reset the router using the RESET button or this web management page.

Before resetting, note the default IP address, Wi-Fi names (SSIDs), and password displayed on this page. You can also find this information on the product label.
Wait for the router to reboot. When the login page appears, create a new login password and reconfigure the router.
Note
- During the rebooting process, do not turn off or reset the router.
- We strongly recommend you to back up the current configuration settings before resetting the router.
LED Control
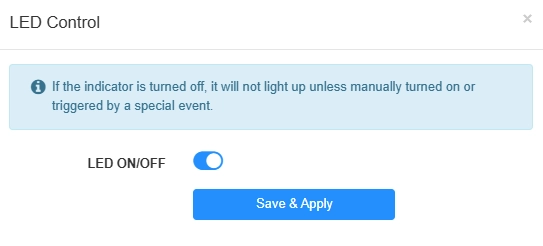
The LEDs indicate the router's status and activity. LED Control allows you to turn them on or off as needed. When turned off, the LEDs remain off unless manually enabled or activated by a specific event.
TR069
TR-069 (CWMP) allows an Auto-Configuration Server (ACS) to remotely configure, manage, and diagnose the device. Configure this feature according to your ISP's instructions.

Configure the parameters according to your ISP instructions, and click Save & Apply.
- Enable: Toggle on to enable the TR069/CWMP function.
- Inform: Enable to send an inform message to the ACS periodically.
- Inform Interval: Enter the time interval when the inform message will be sent to the ACS.
- Data Model: Select the data model of the inform message sent to the ACS, according to your ISP’s instructions.
- ACS URL: Enter the web address of the ACS provided by your ISP.
- ACS Username/Password: (Optional) Enter the username/password to log in to the ACS server.
- Connection Request Auth: If enabled, you may optionally enter the username and password for the ACS server to log in to the router; otherwise just ignore it.
- Port: Enter the port that connects to the ACS server.
- STUN: If enabled, you need to enter the STUN server port and kept-alive period, and optionally the STUN username / password / server address to log in the router.