How to set up Surfshark VPN clients?
Info
- Cudy routers provide a dedicated Surfshark VPN client interface. You can configure your Surfshark VPN account directly on the router to establish a secure VPN connection for all devices connected to the network.
- This feature is available for Cudy routers with firmware version 2.5.0+ and Cudy App version 1.5.5+.
- TR3000 is shown as an example in this tutorial.
Using Cudy App
-
Connect your phone to the router's Wi-Fi network.
-
Open the Cudy App on your phone. Tick I agree with ... and select Local Management.

Tip
Scan the QR code to download it first if needed.

-
Select Wi-Fi Device.

Tip
If you have before managed other type of devices on Cudy App, you may need to tap the menu icon (☰) on the left of Dashboard to switch to Wi-Fi Device.
-
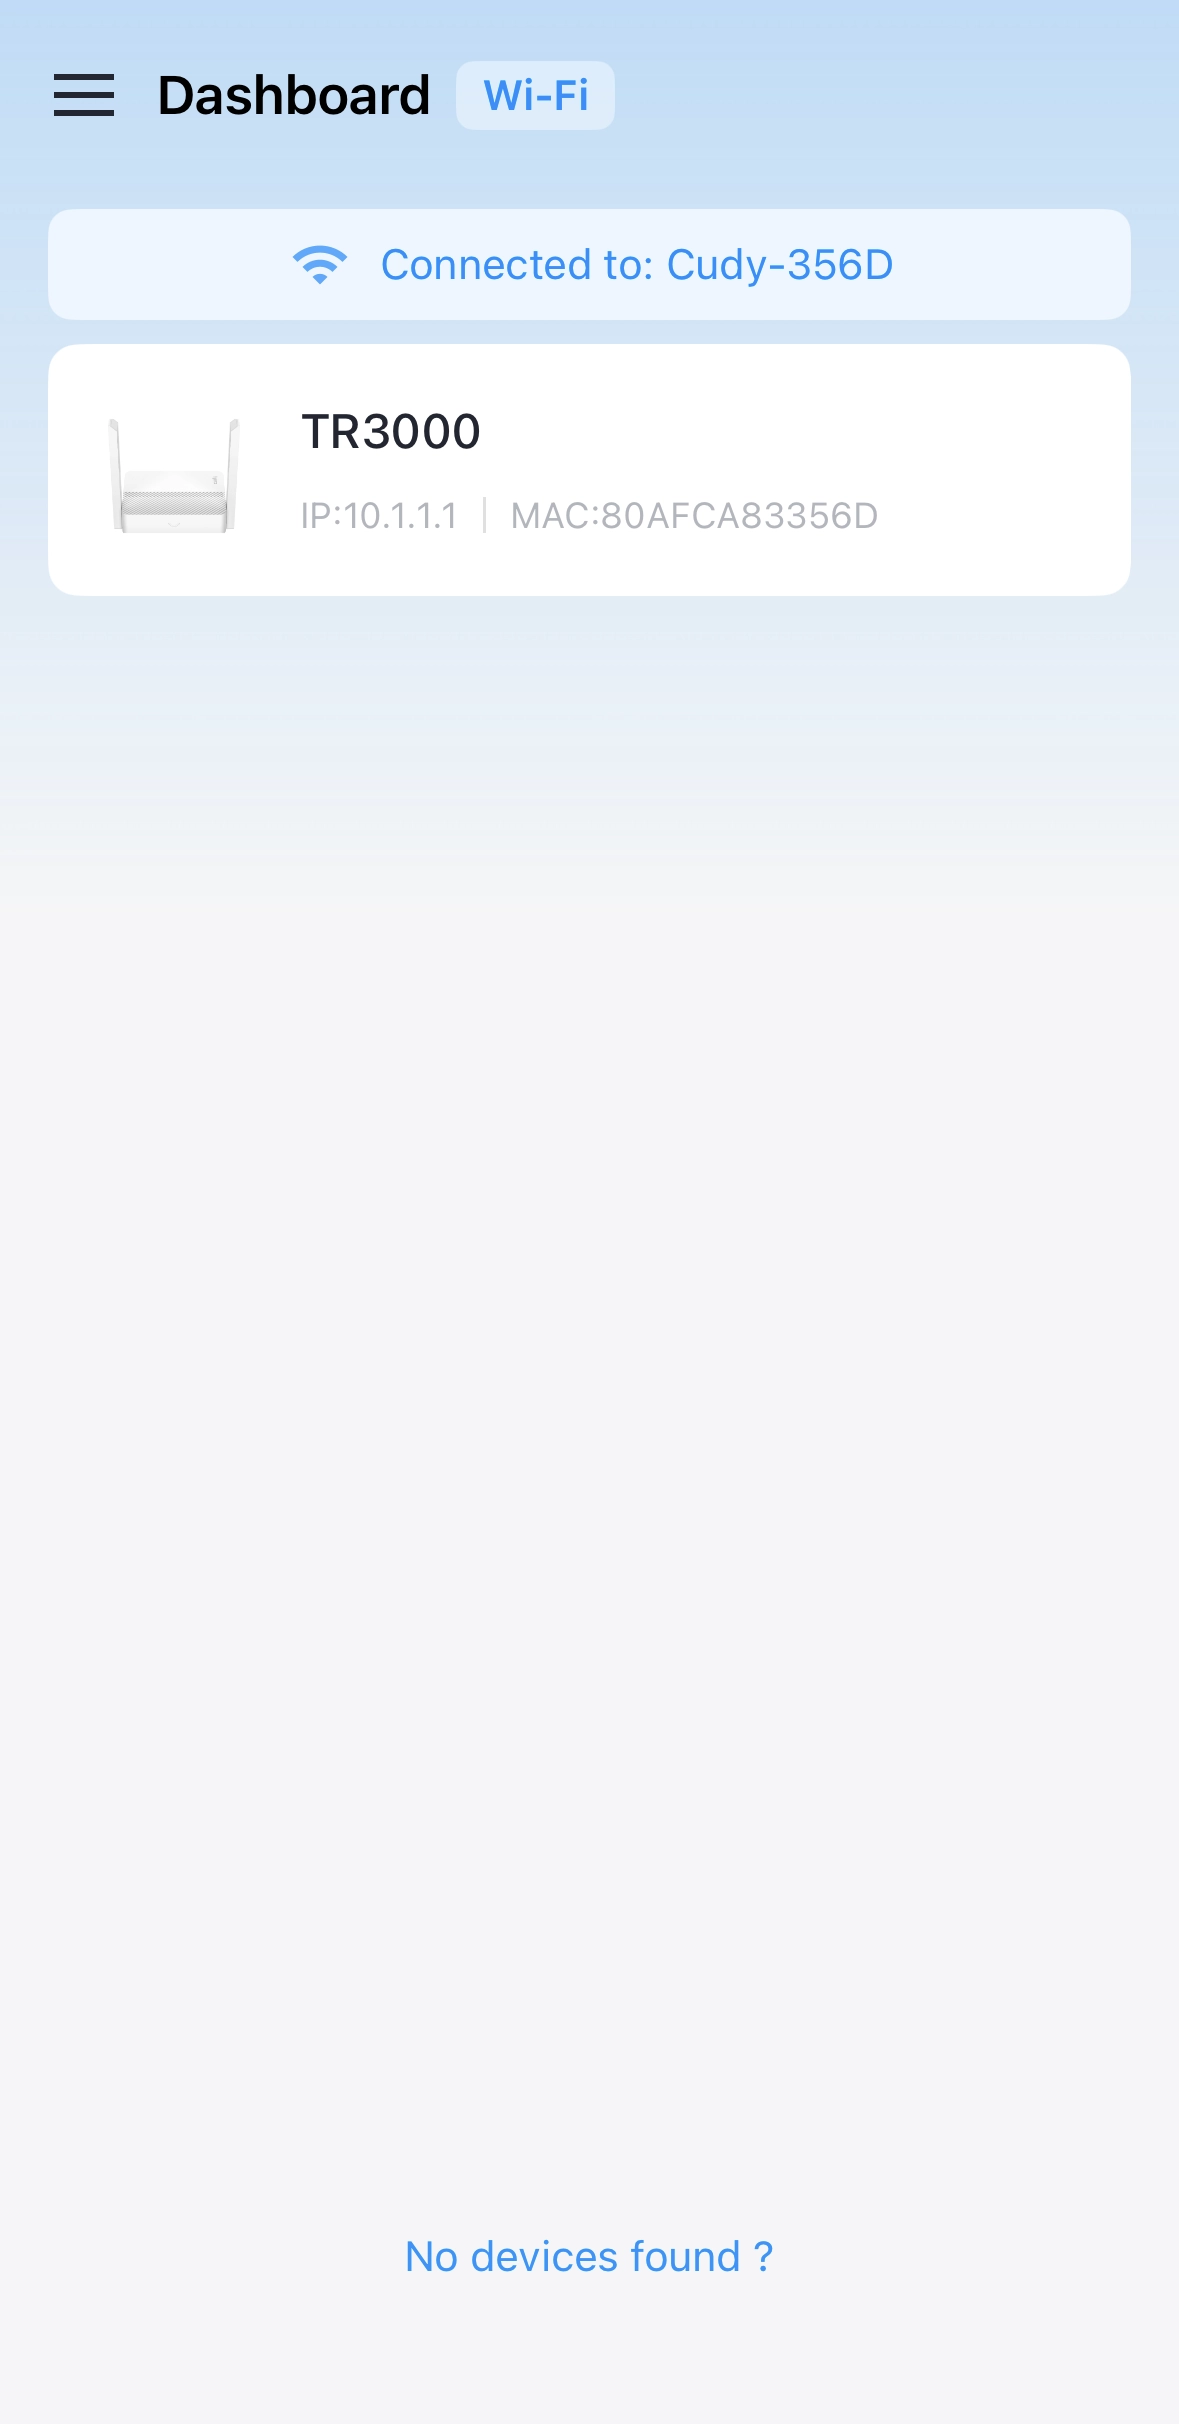
Tap the router.
-
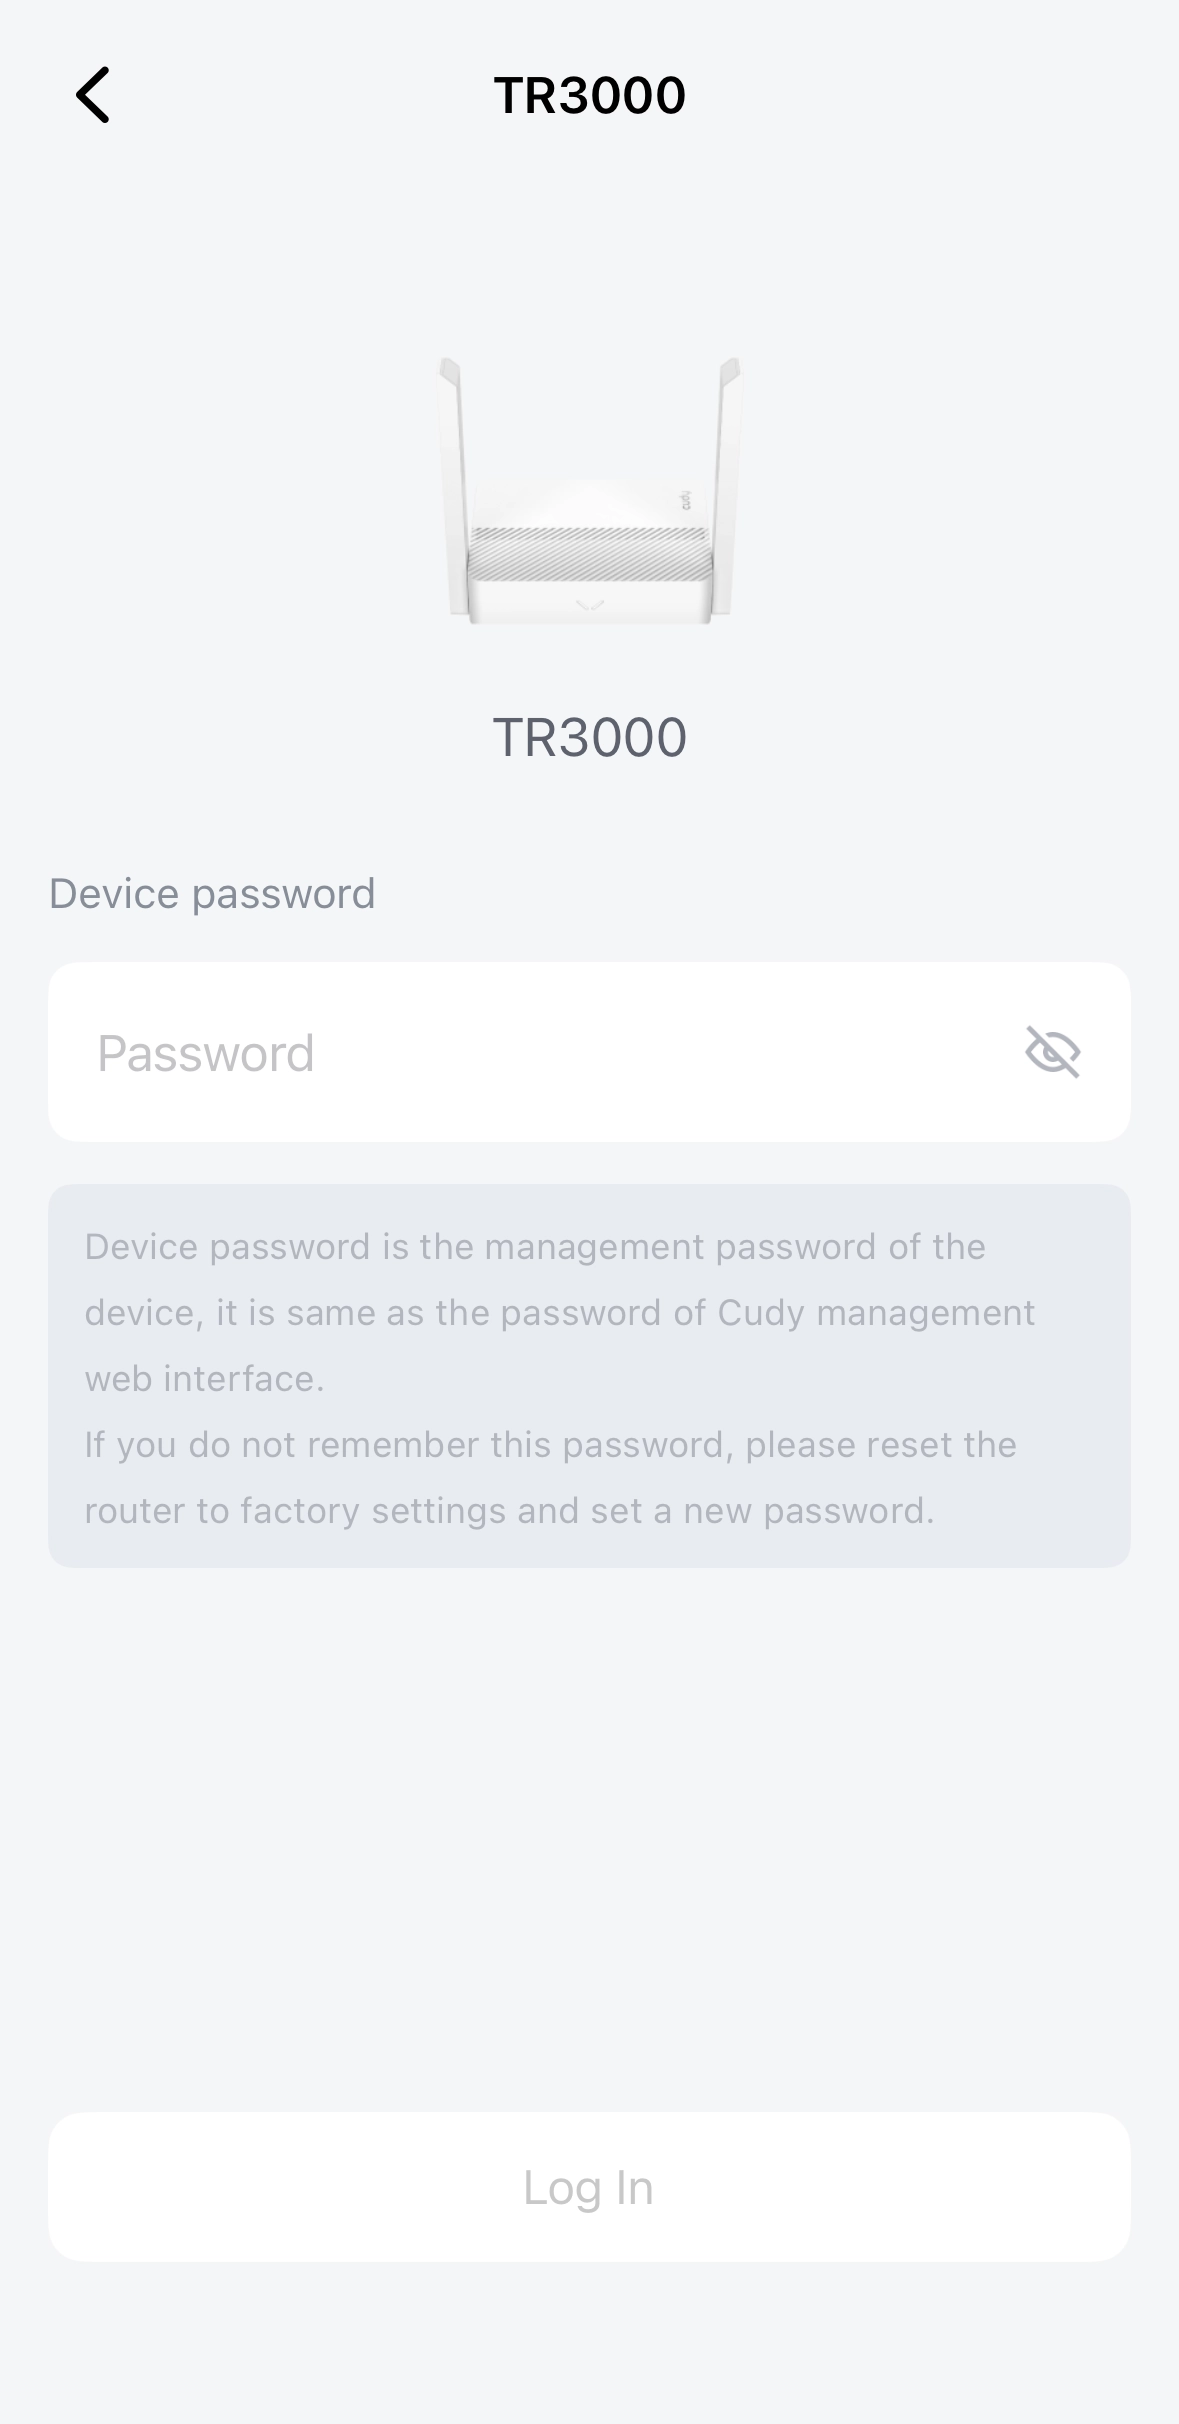
Enter the router's administrator password. Create one if this is your login for the first time.
-
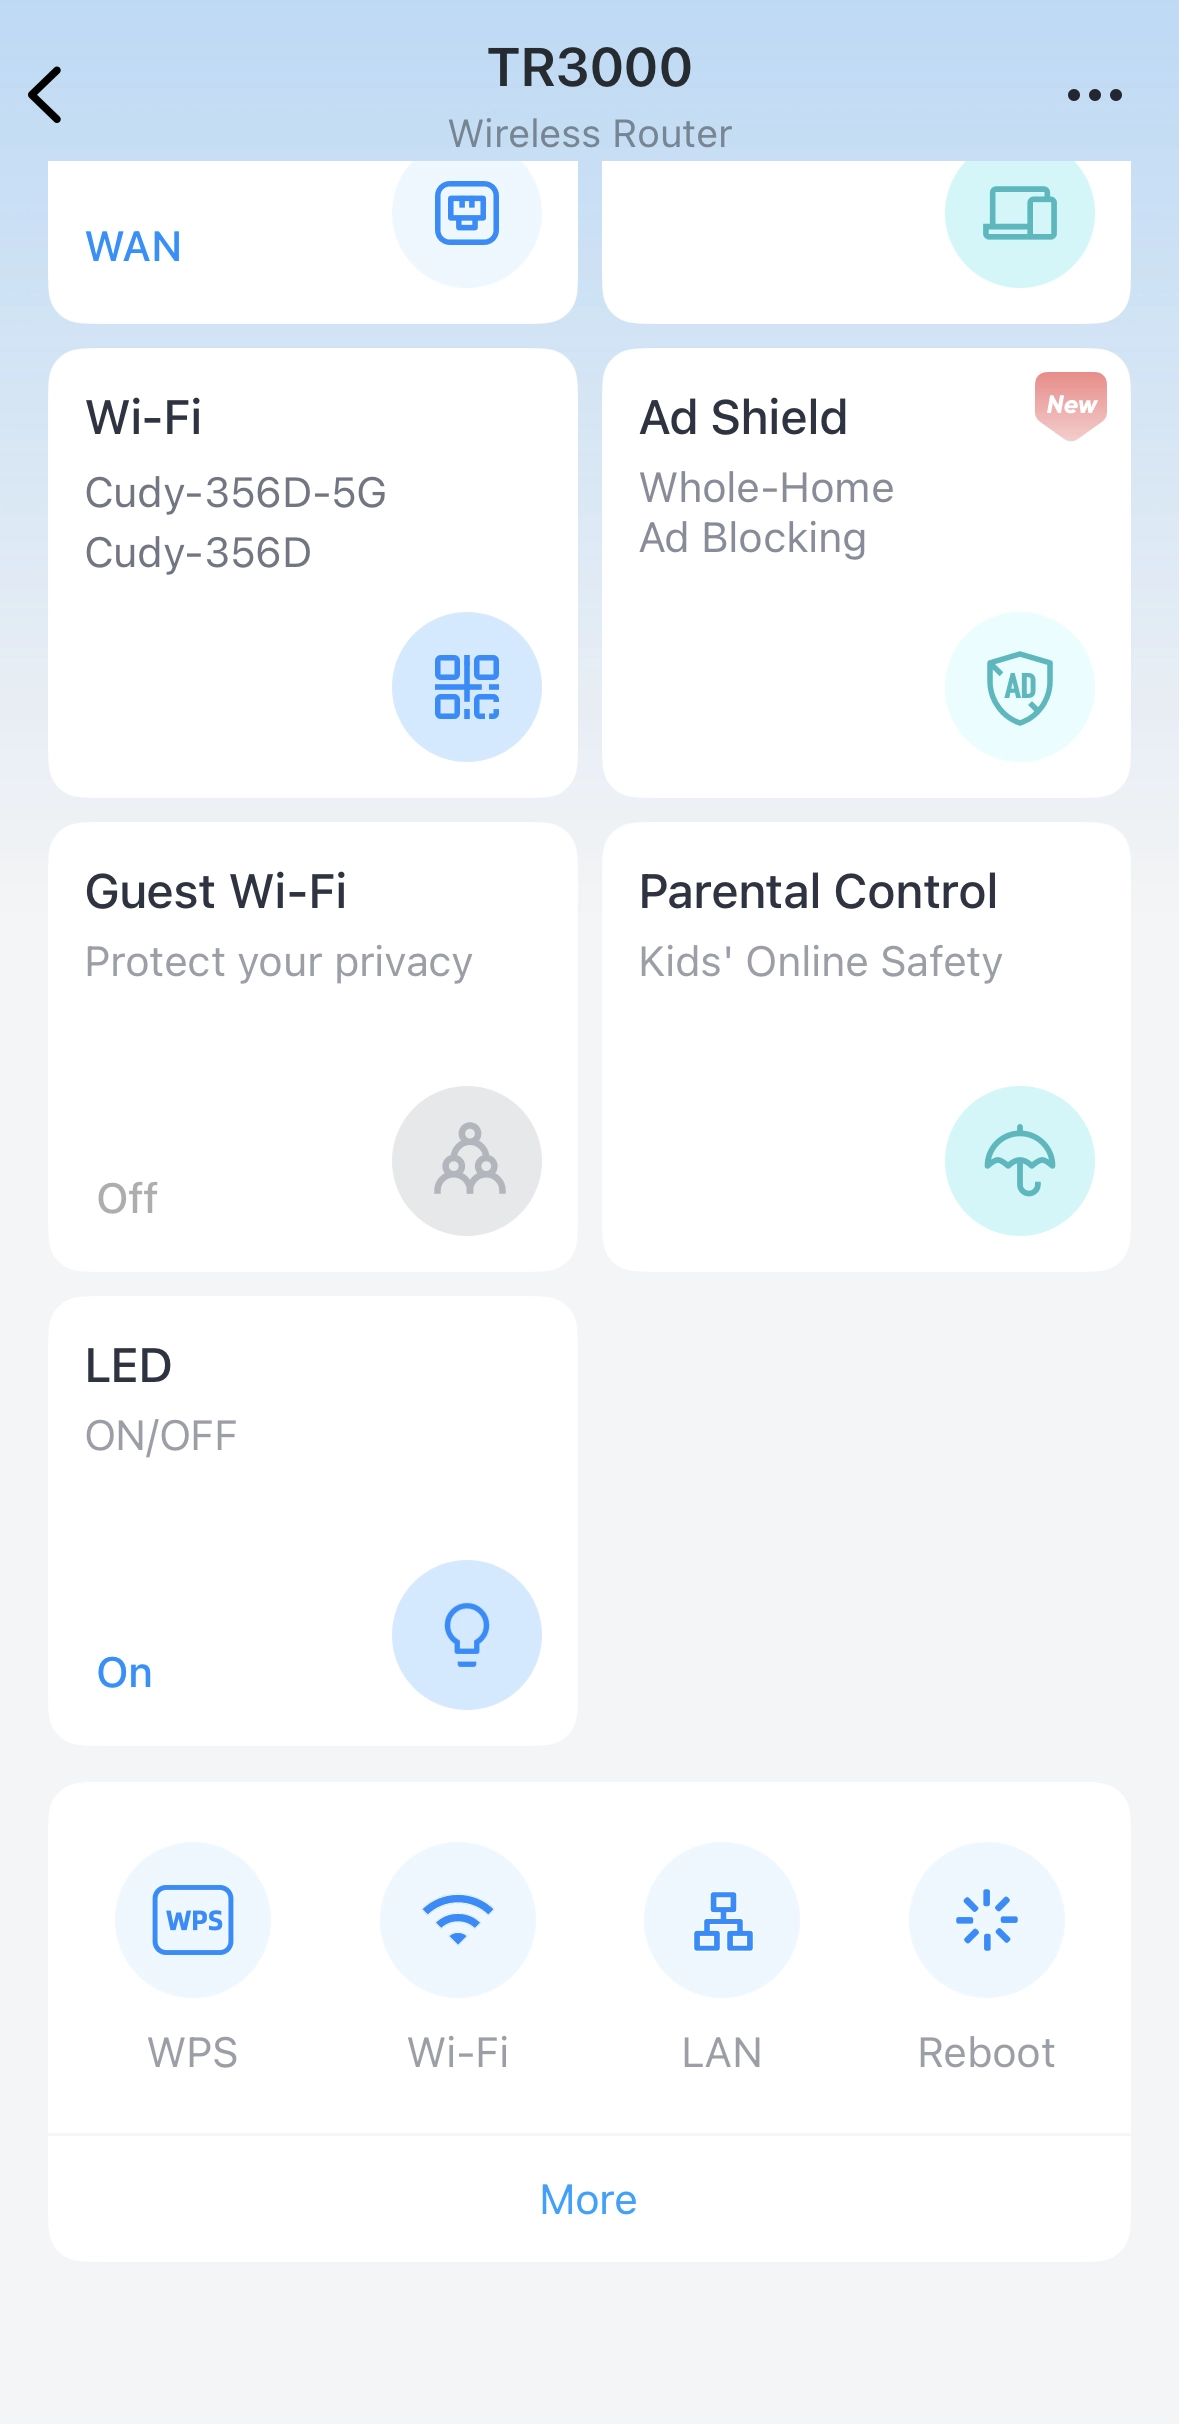
Scroll down and tap More.
-
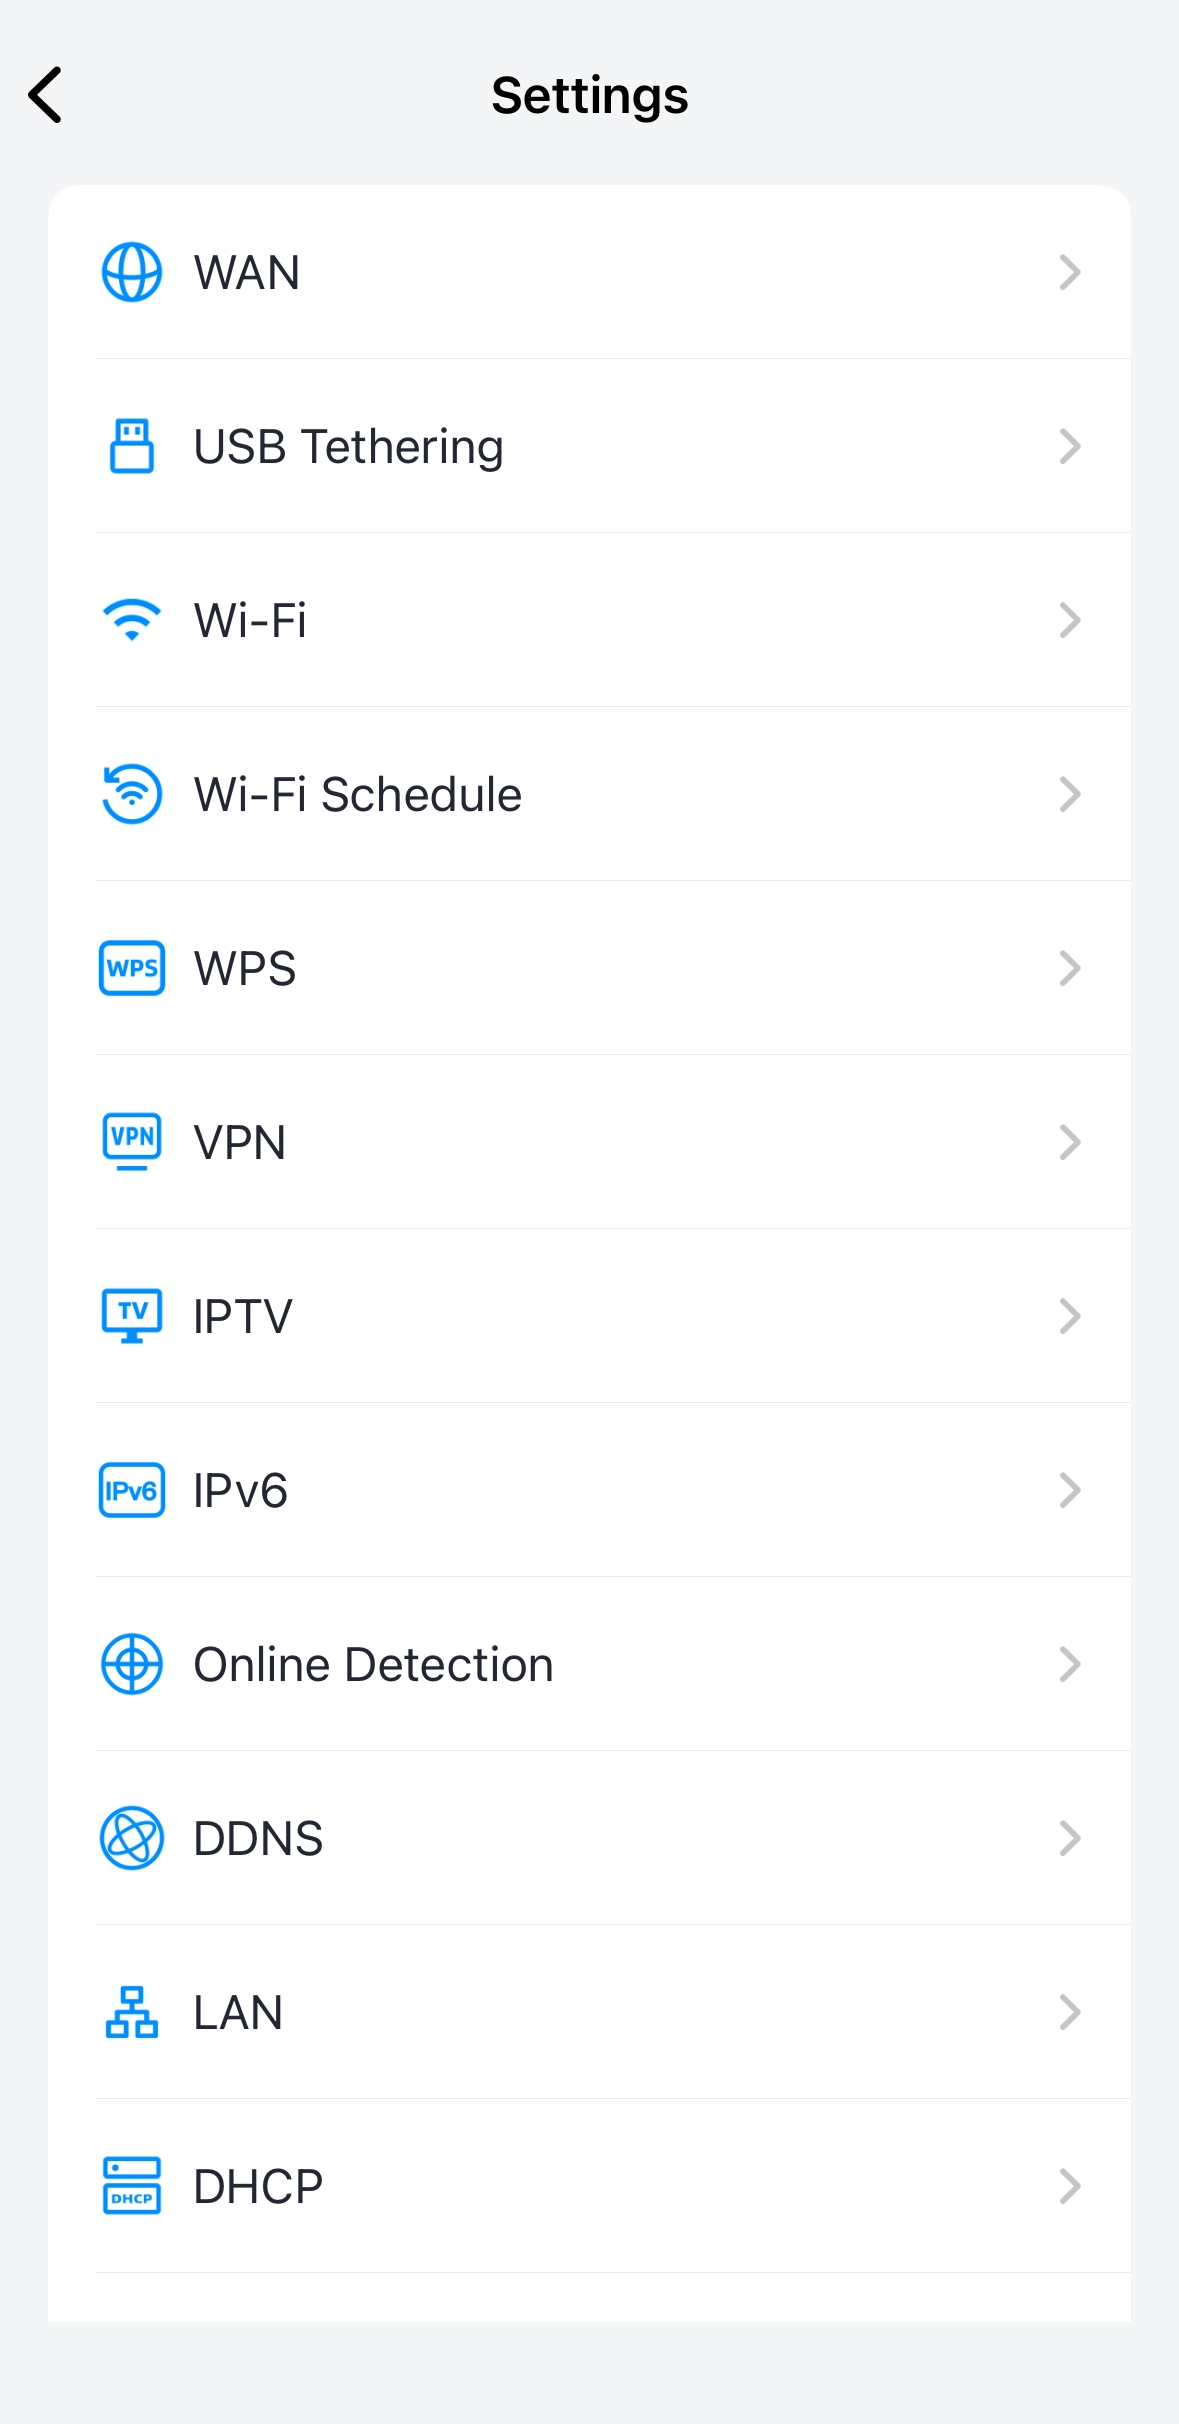
Find and tap VPN.
-
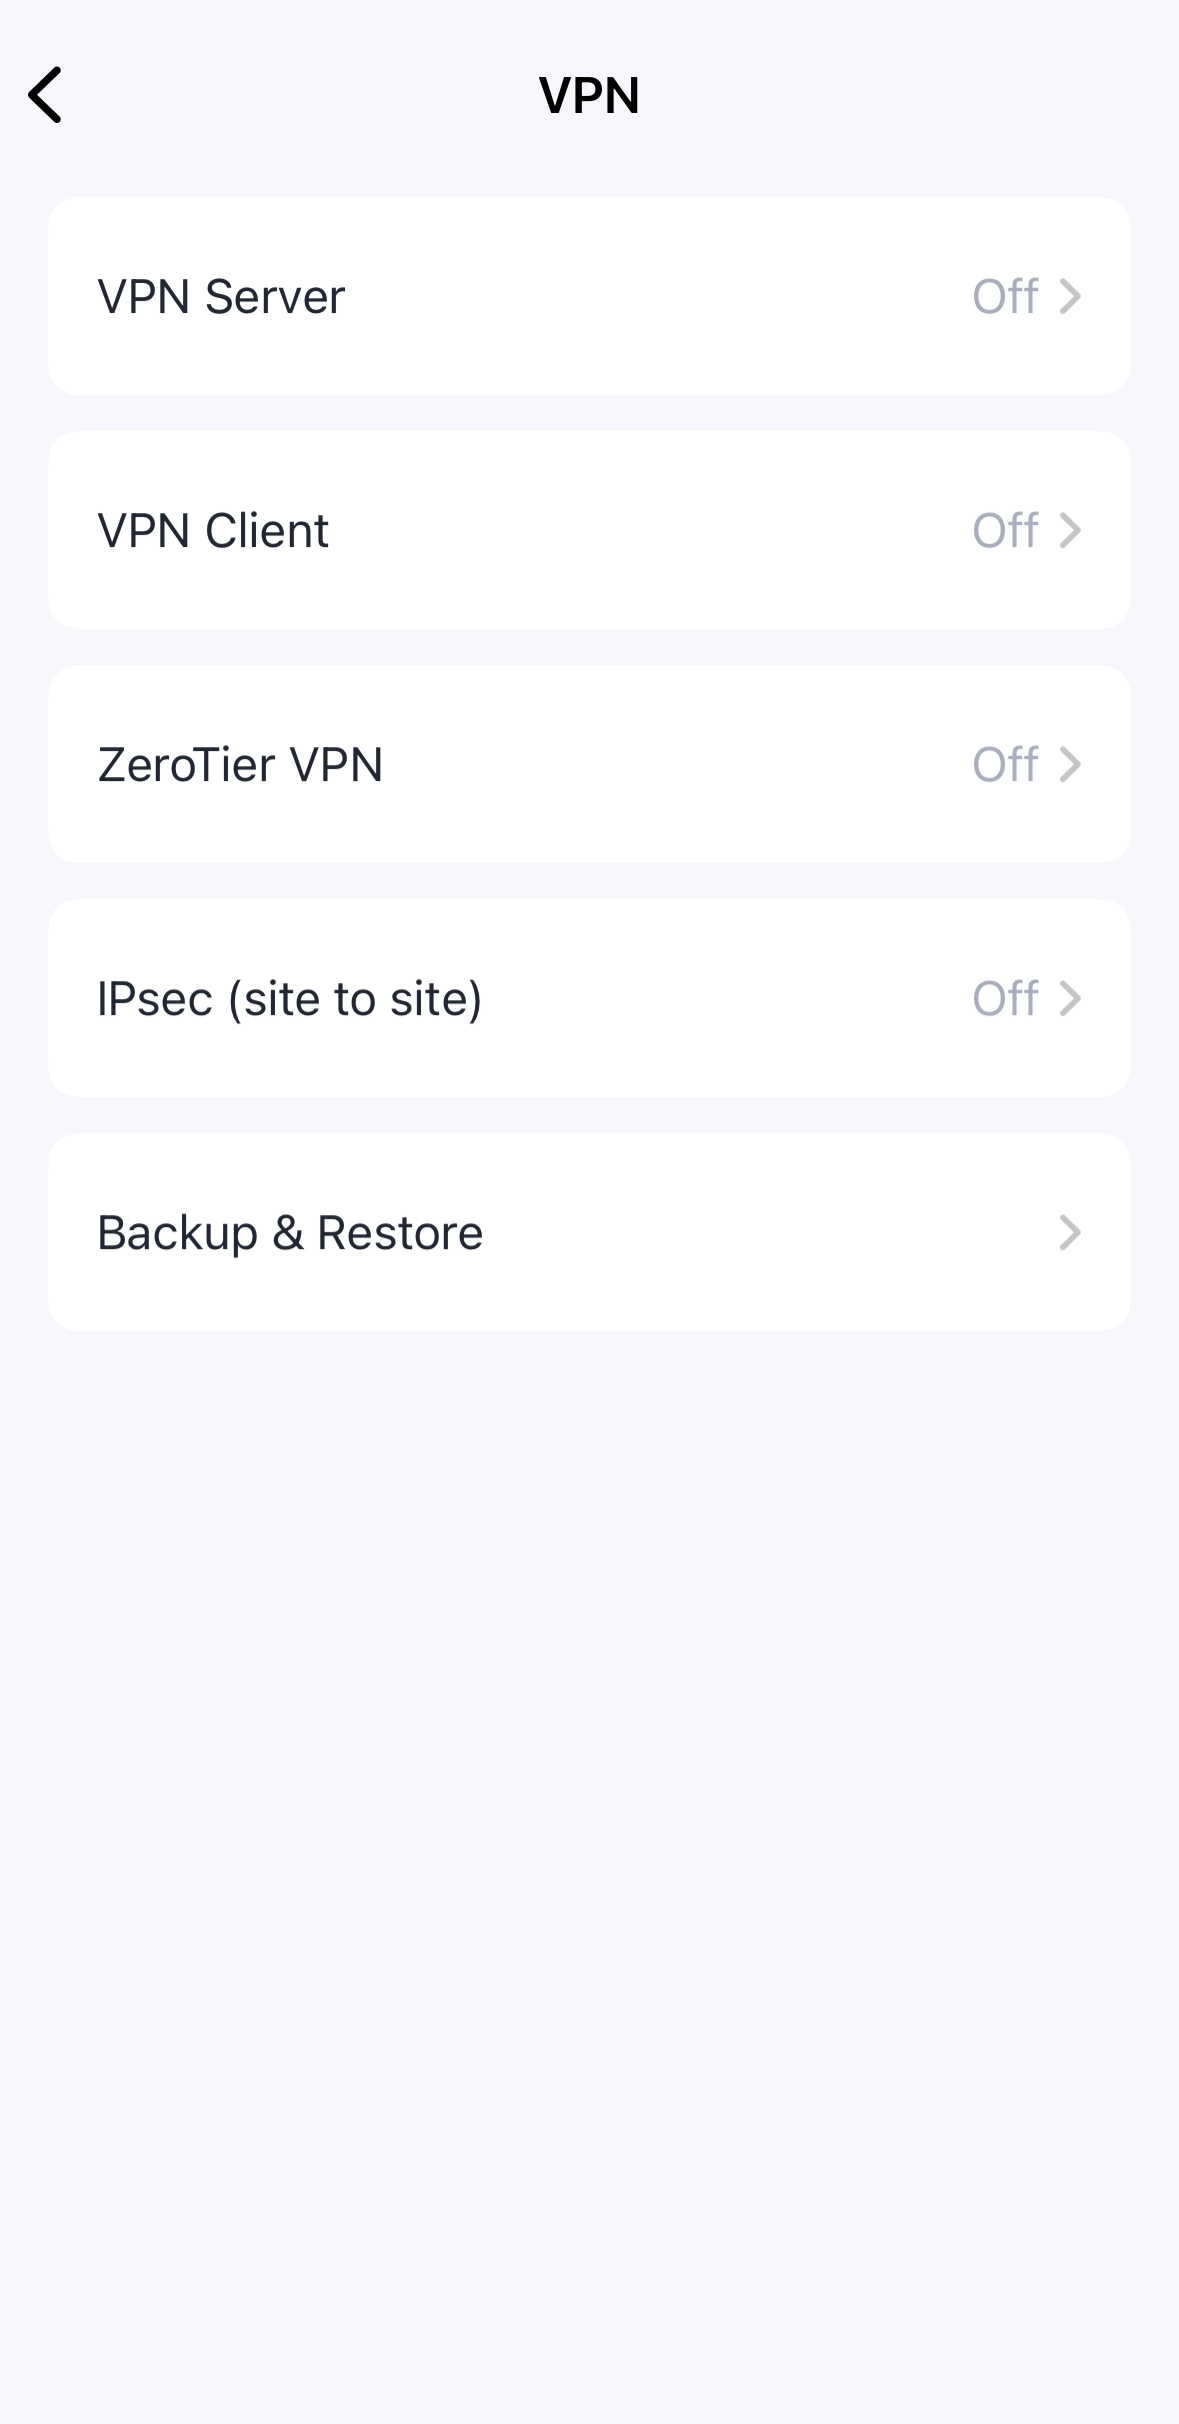
Tap VPN Client.
-
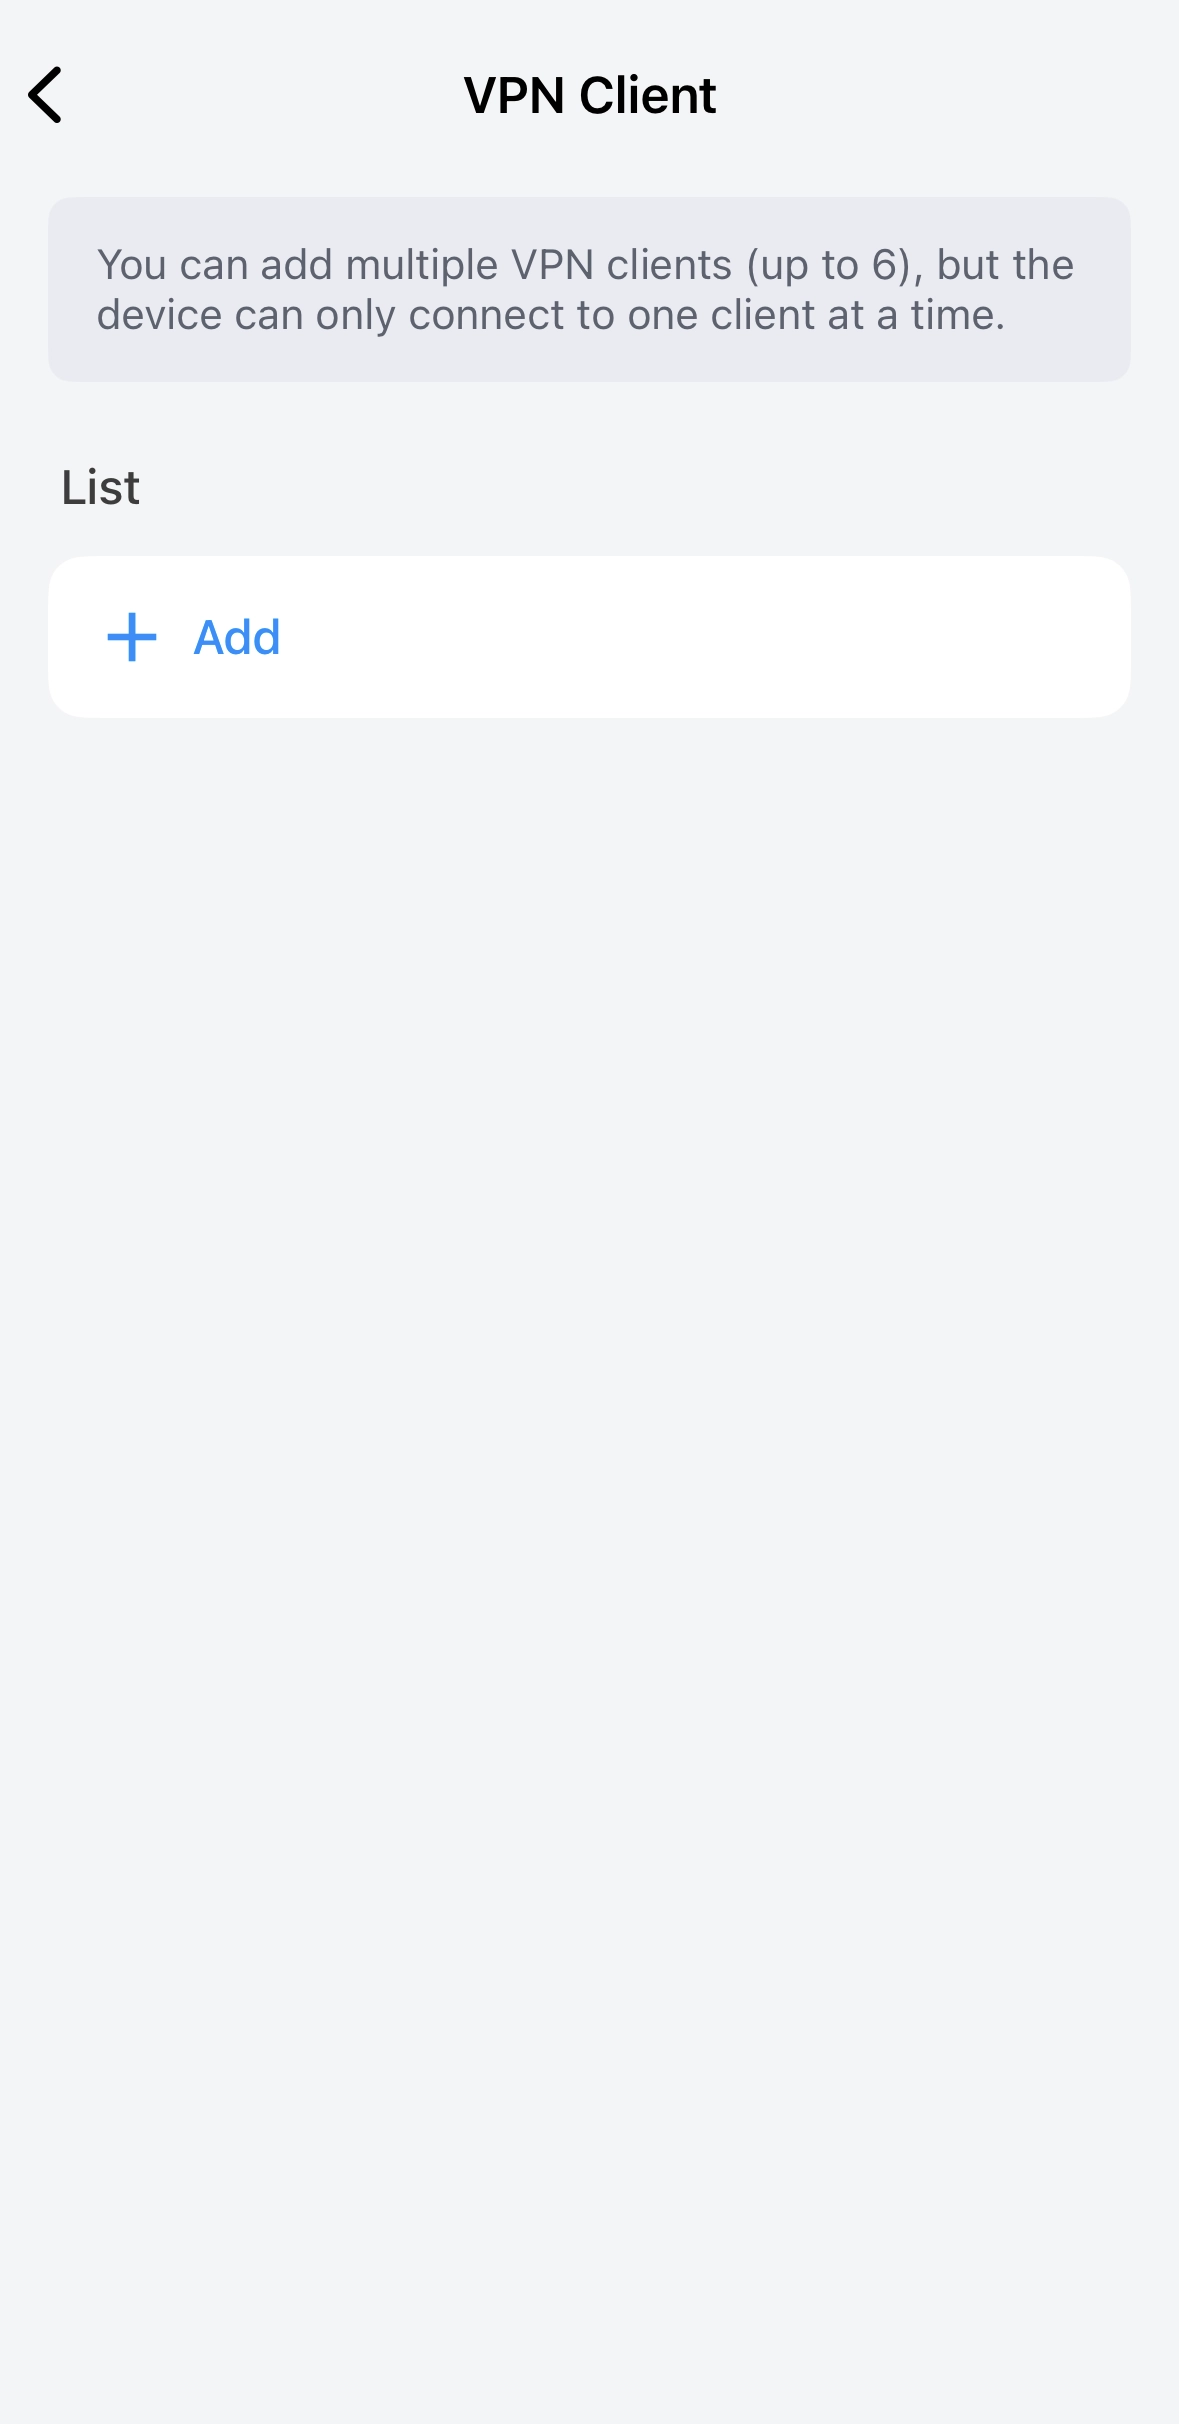
Tap Add.
-
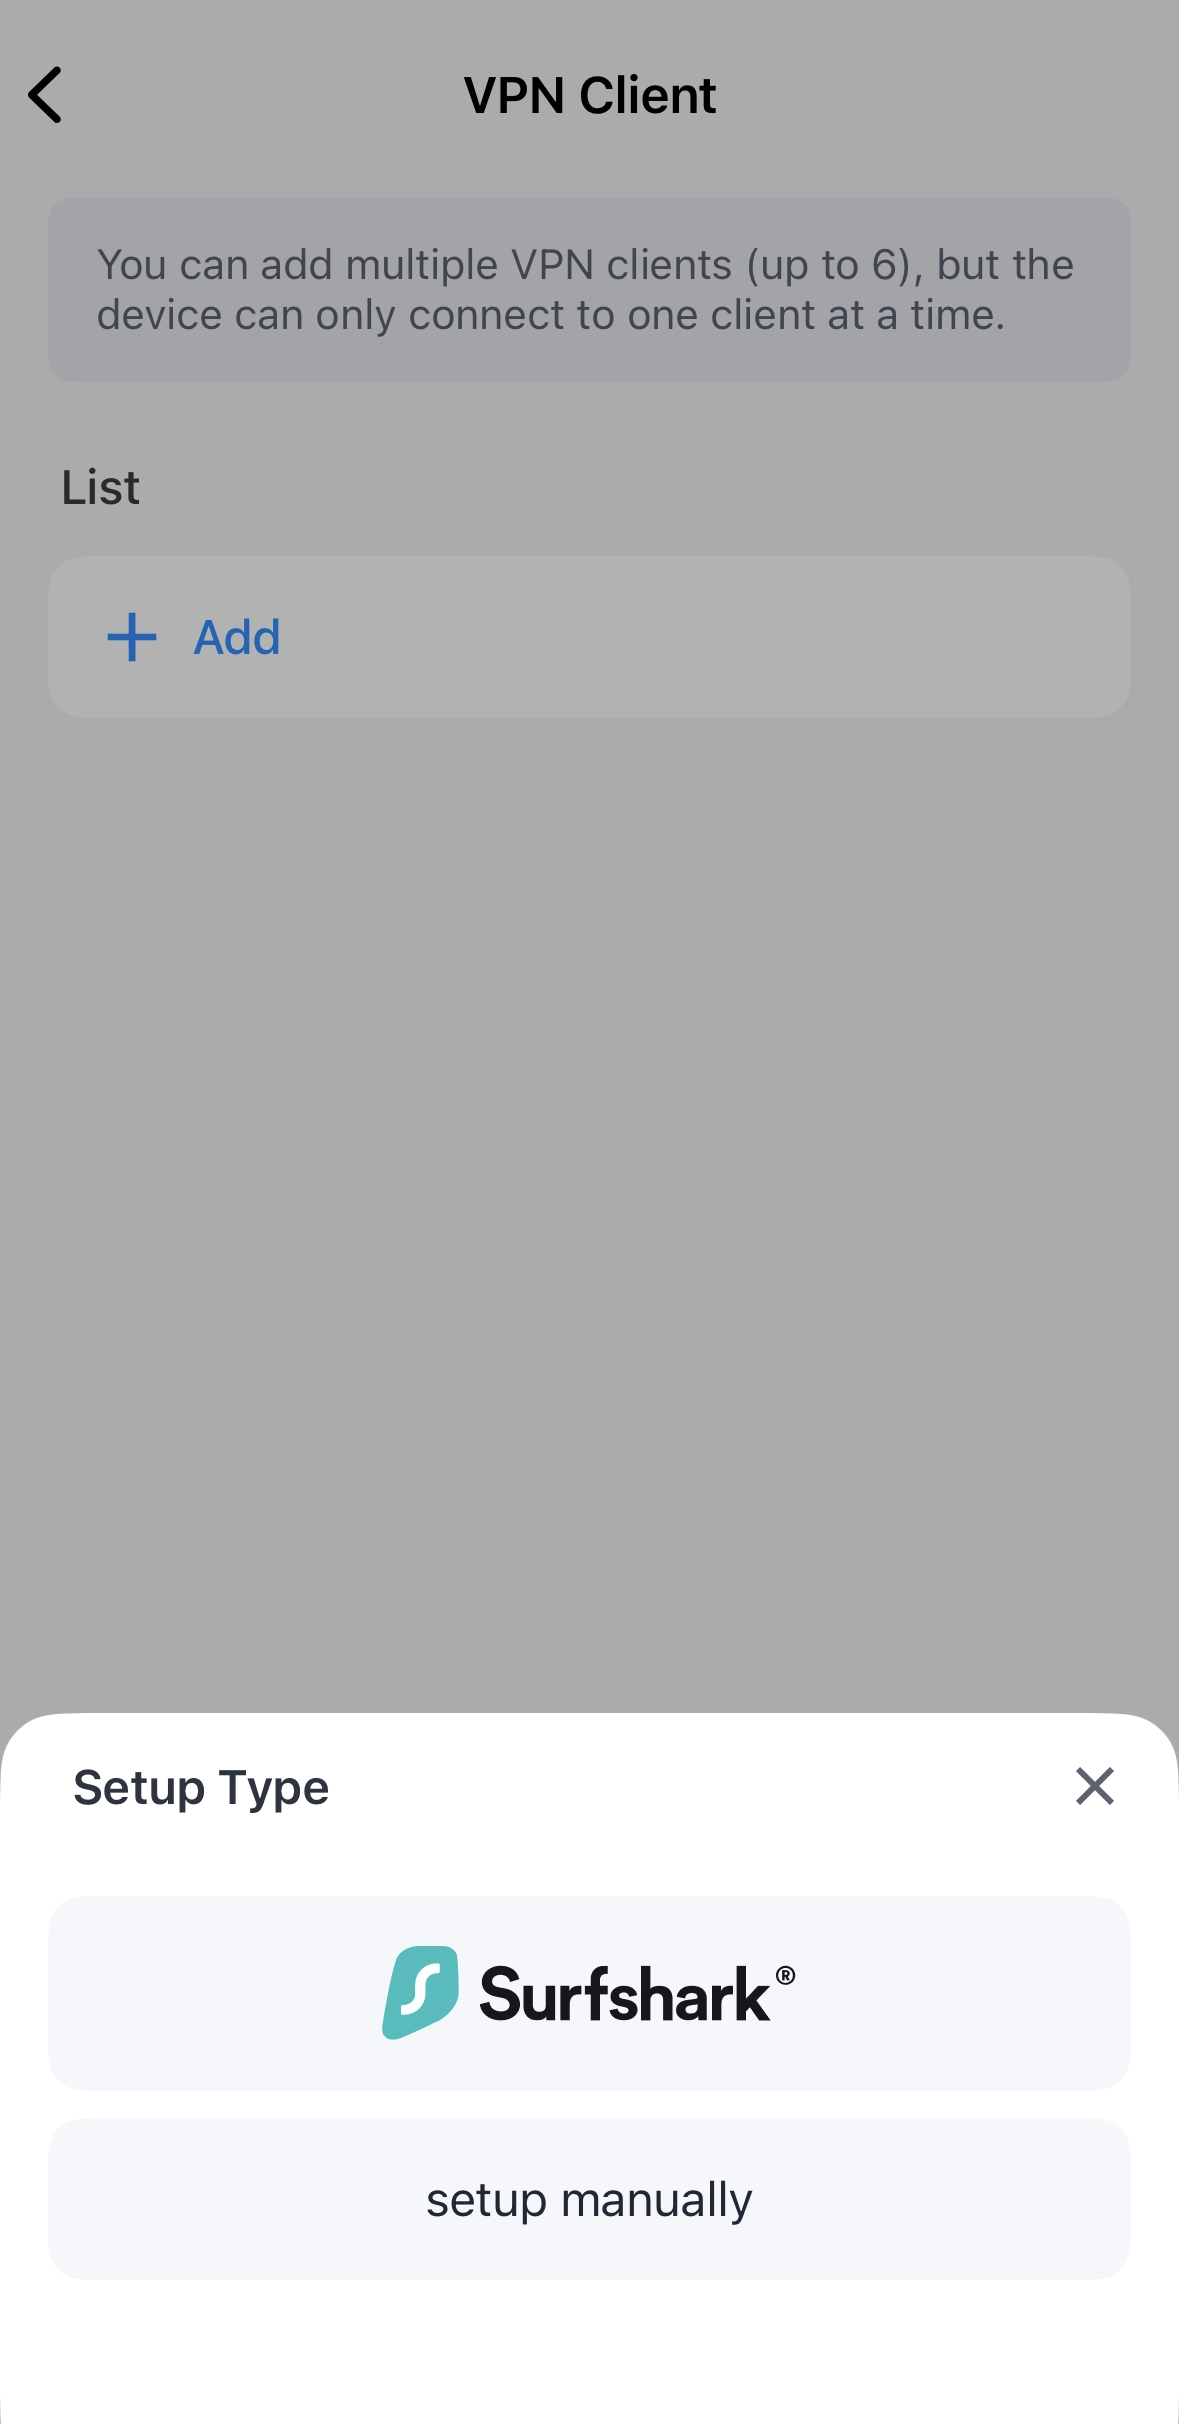
Tap Surfshark.
-
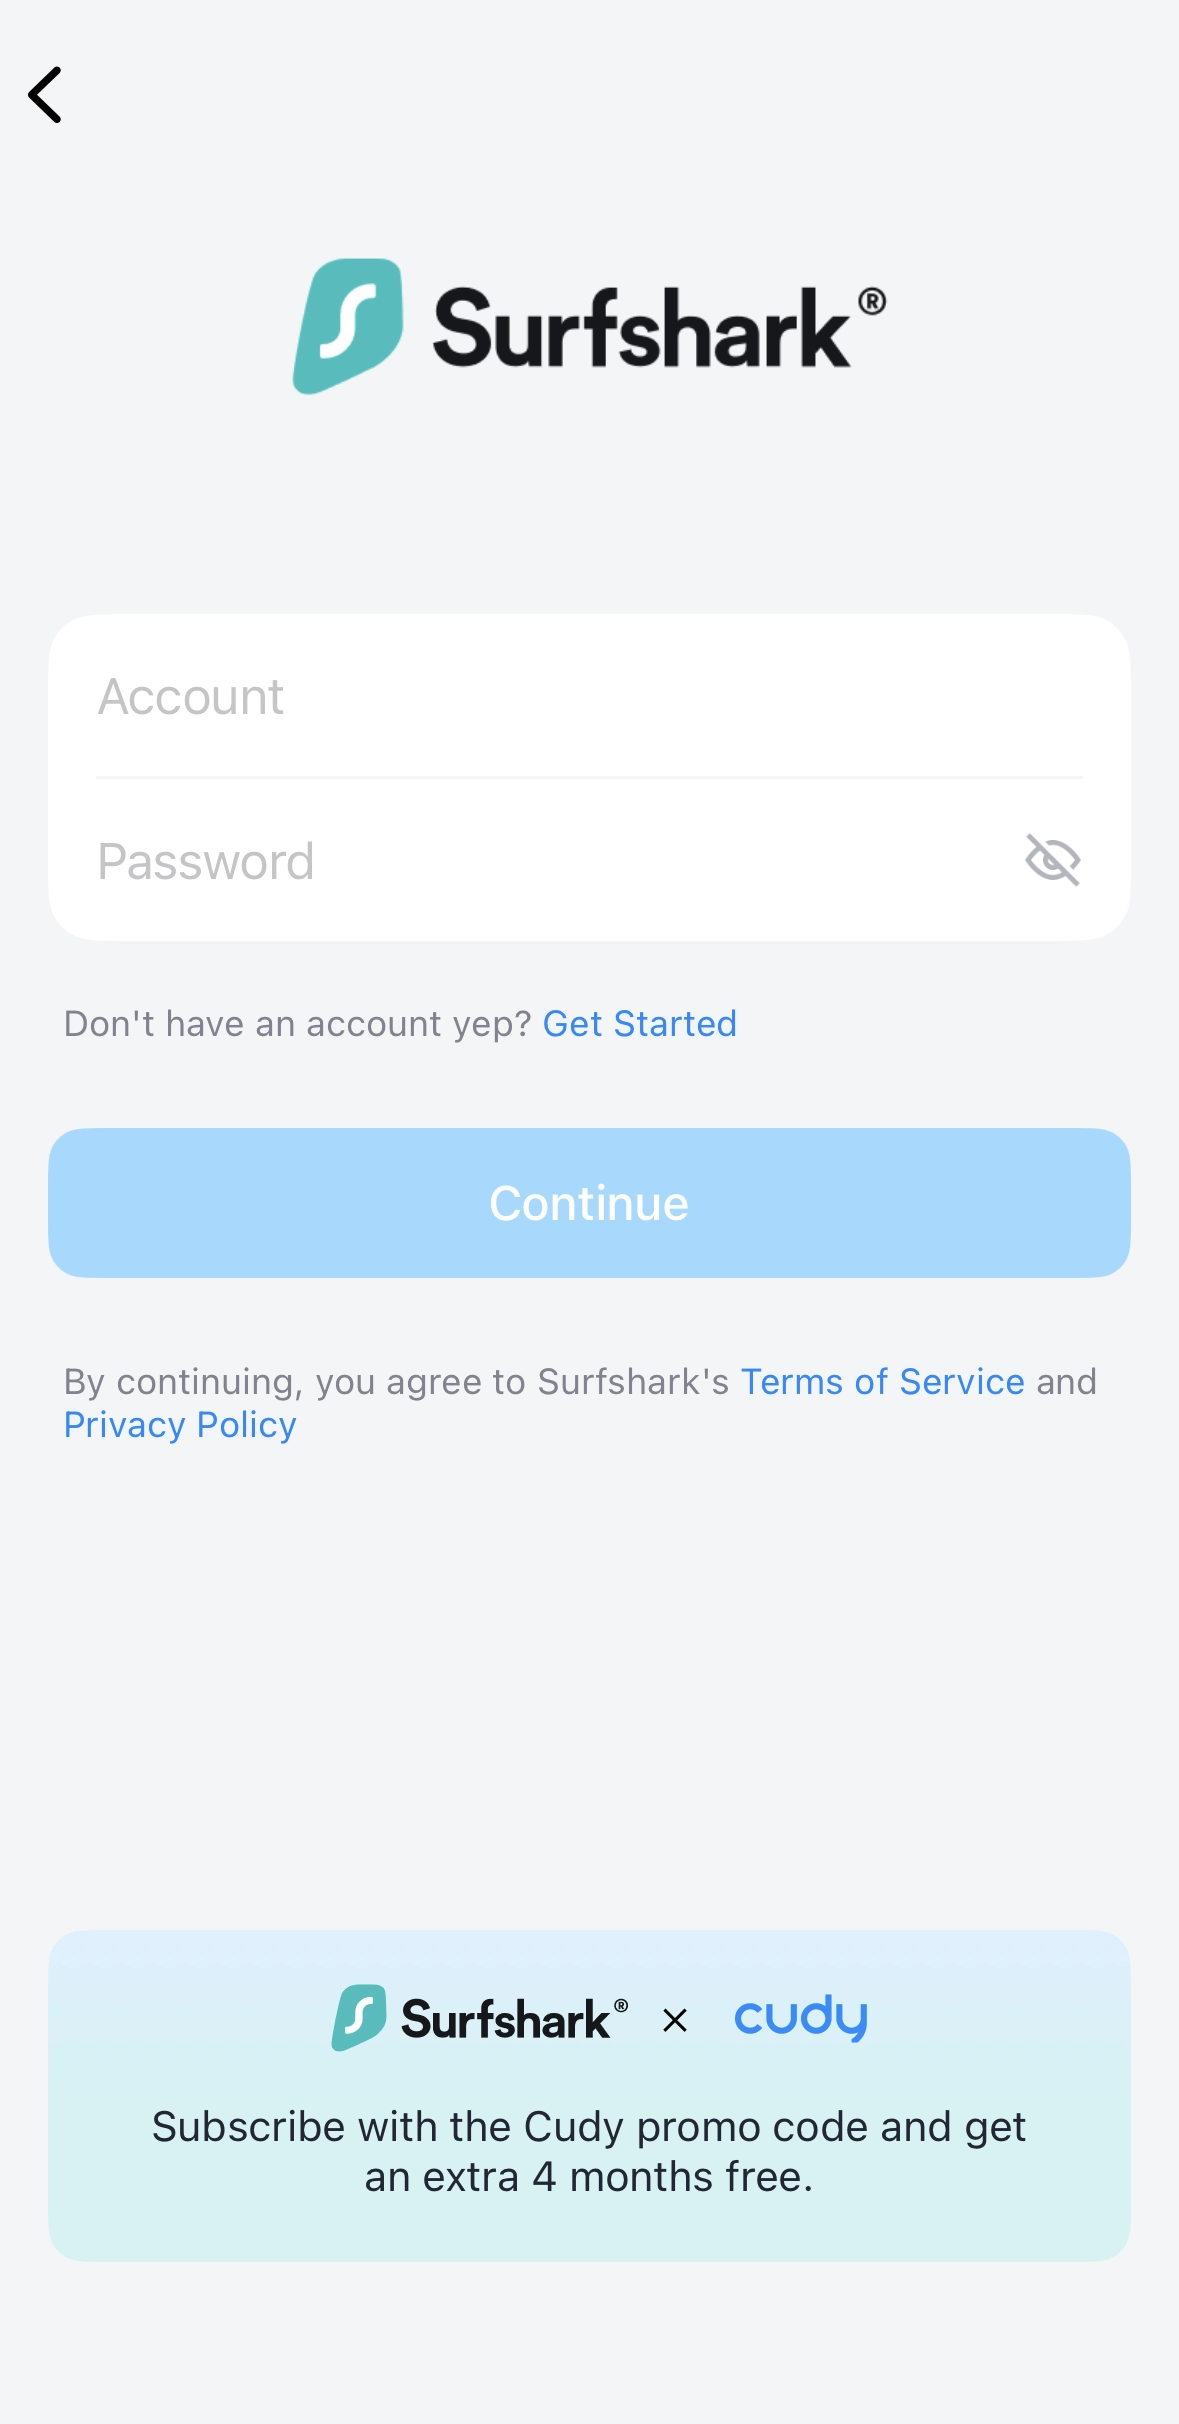
Enter your Surfshark account Username and Password, and click Continue.
Tip
- Don't have an account yet? Click Get Started to create one. Visit our partner link https://surfshark.com/ to learn more about available offers.
- You may be required to enter a 2FA code, if 2FA is enabled on your Surfshark account. Find it in your email or authenticator app.
-
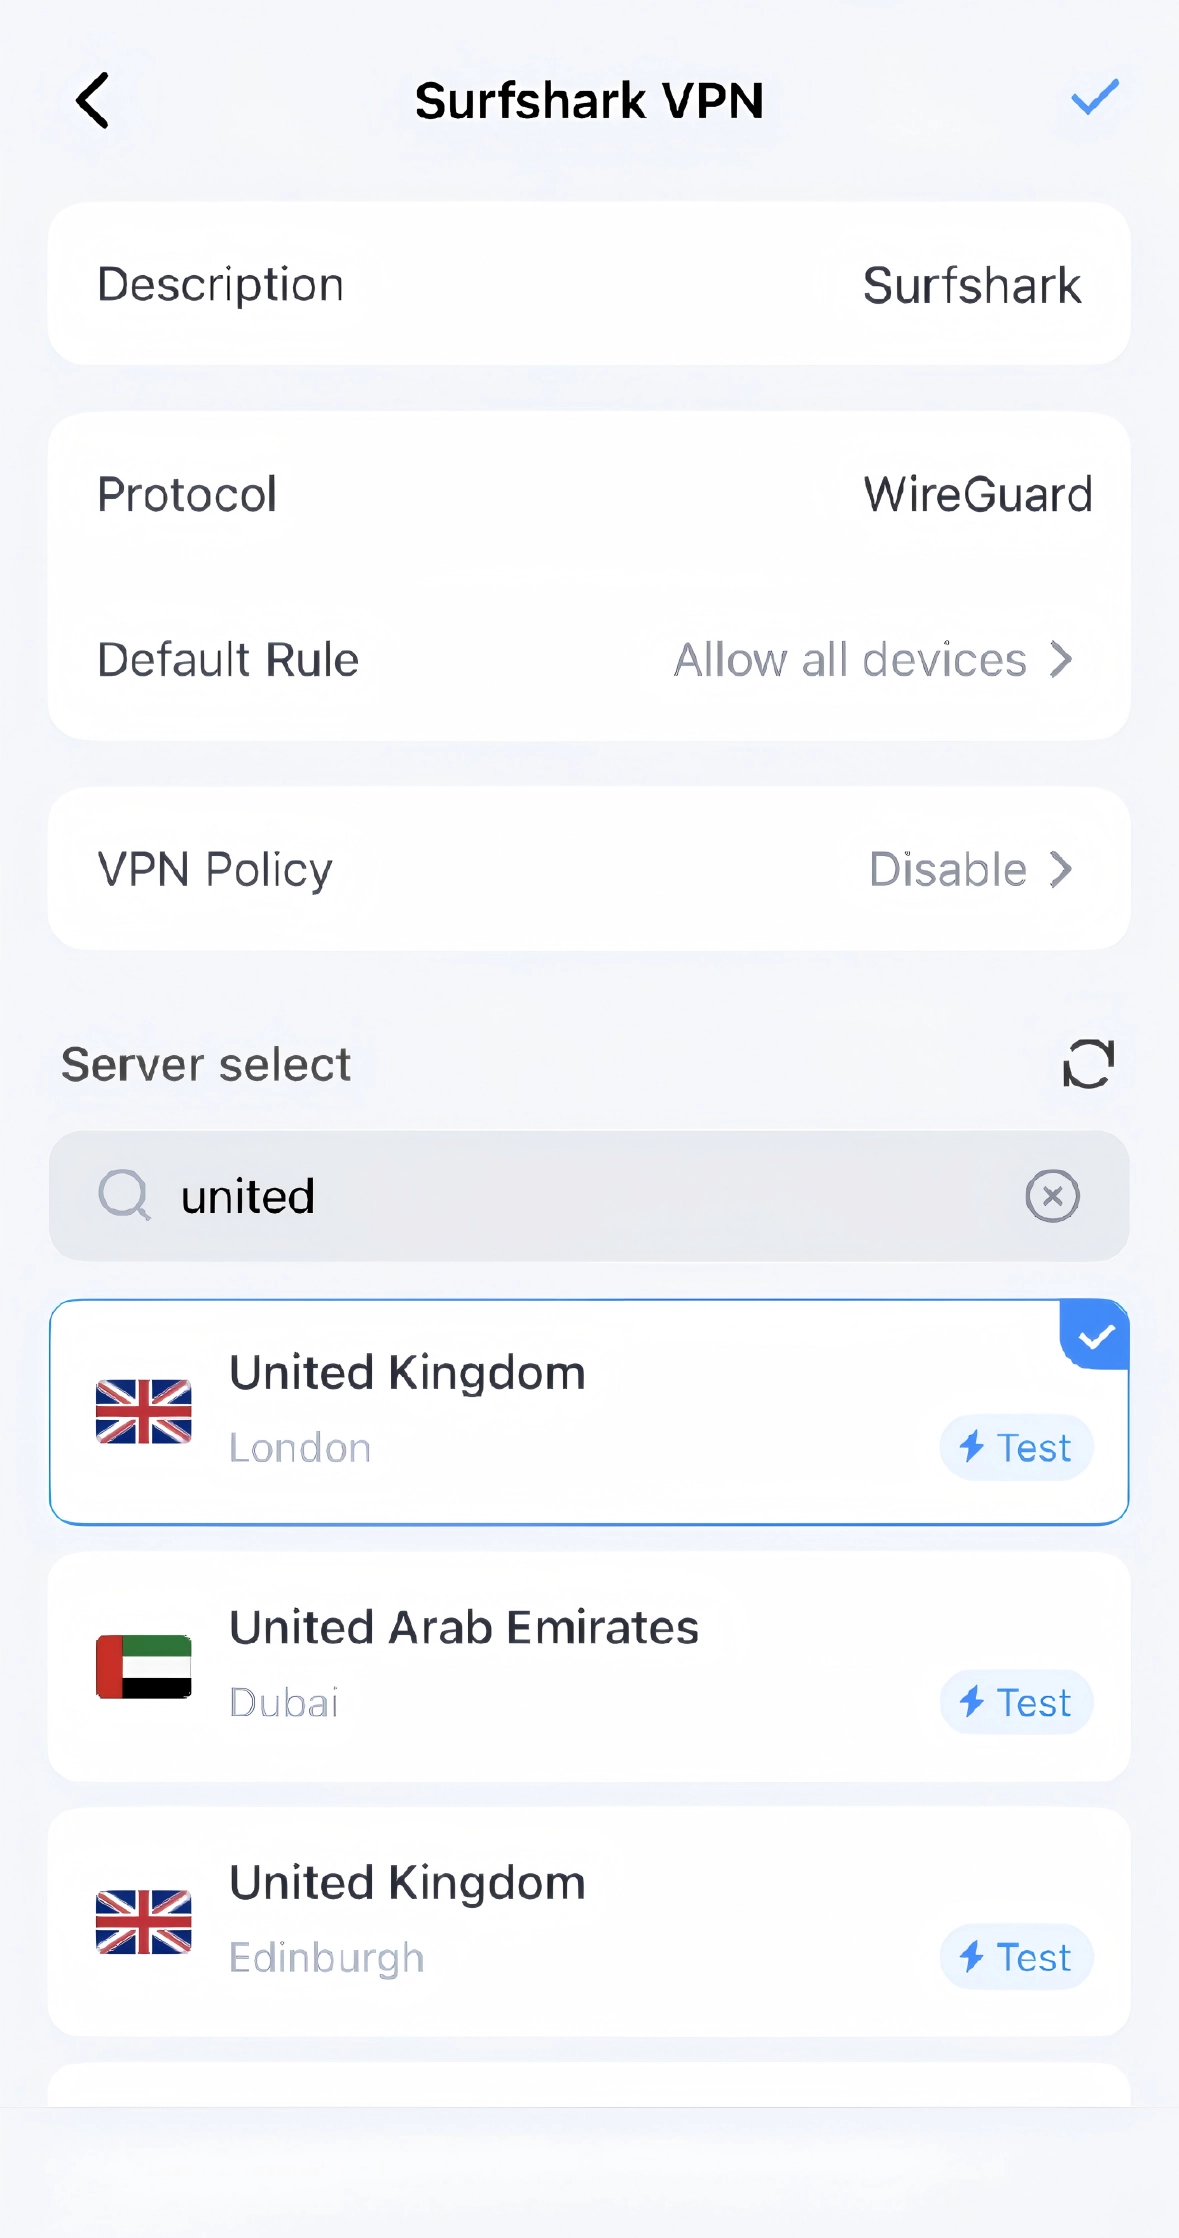
Select a Default Rule and VPN Policy. Search and select a server. Tap the ✔ icon at the top right to save and apply.
Explanation
- Allow All Devices: by default allows all devices to use the VPN connection unless a policy rule specifies otherwise.
- Ban All Devices: by default prevents all devices from using the VPN connection unless a policy rule explicitly allows them to use it.
- Disable: disables the VPN policy rule, then traffic matching this rule is not affected by the policy.
- VPN Kill Switch: blocks internet access if the VPN connection is lost, preventing traffic from being sent outside the VPN tunnel.
- Domain: applies the VPN policy to specific domain names, and you need to enter one or more domains, such as
example.com. - Remote Subnet: applies the VPN policy to a specific destination network, and you need to enter the subnet in CIDR notation, such as
192.168.10.0/24.
-
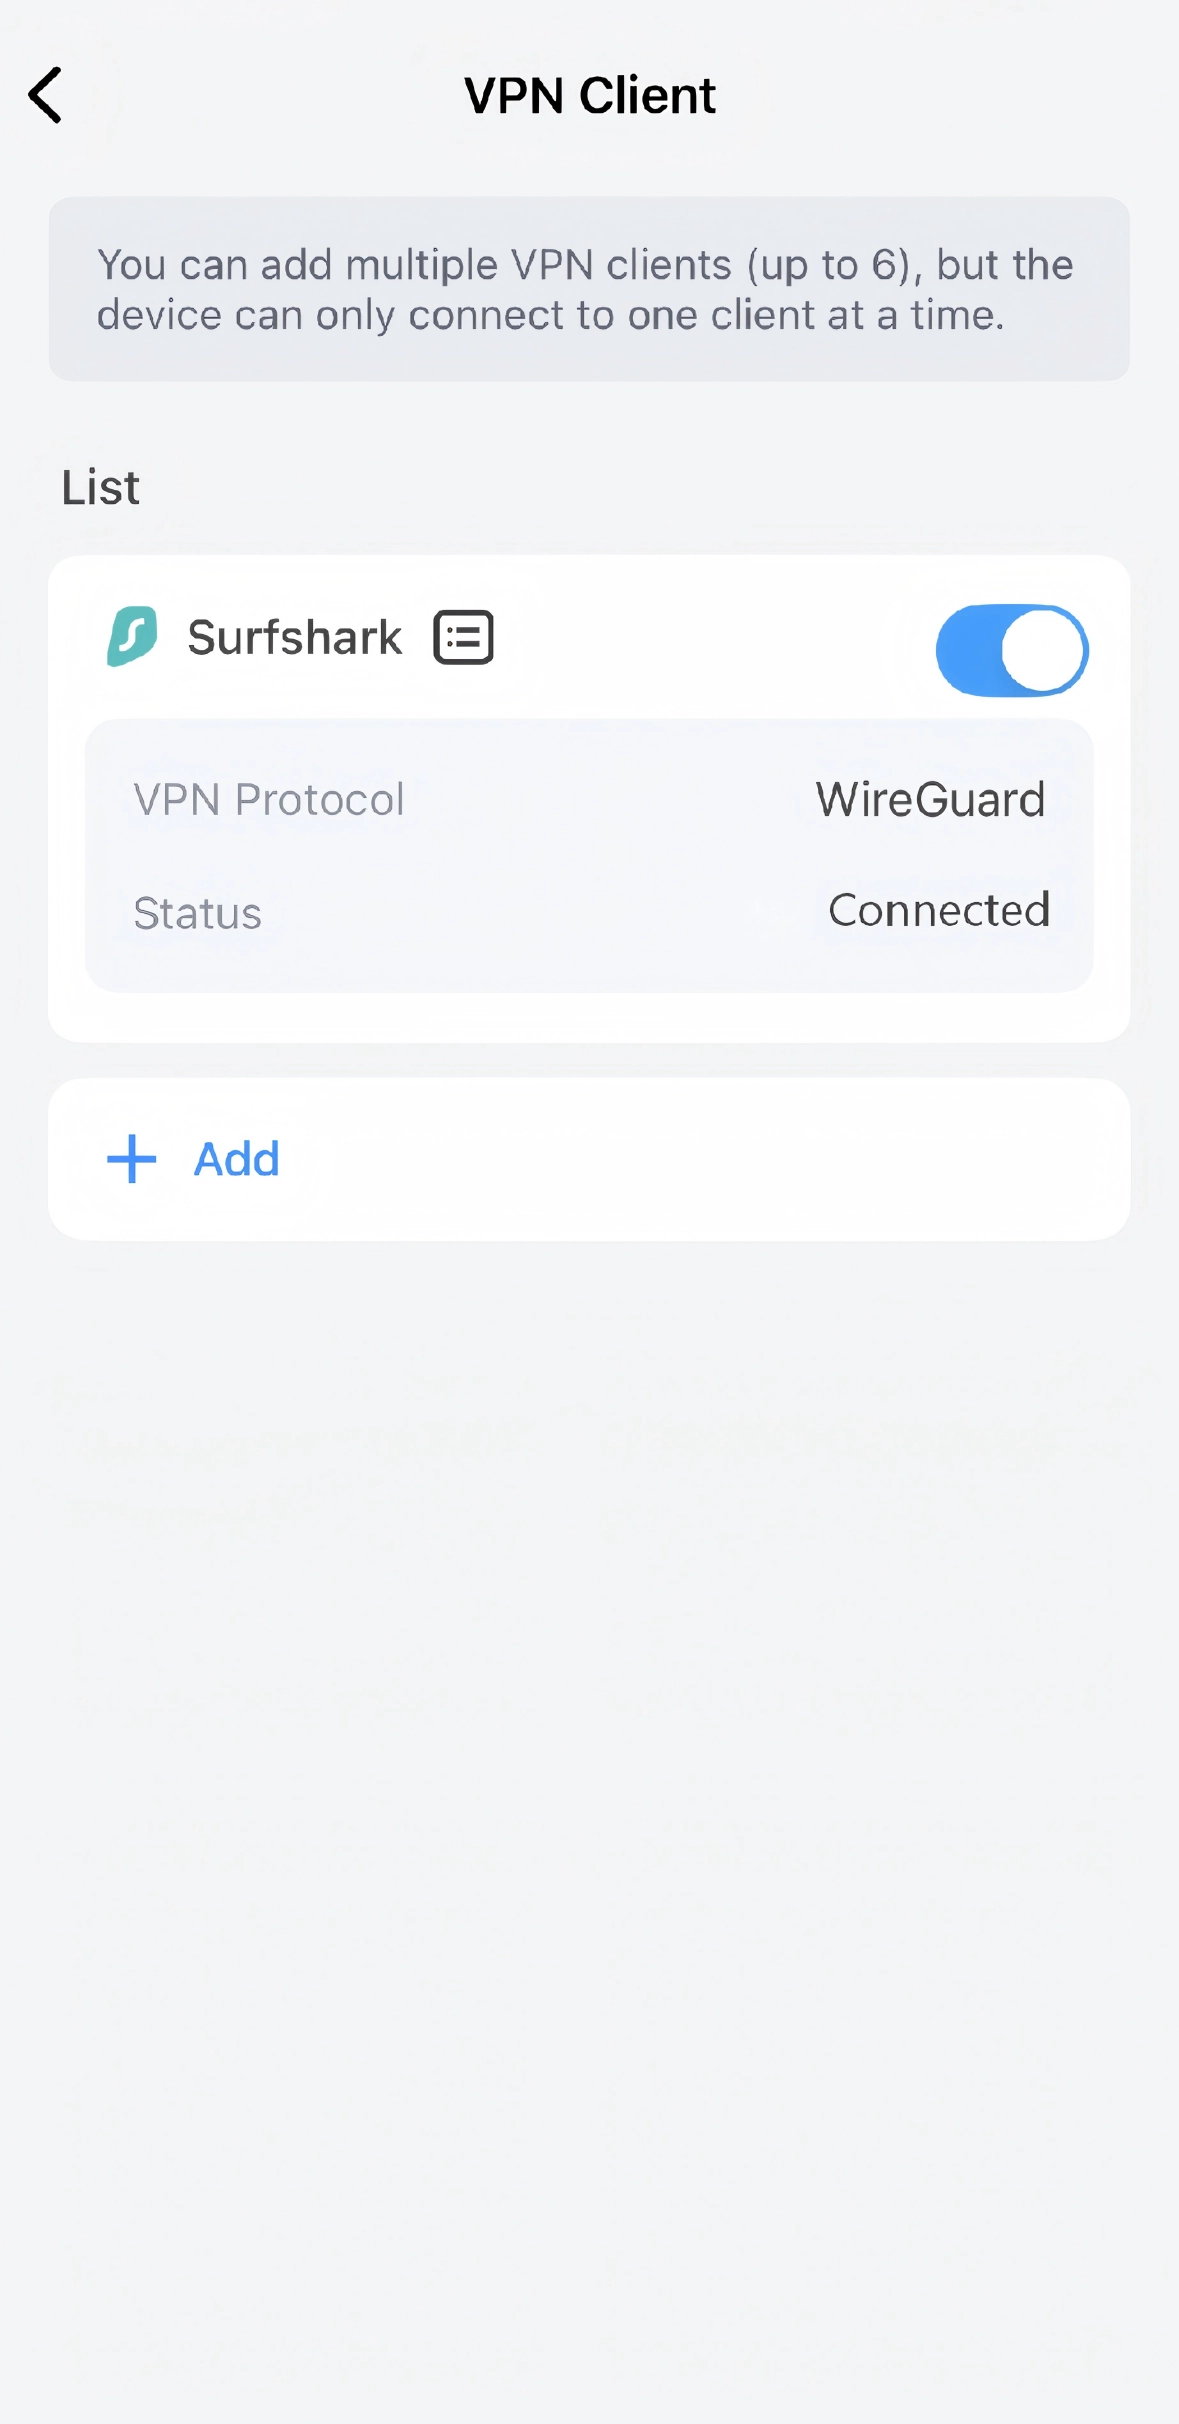
Toggle on to activate this VPN client profile. You can view, edit, or delete this profile as needed.
Using Web Interface
-
Log in your router's web interface at cudy.net (or 192.168.10.1).
-
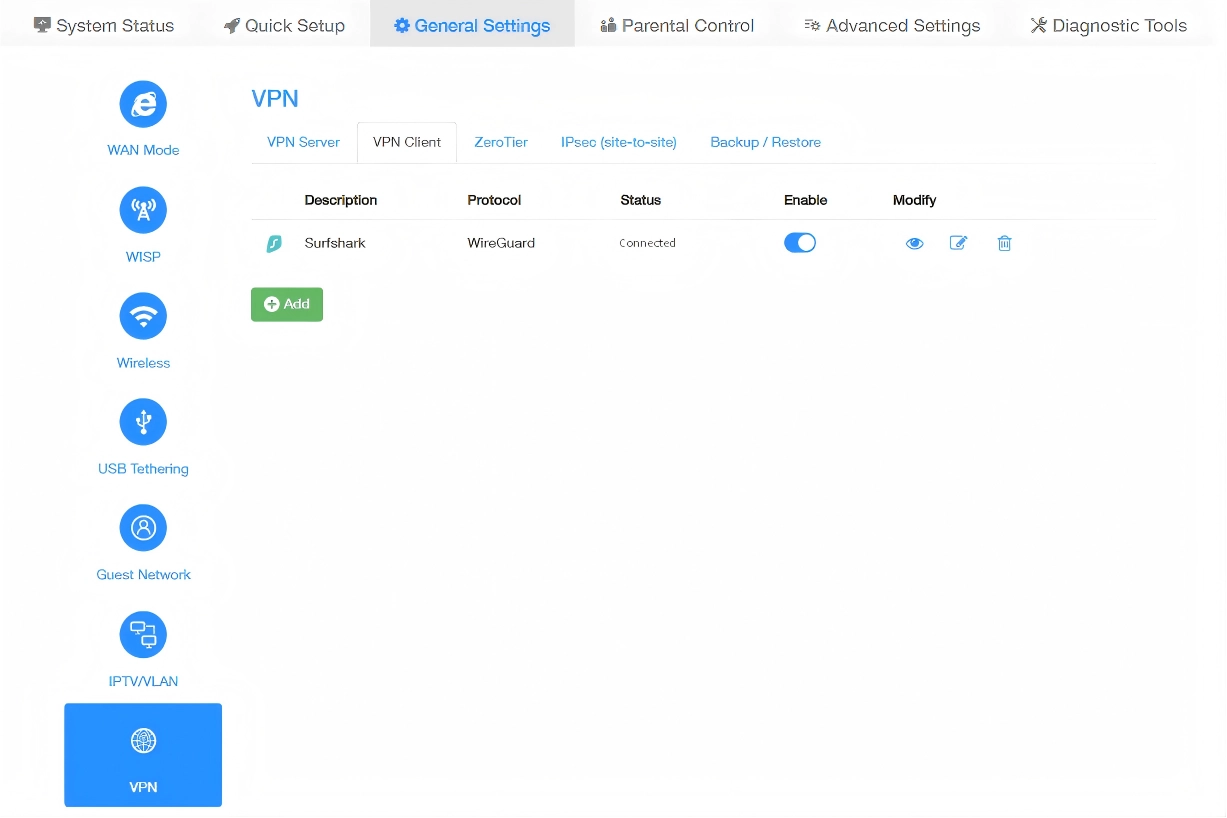
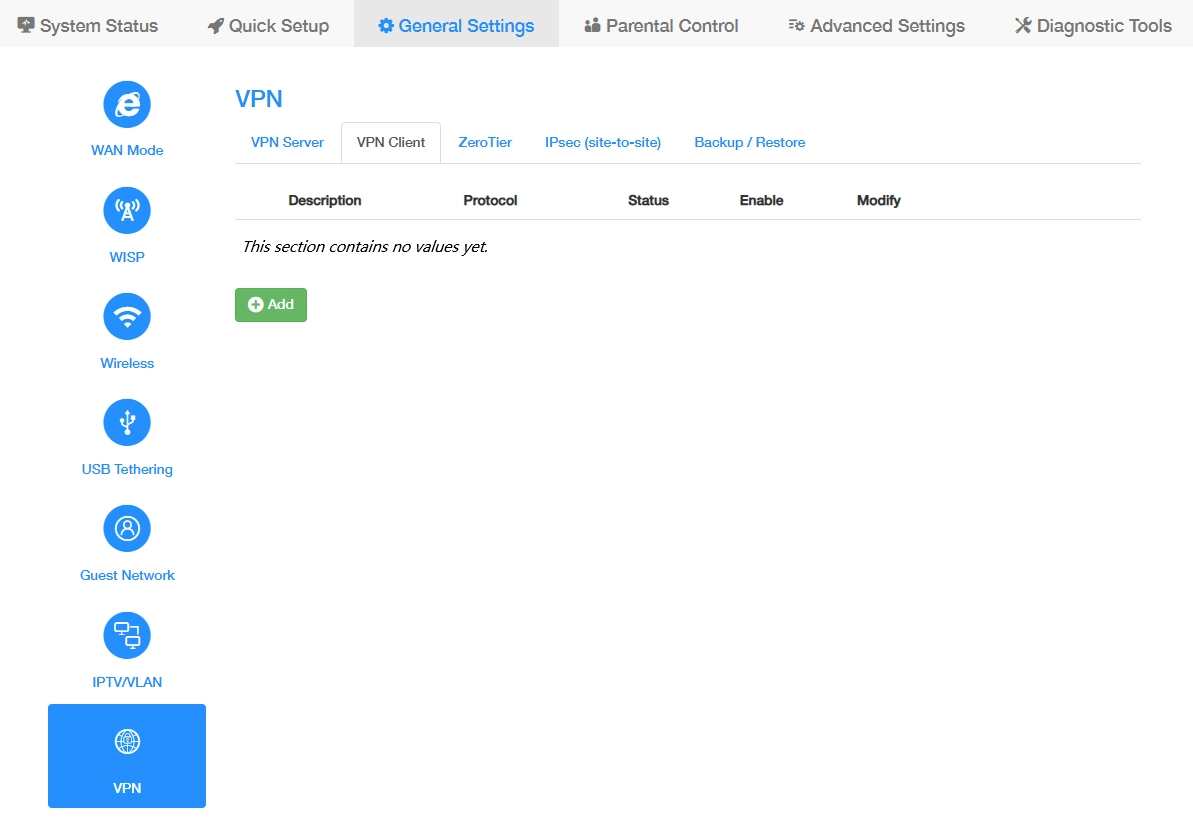
Go to General Settings > VPN > VPN Client. Click Add.
-
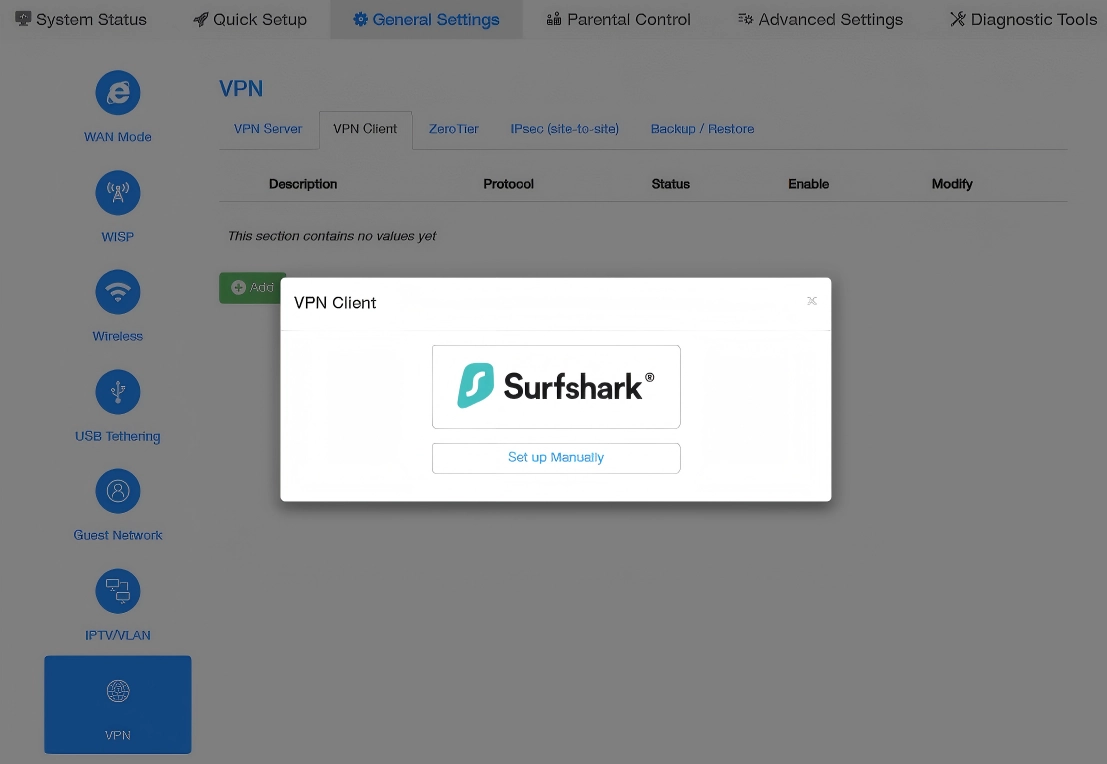
Click Surfshark in the VPN Client pop-up window.
-
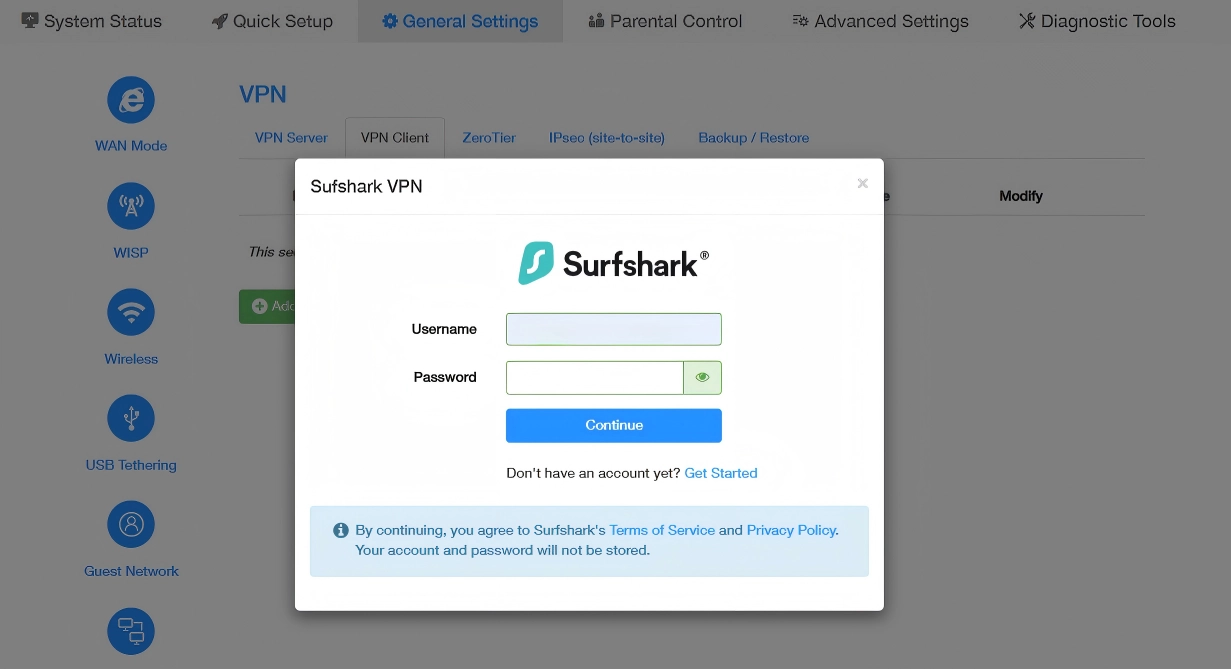
Enter your Surfshark account Username and Password, and click Continue.
Tip
-
Don't have an account yet? Click Get Started to create one. Visit our partner link https://surfshark.com/ to learn more about available offers.
-
You may be required to enter a 2FA code, if 2FA is enabled on your Surfshark account. Find it in your email or authenticator app.
-
-
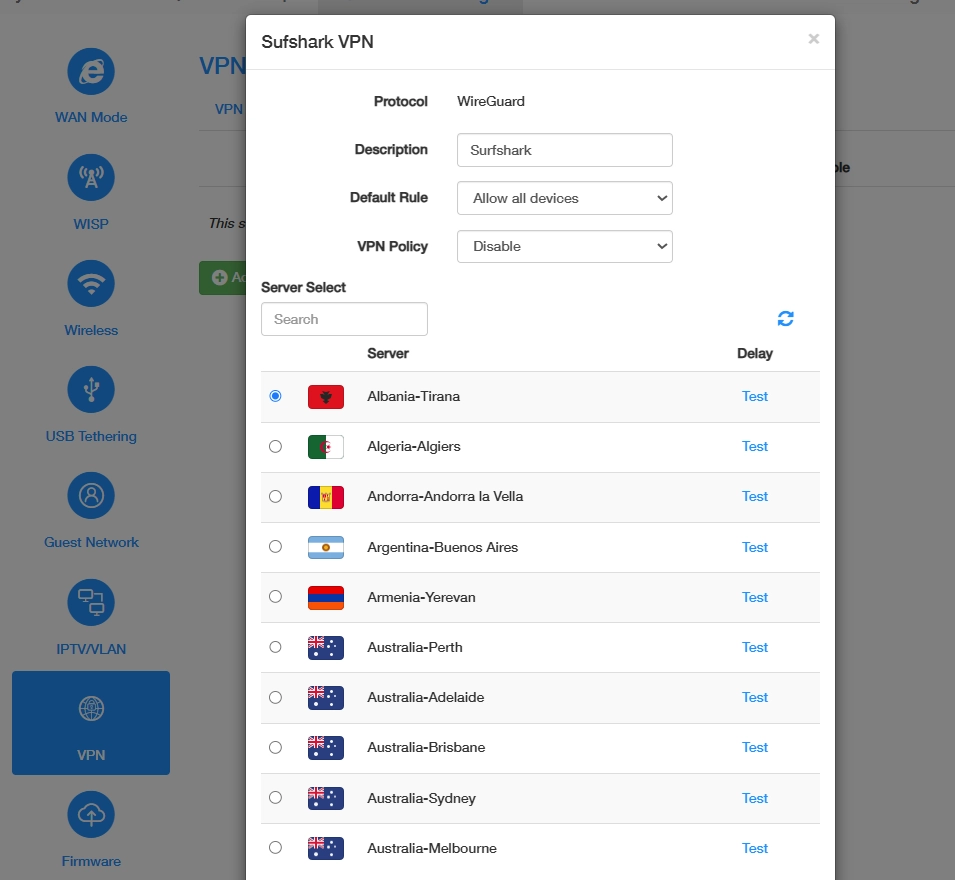
Create a Description, select a Default Rule and VPN Policy. Search and select a server. Click Save & Apply.
Explanation
- Allow All Devices: by default allows all devices to use the VPN connection unless a policy rule specifies otherwise.
- Ban All Devices: by default prevents all devices from using the VPN connection unless a policy rule explicitly allows them to use it.
- Disable: disables the VPN policy rule, then traffic matching this rule is not affected by the policy.
- VPN Kill Switch: blocks internet access if the VPN connection is lost, preventing traffic from being sent outside the VPN tunnel.
- Domain: applies the VPN policy to specific domain names, and you need to enter one or more domains, such as
example.com. - Remote Subnet: applies the VPN policy to a specific destination network, and you need to enter the subnet in CIDR notation, such as
192.168.10.0/24.
-
Toggle Enable to activate this VPN client profile. You can view, edit, or delete this profile as needed.