How to manage Cudy cloud easy-managed switch remotely?
Tip
- Before you start, confirm that your model supports Cudy Cloud and its firmware is up-to-date (otherwise upgrade it first). View more information on Cudy Official Website.
- GS1026EPS2 is used as an example below. Refer to your actual product for more details.
Step 1. Connect the Switch
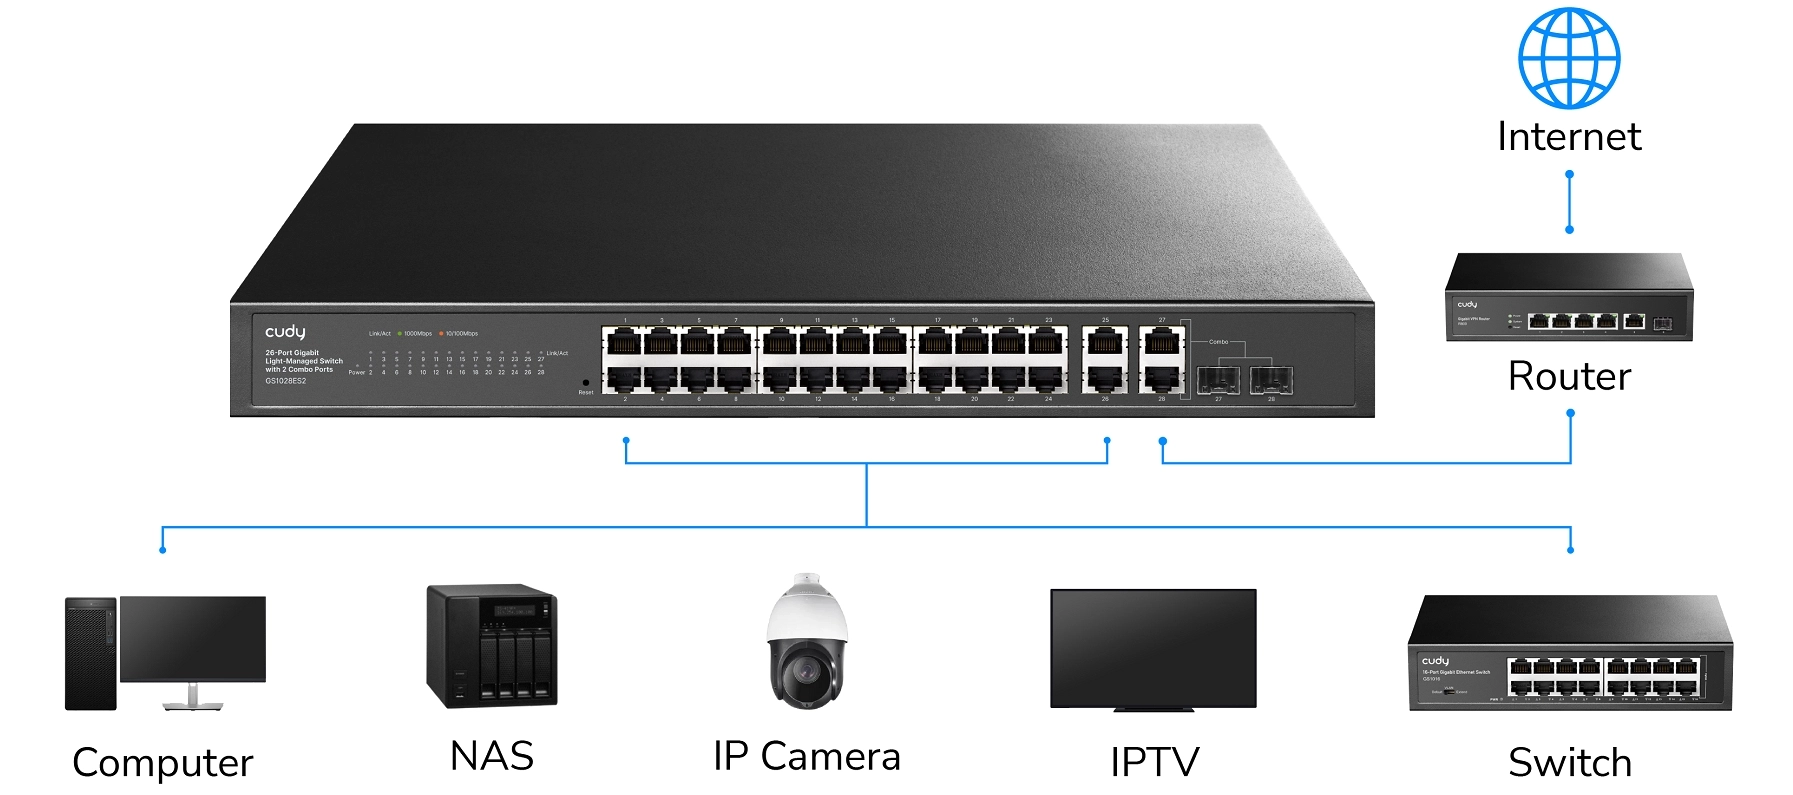
- Connect your Cudy cloud easy-managed switch to a network with Internet access (usually connect to a router or gateway). Connect your computer to the switch.
Step 2. Configure on the webpage
-
Set the computer's IP address to 192.168.2.x (x ranges from 2 to 254) and subnet mask to 255.255.255.0.
-
Open a web browser on the computer, enter 192.168.2.1 in the address bar and press Enter.
-
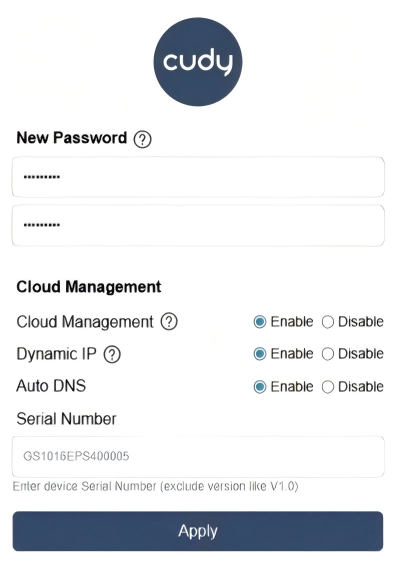
Create a new password for the initial login, or enter the one you previously set. Enable Cloud Management, Dynamic lP and Auto DNS. Click Apply.
Note
- If the password is forgotten, press and hold the Reset button to restore factory settings.
- Serial Number here may be needed later if its barcode cannot be scanned.
-
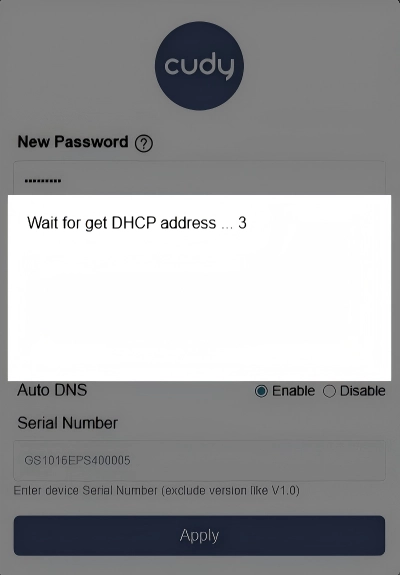
When it appears Waits to get DHCP address..., set your computer to Obtain an IP address automatically and Obtain DNS server address automatically.
Step 3. Configure on Cudy App
-
On your smart device (phone or tablet), scan the QR code or search in the App store to download the Cudy App.

-
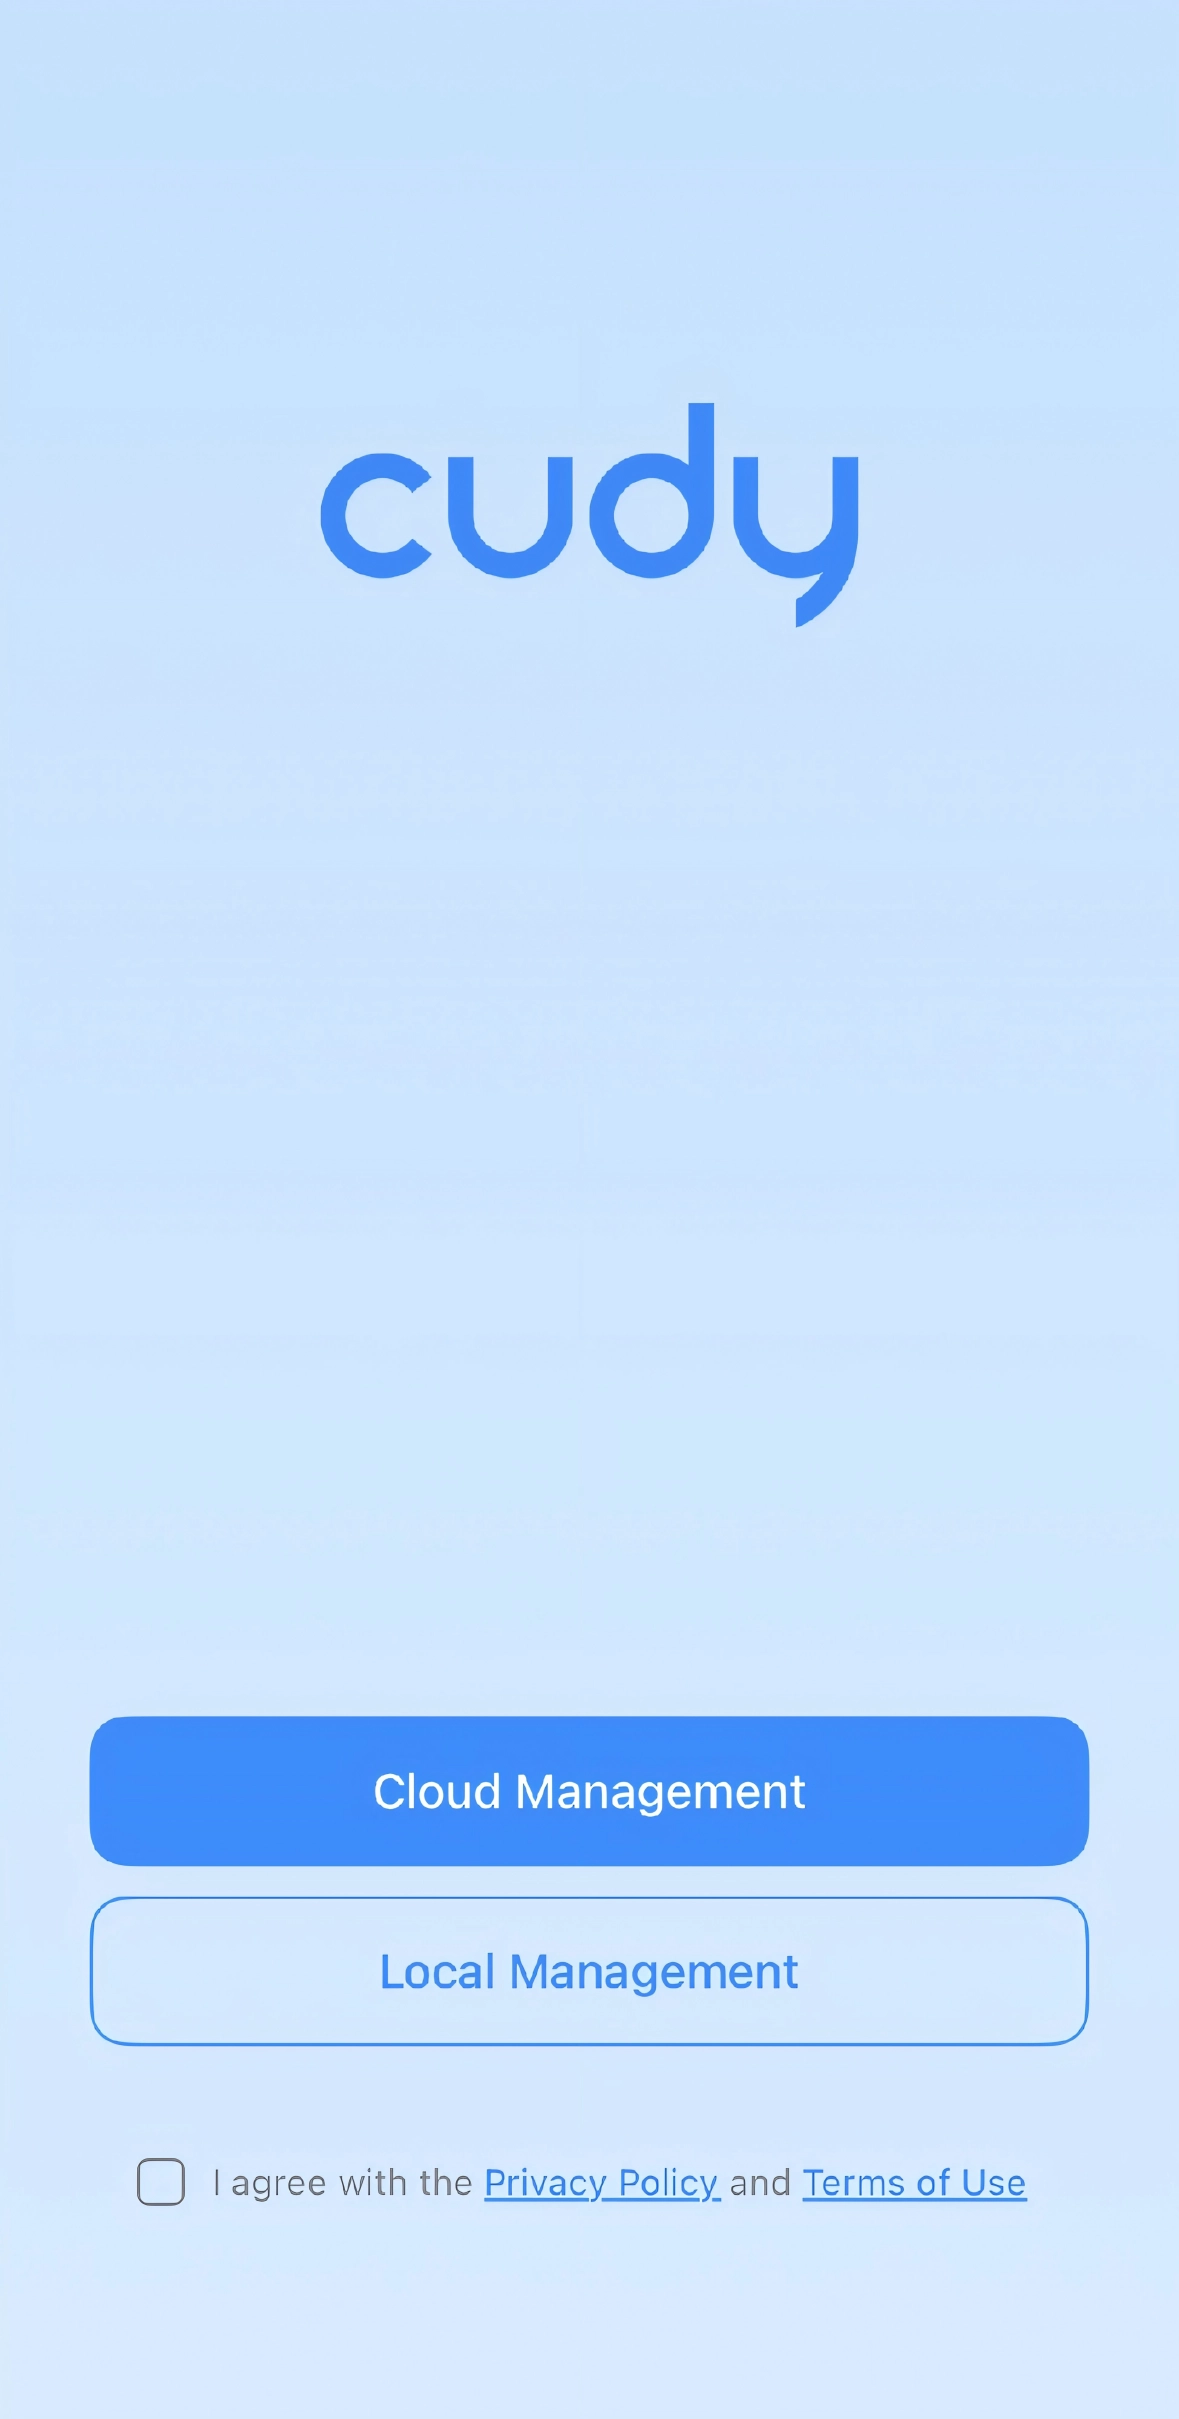
Open the Cudy App, tick I agree with... and tap Cloud Management.
-
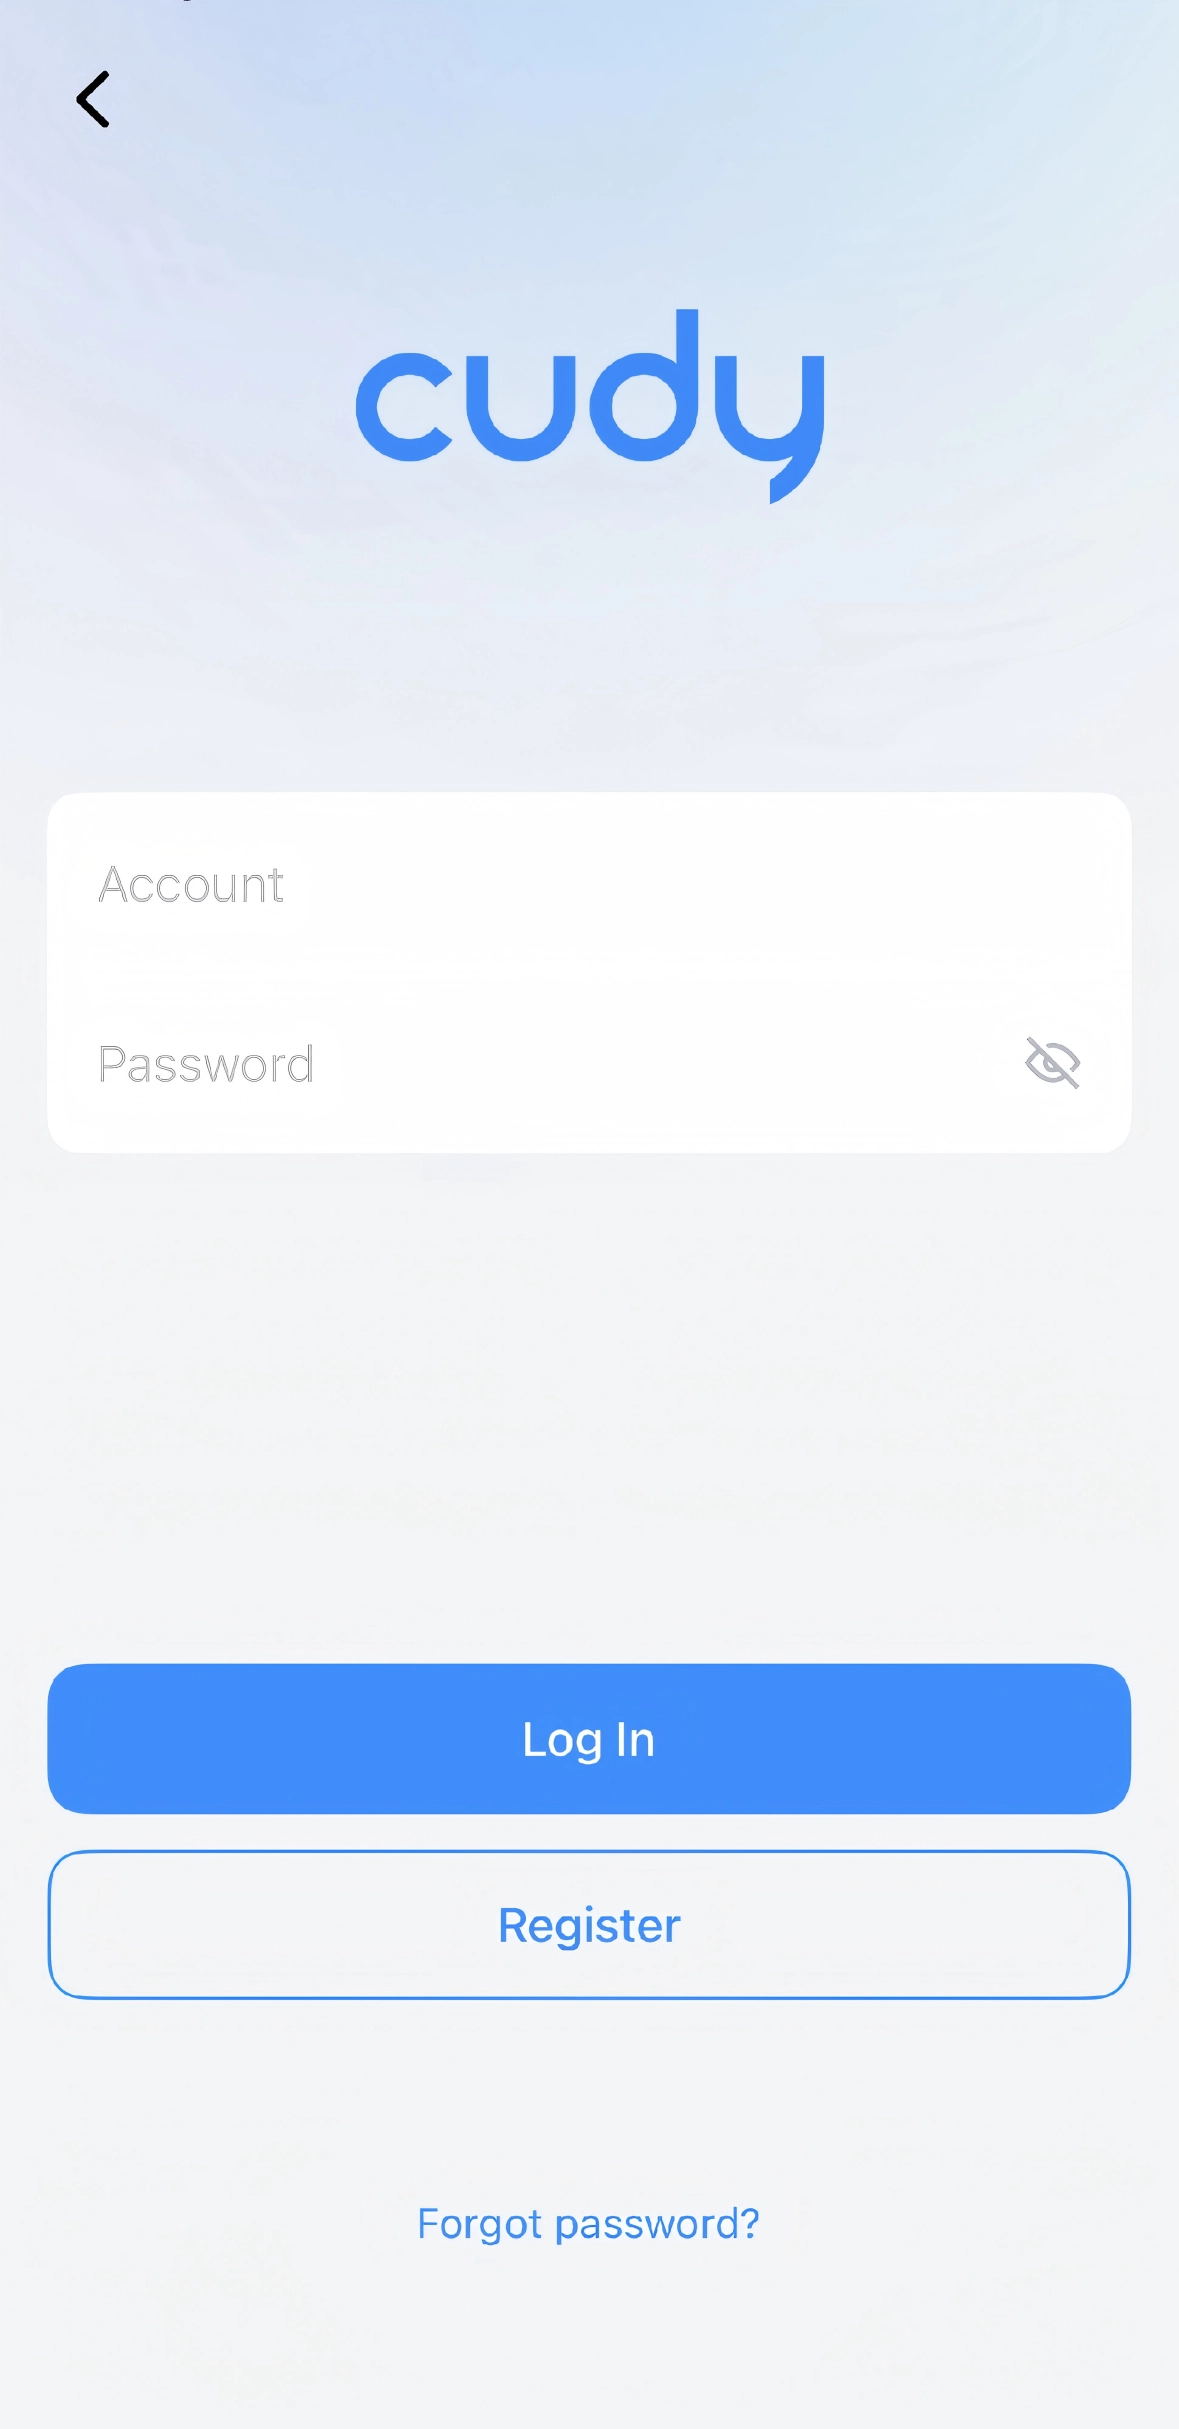
Enter your Cudy Account and Password, and tap Log In. Register first if you don't have one.
-
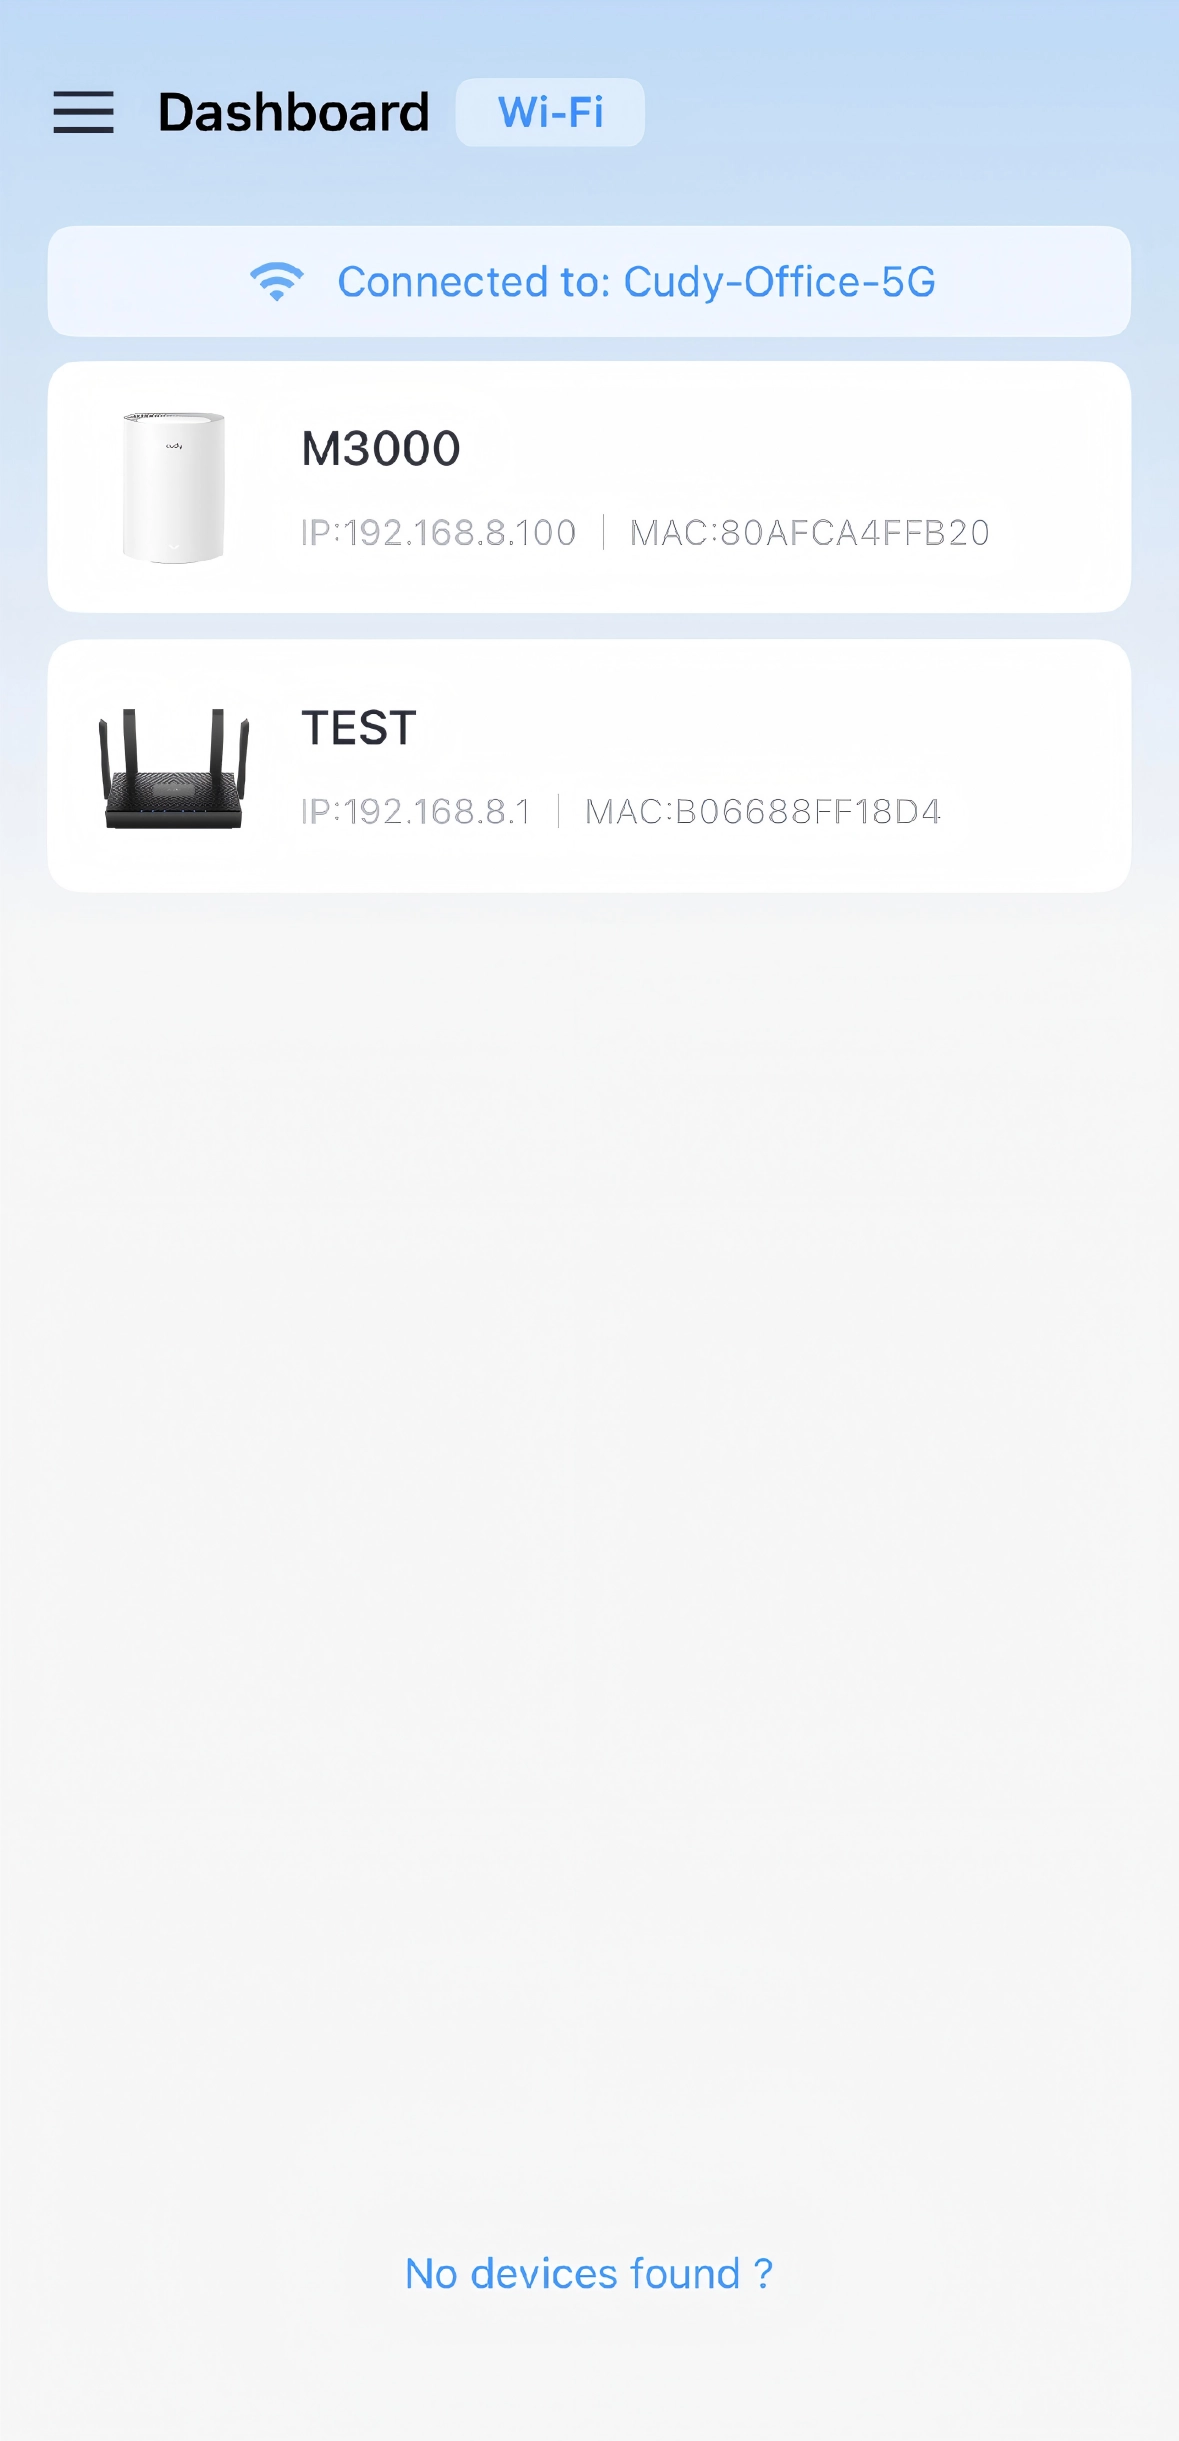
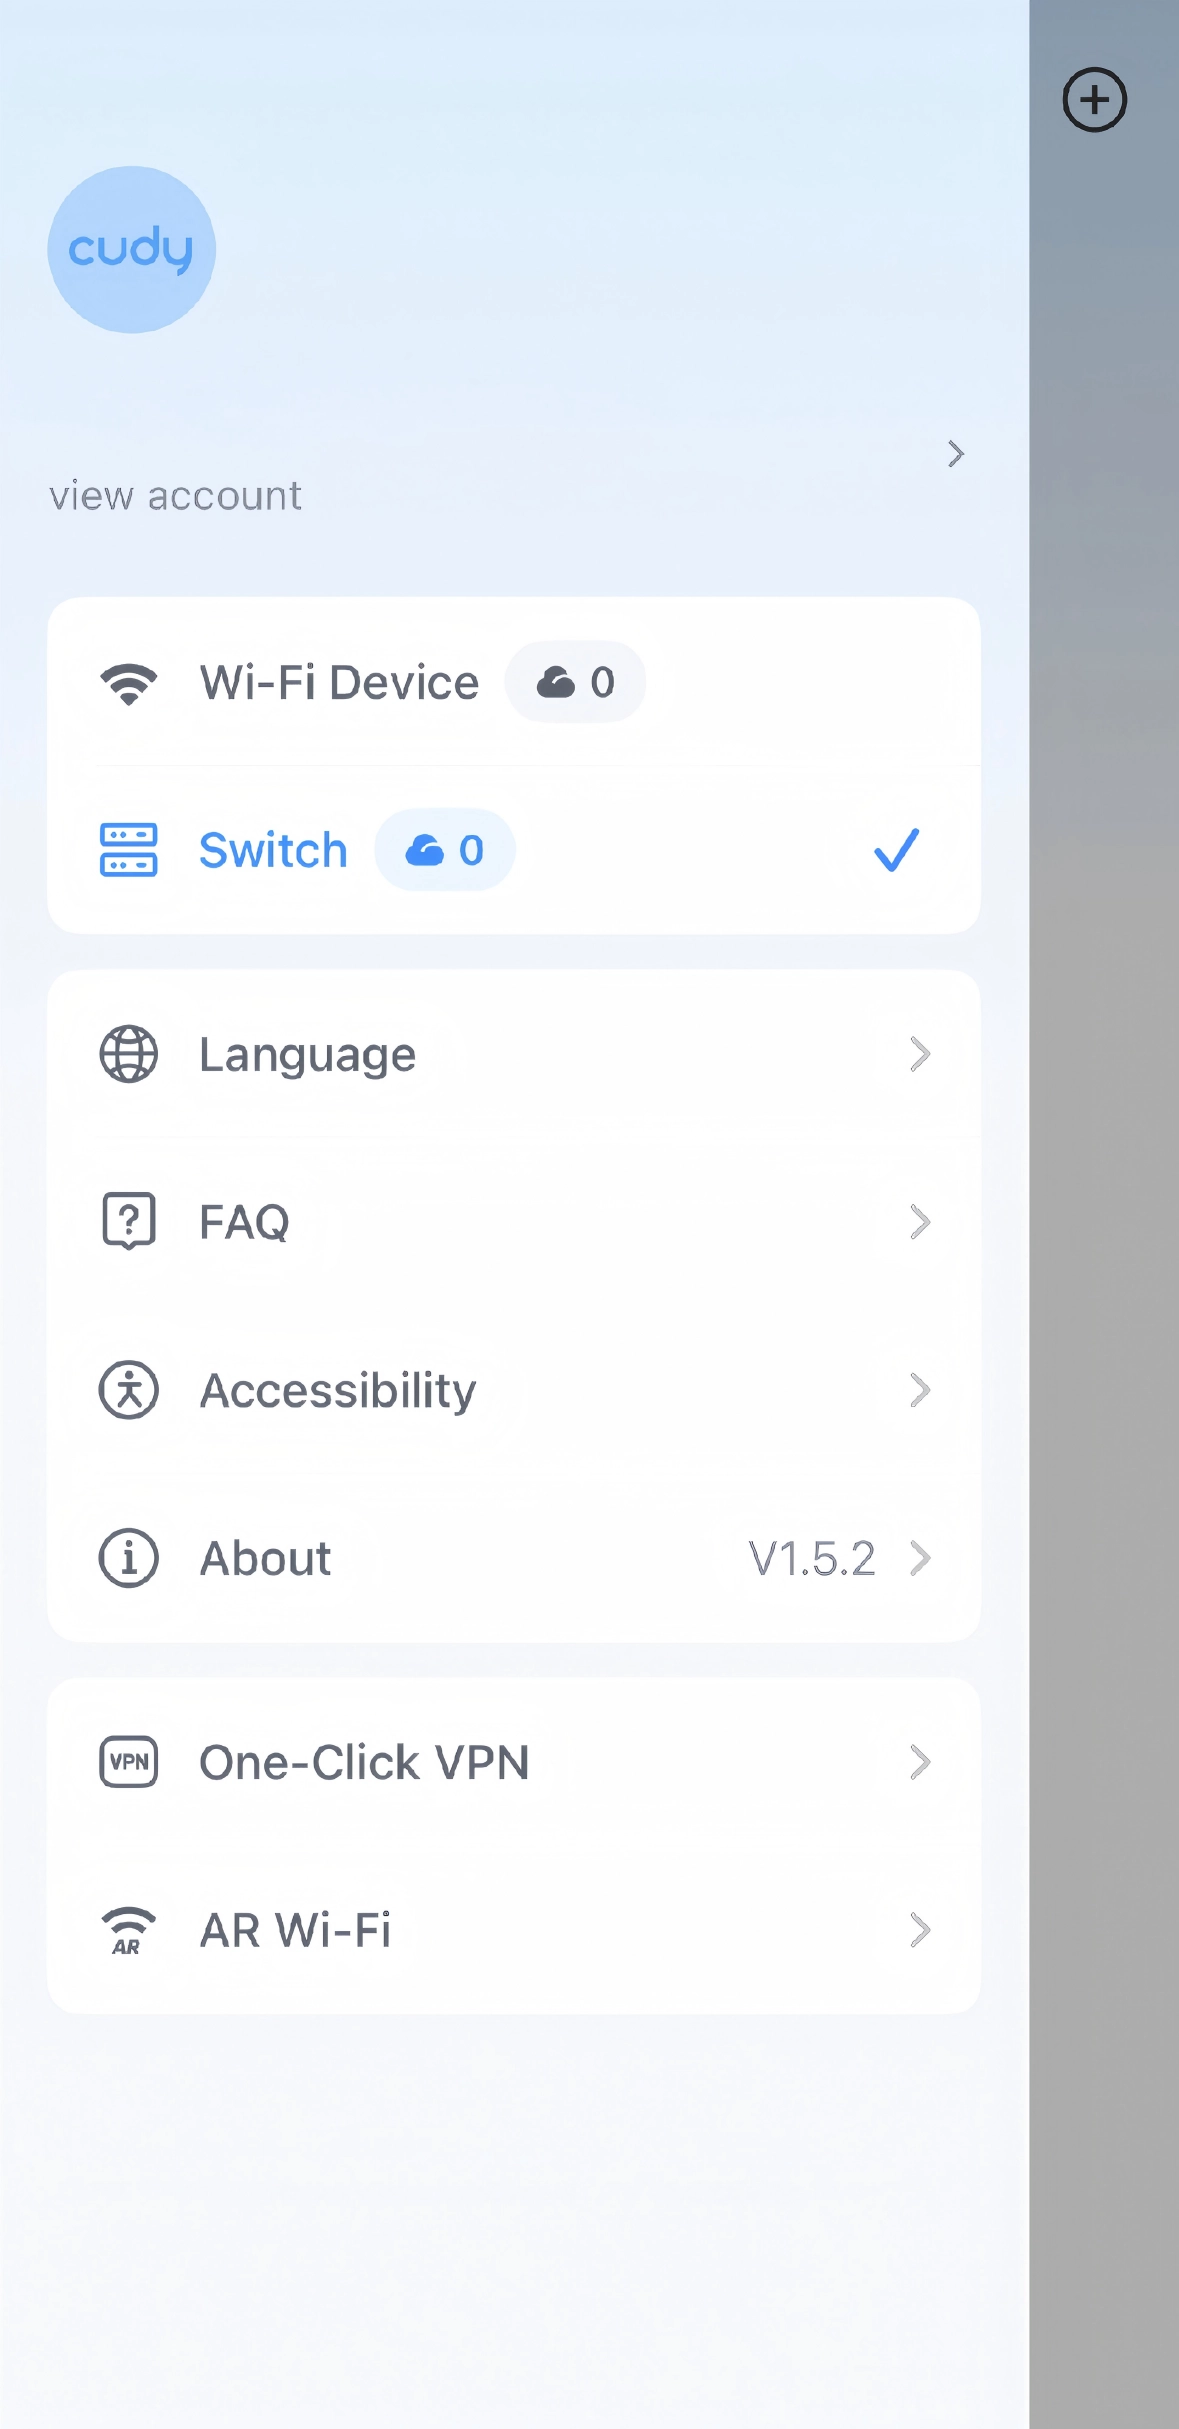
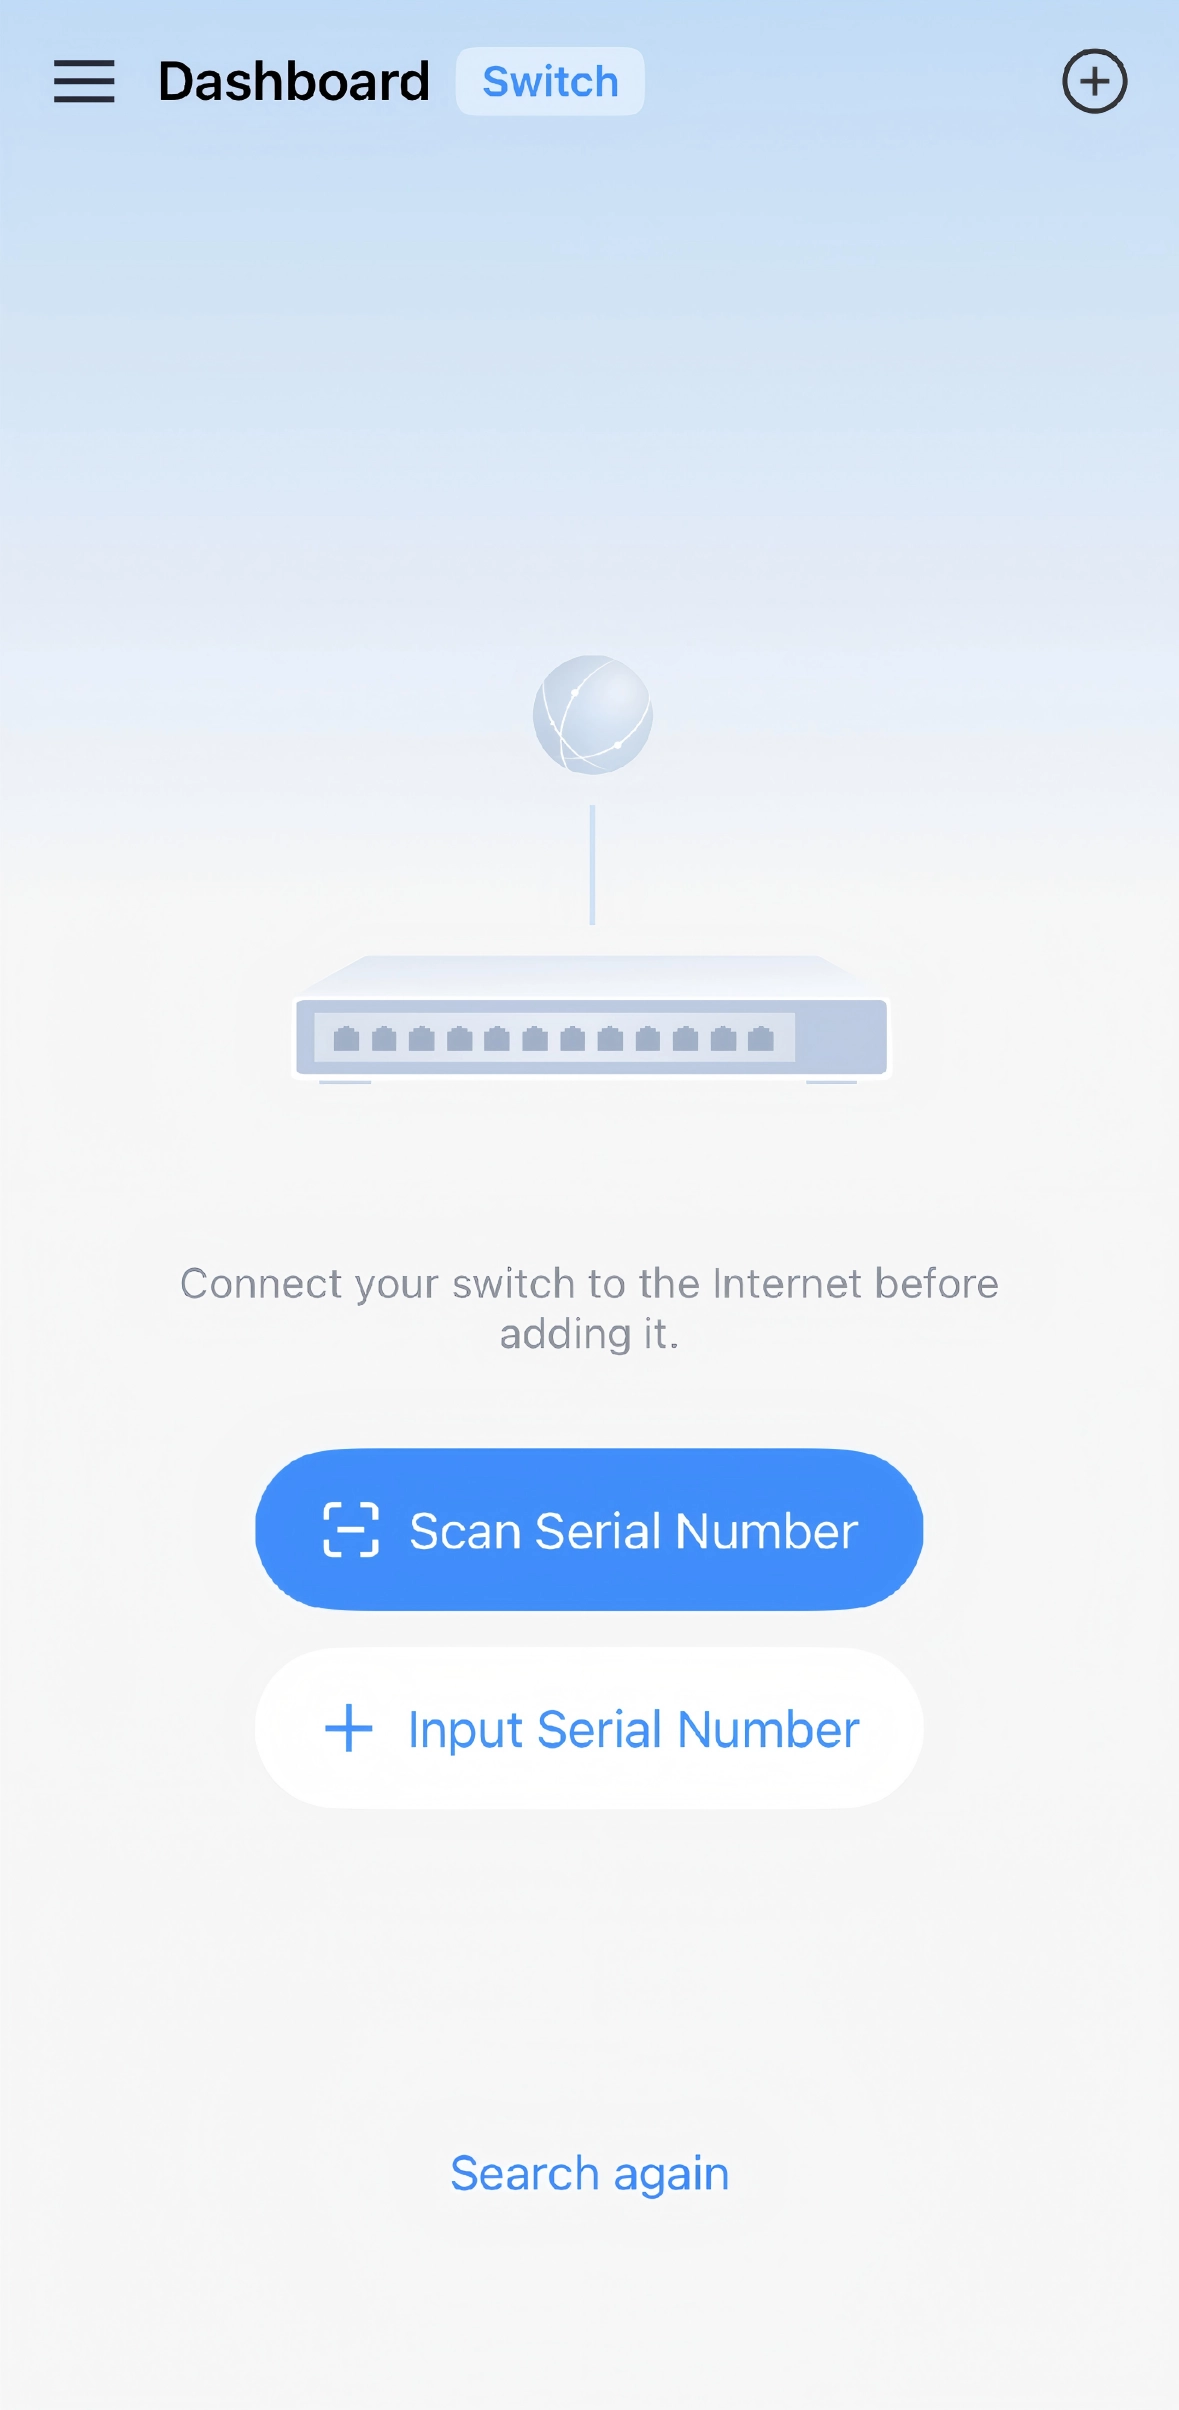
Tap the menu icon (☰) on the left of Dashboard and select Switch.
-
On the Dashboard (Switch), select Scan Serial Number(recommended) and then scan the switch barcode.
Note
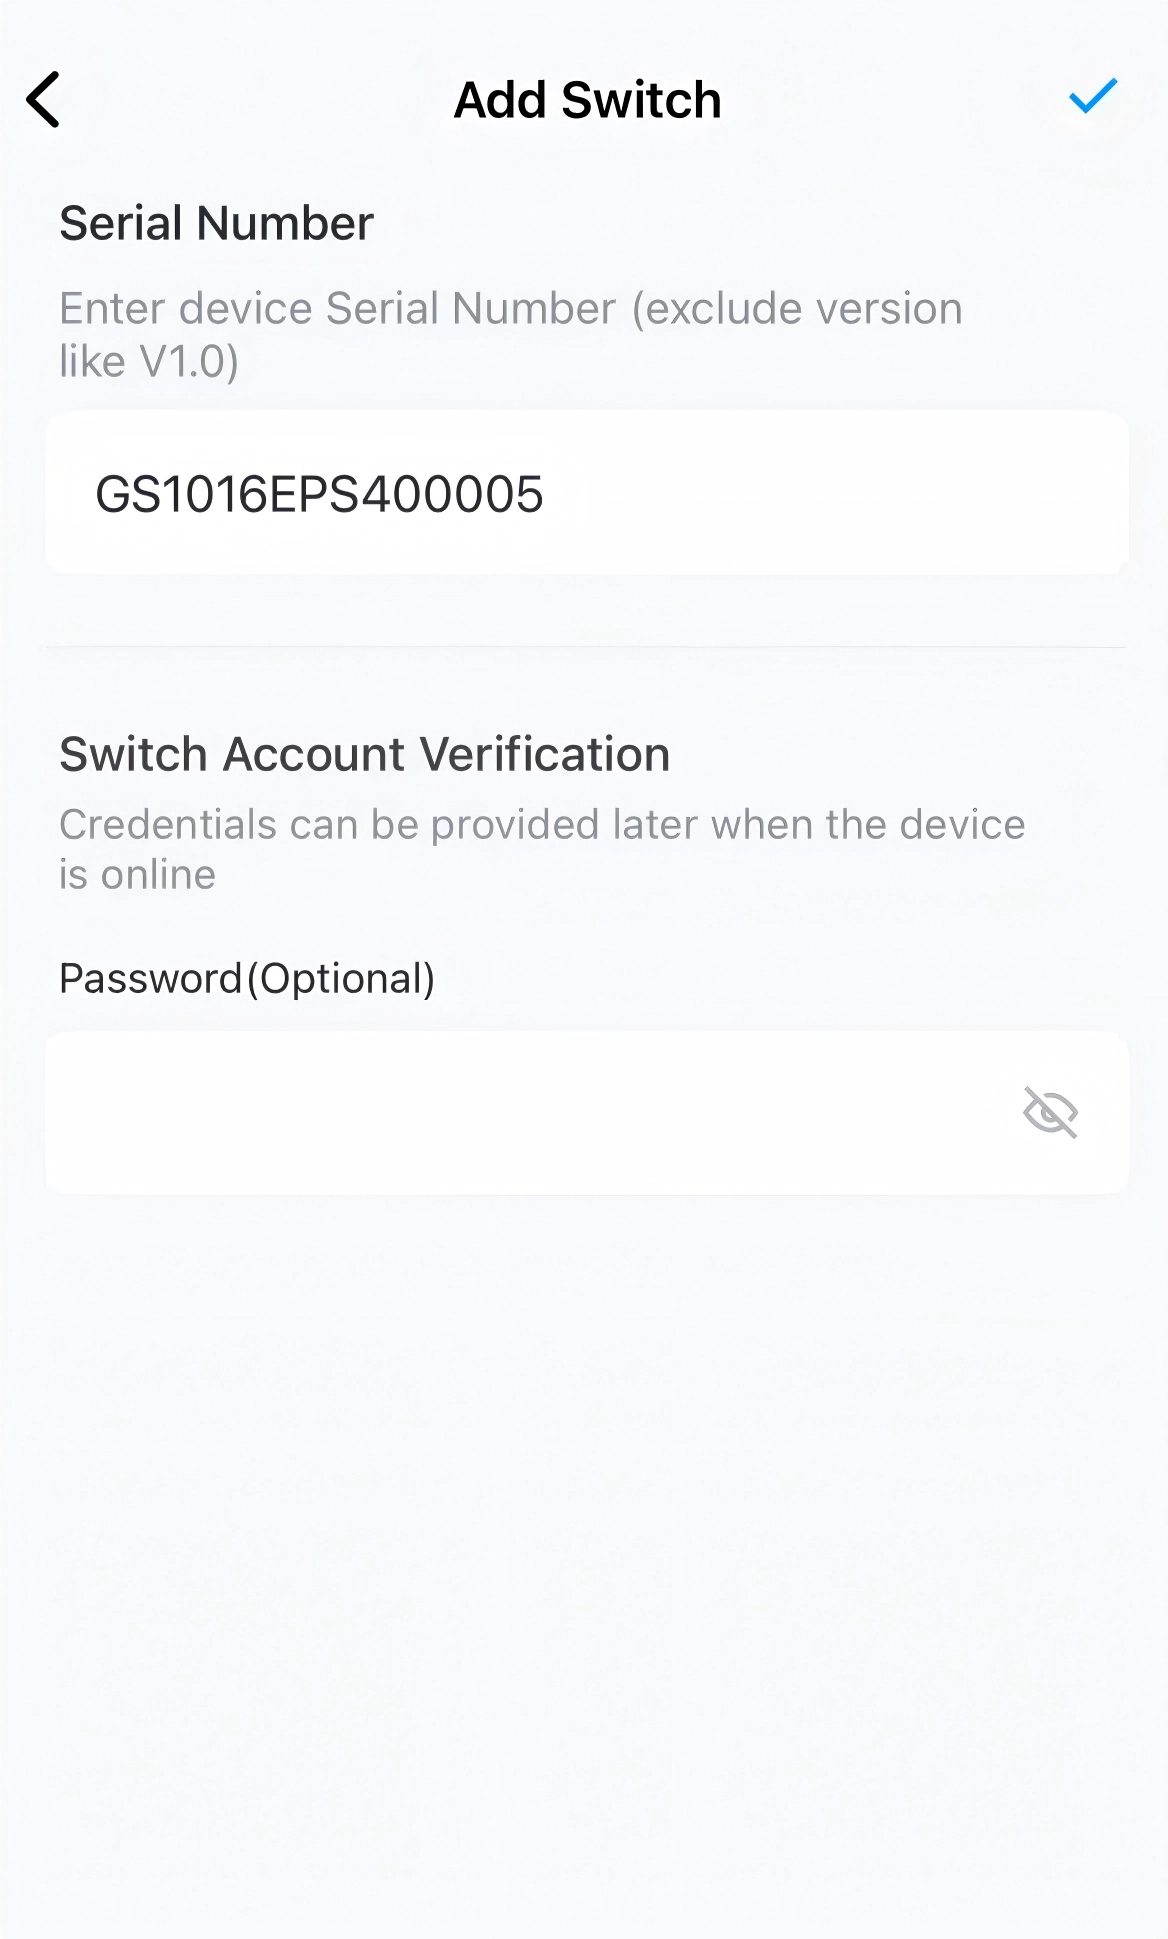
If it fails to scan the barcode, select Input Serial Number (found on the label or login webpage) and enter it.
-
Verify (or enter) the Serial Number and enter the Password (same as the web login password). Then tap the ✔ icon at the top right.
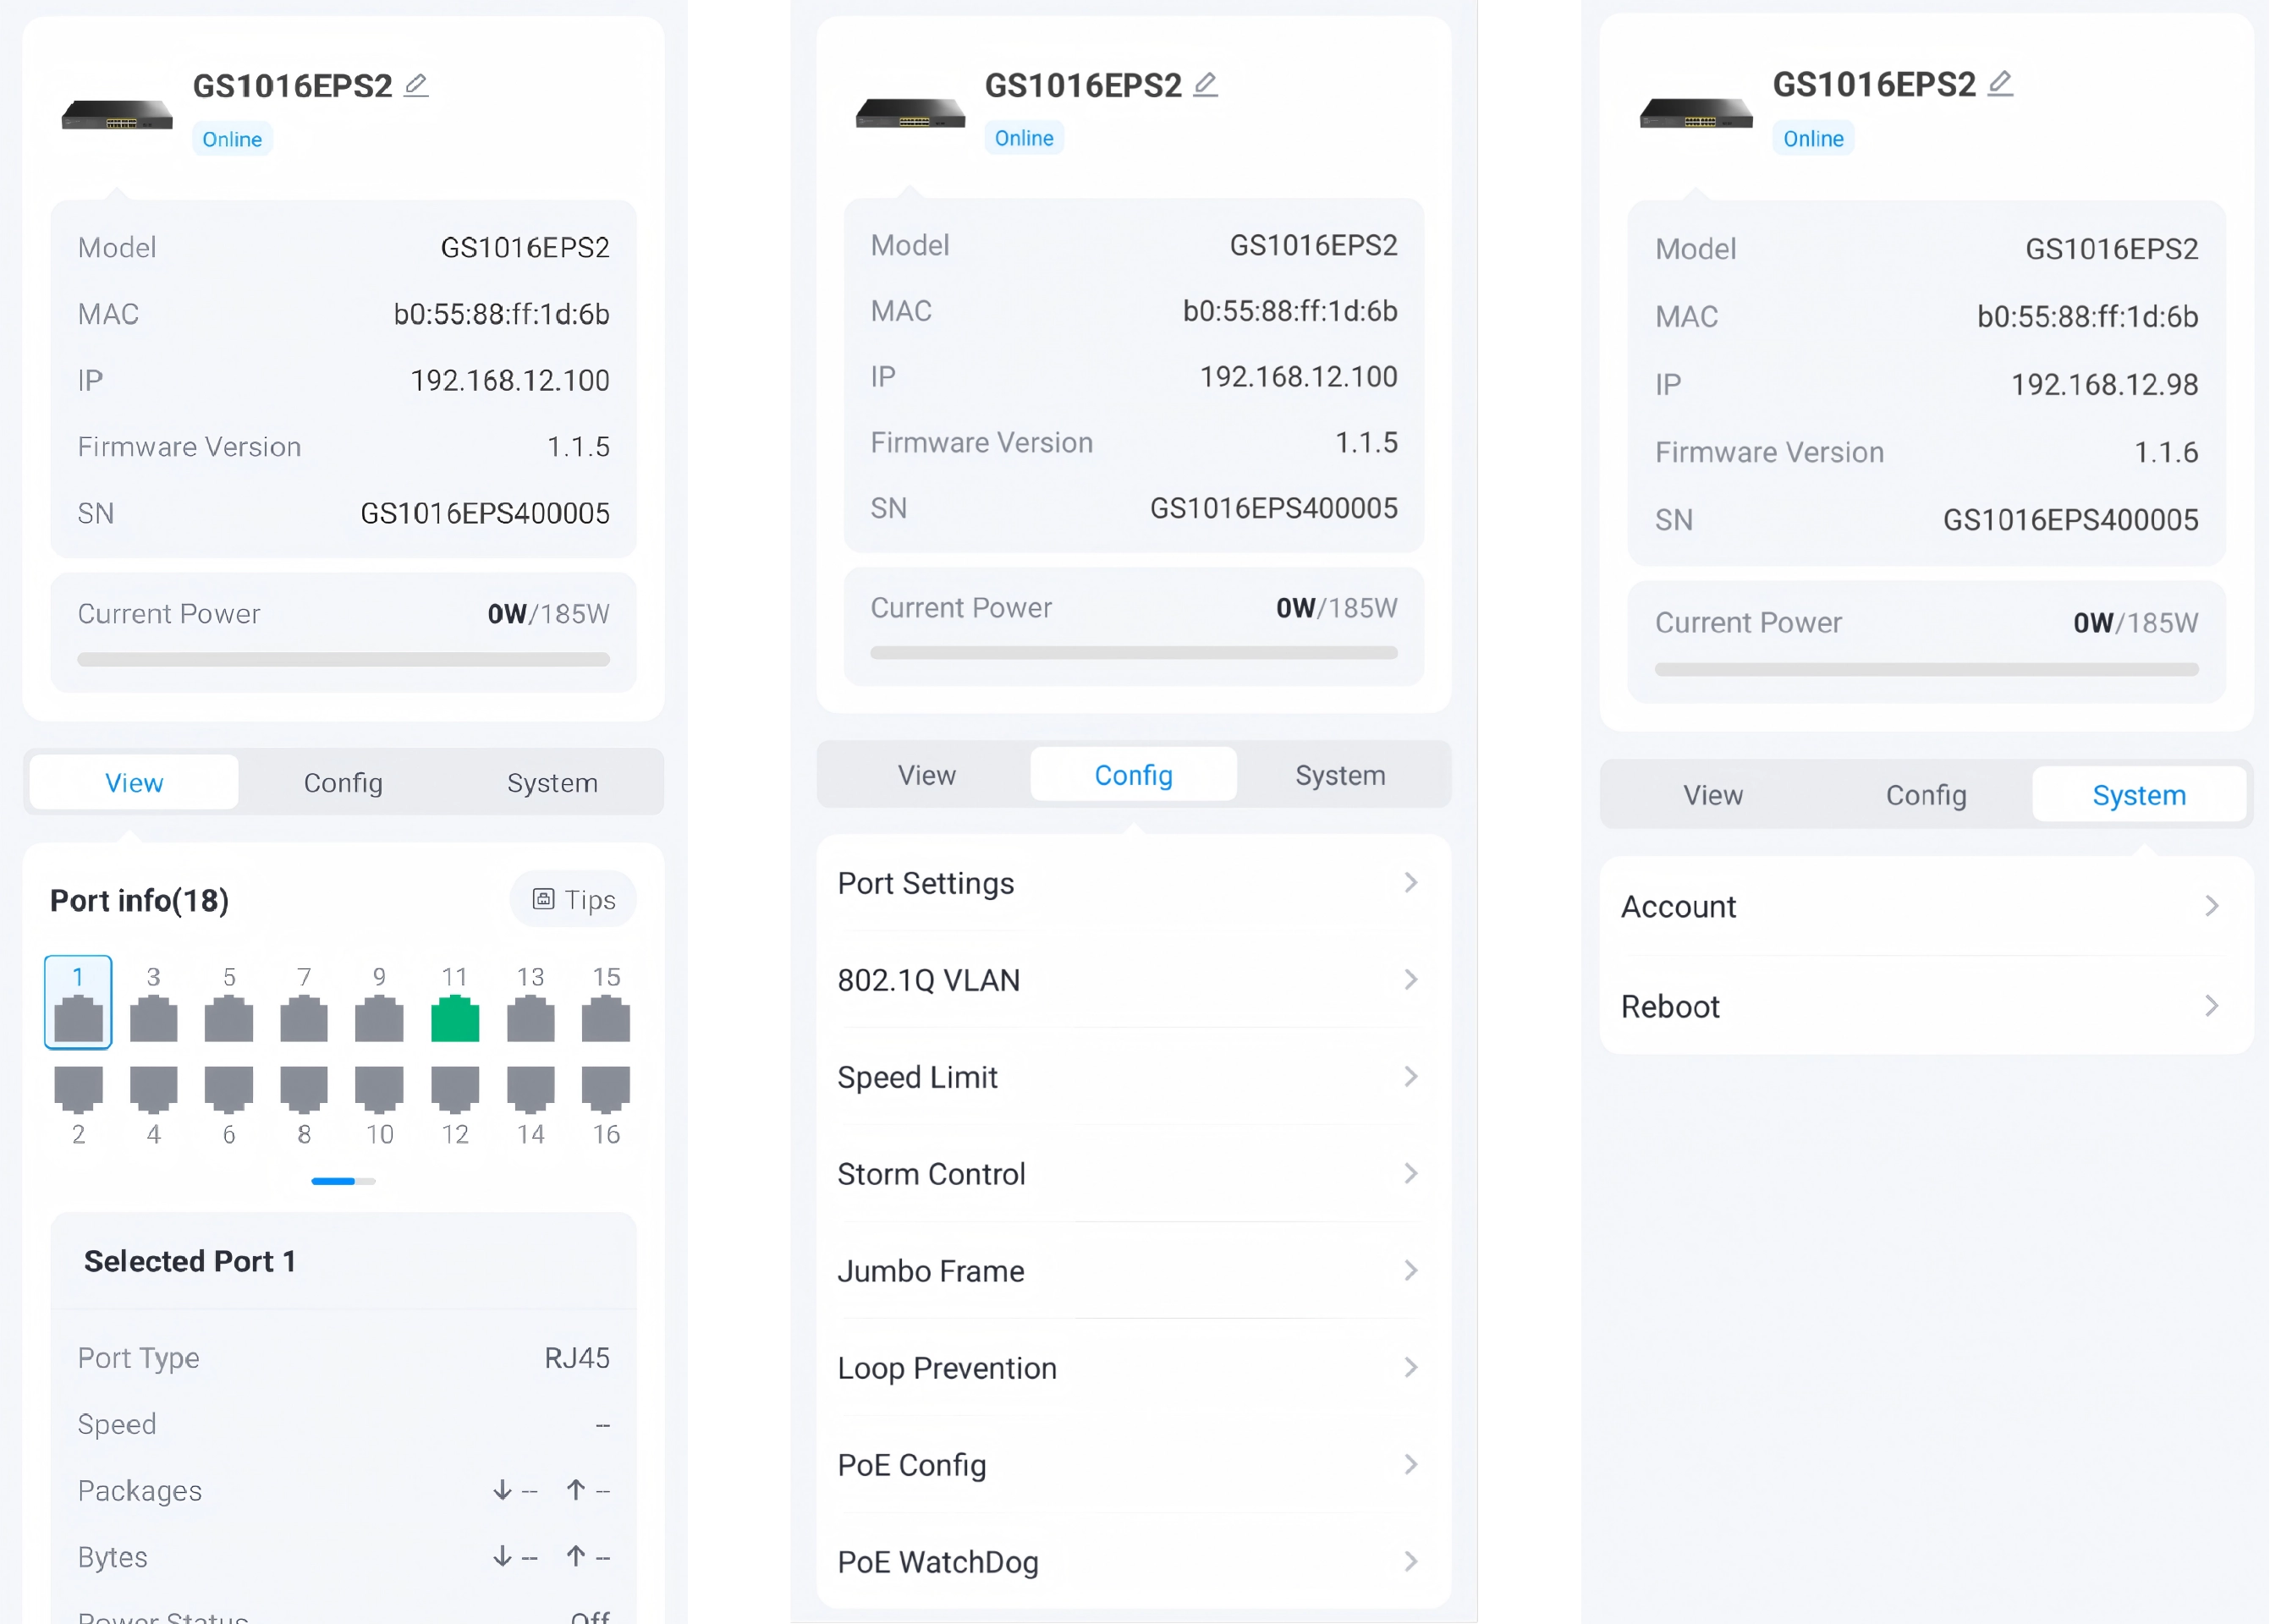
-
After the switch is successfully added, you can start to remotely manage the switch using the Cudy App.