How to Use Ad Shield to Block Ads and Trackers?
Info
- Ad Shield leverages AdGuard DNS and Shiild to provide network-level filtering of ads, trackers, and other unwanted content. Running at the router level, it protects all connected devices and improves privacy across browsing, streaming, and app usage.
- This feature is available for Cudy routers with firmware version 2.5.0+.
- TR3000 is shown as an example in this tutorial.
Using Cudy App
-
Connect your phone to the router's Wi-Fi network.
-
Open the Cudy App on your phone. Tick I agree with ... and select Local Management.
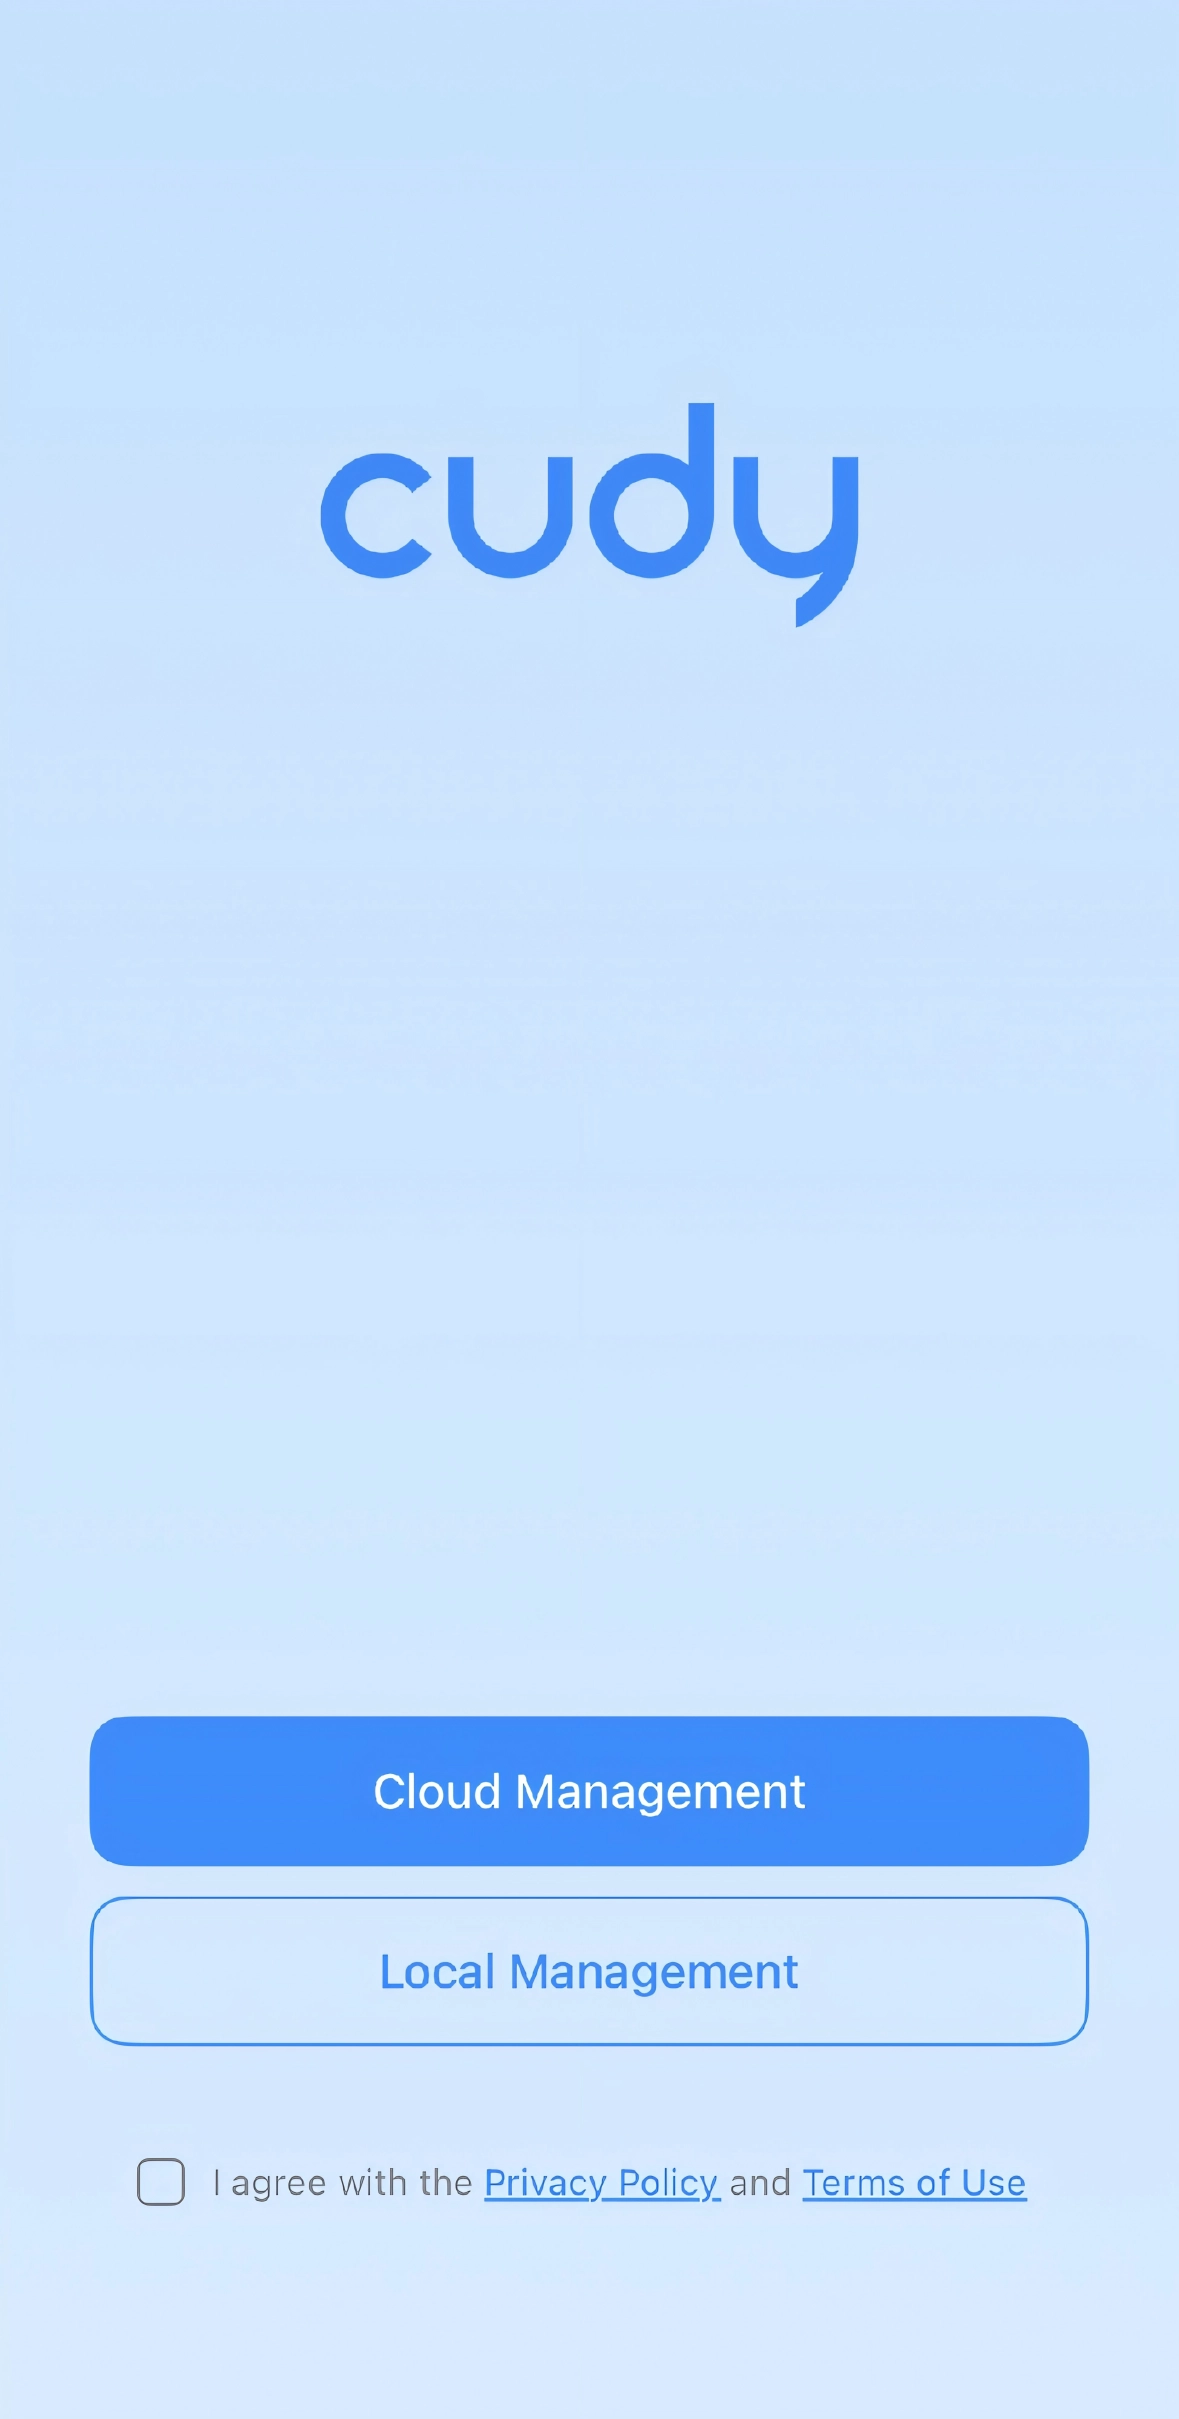
Tip
Scan the QR code to download it first if needed.

-
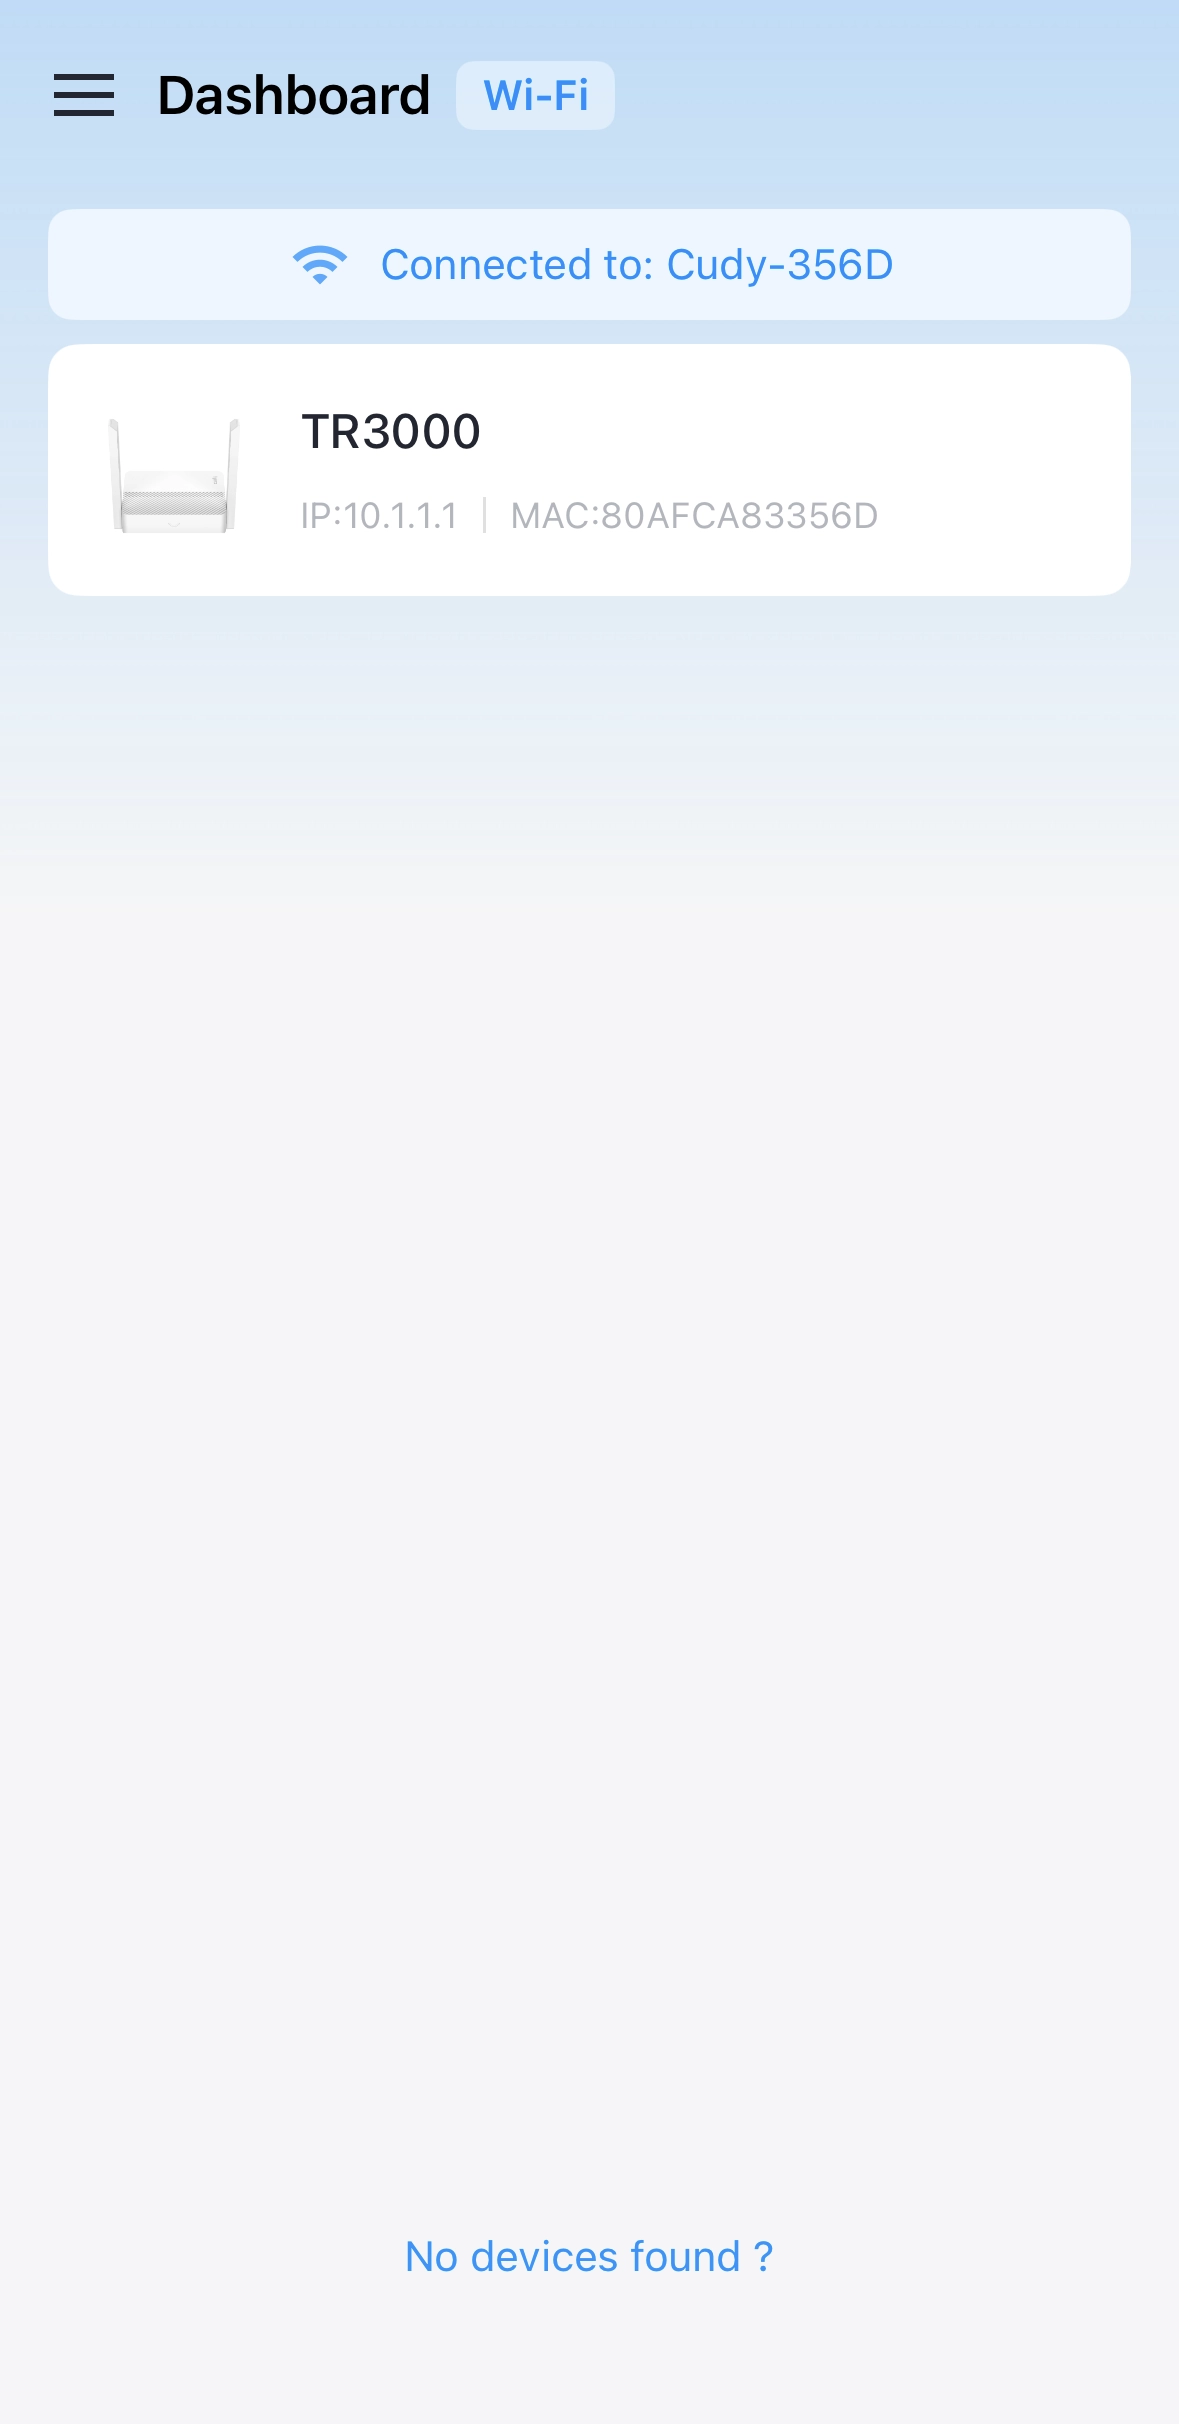
Select Wi-Fi Device.

Tip
If you have managed other type of devices on Cudy App before, you may need to tap the menu icon (☰) on the left of Dashboard to switch to Wi-Fi Device.
-
Tap the router.
-
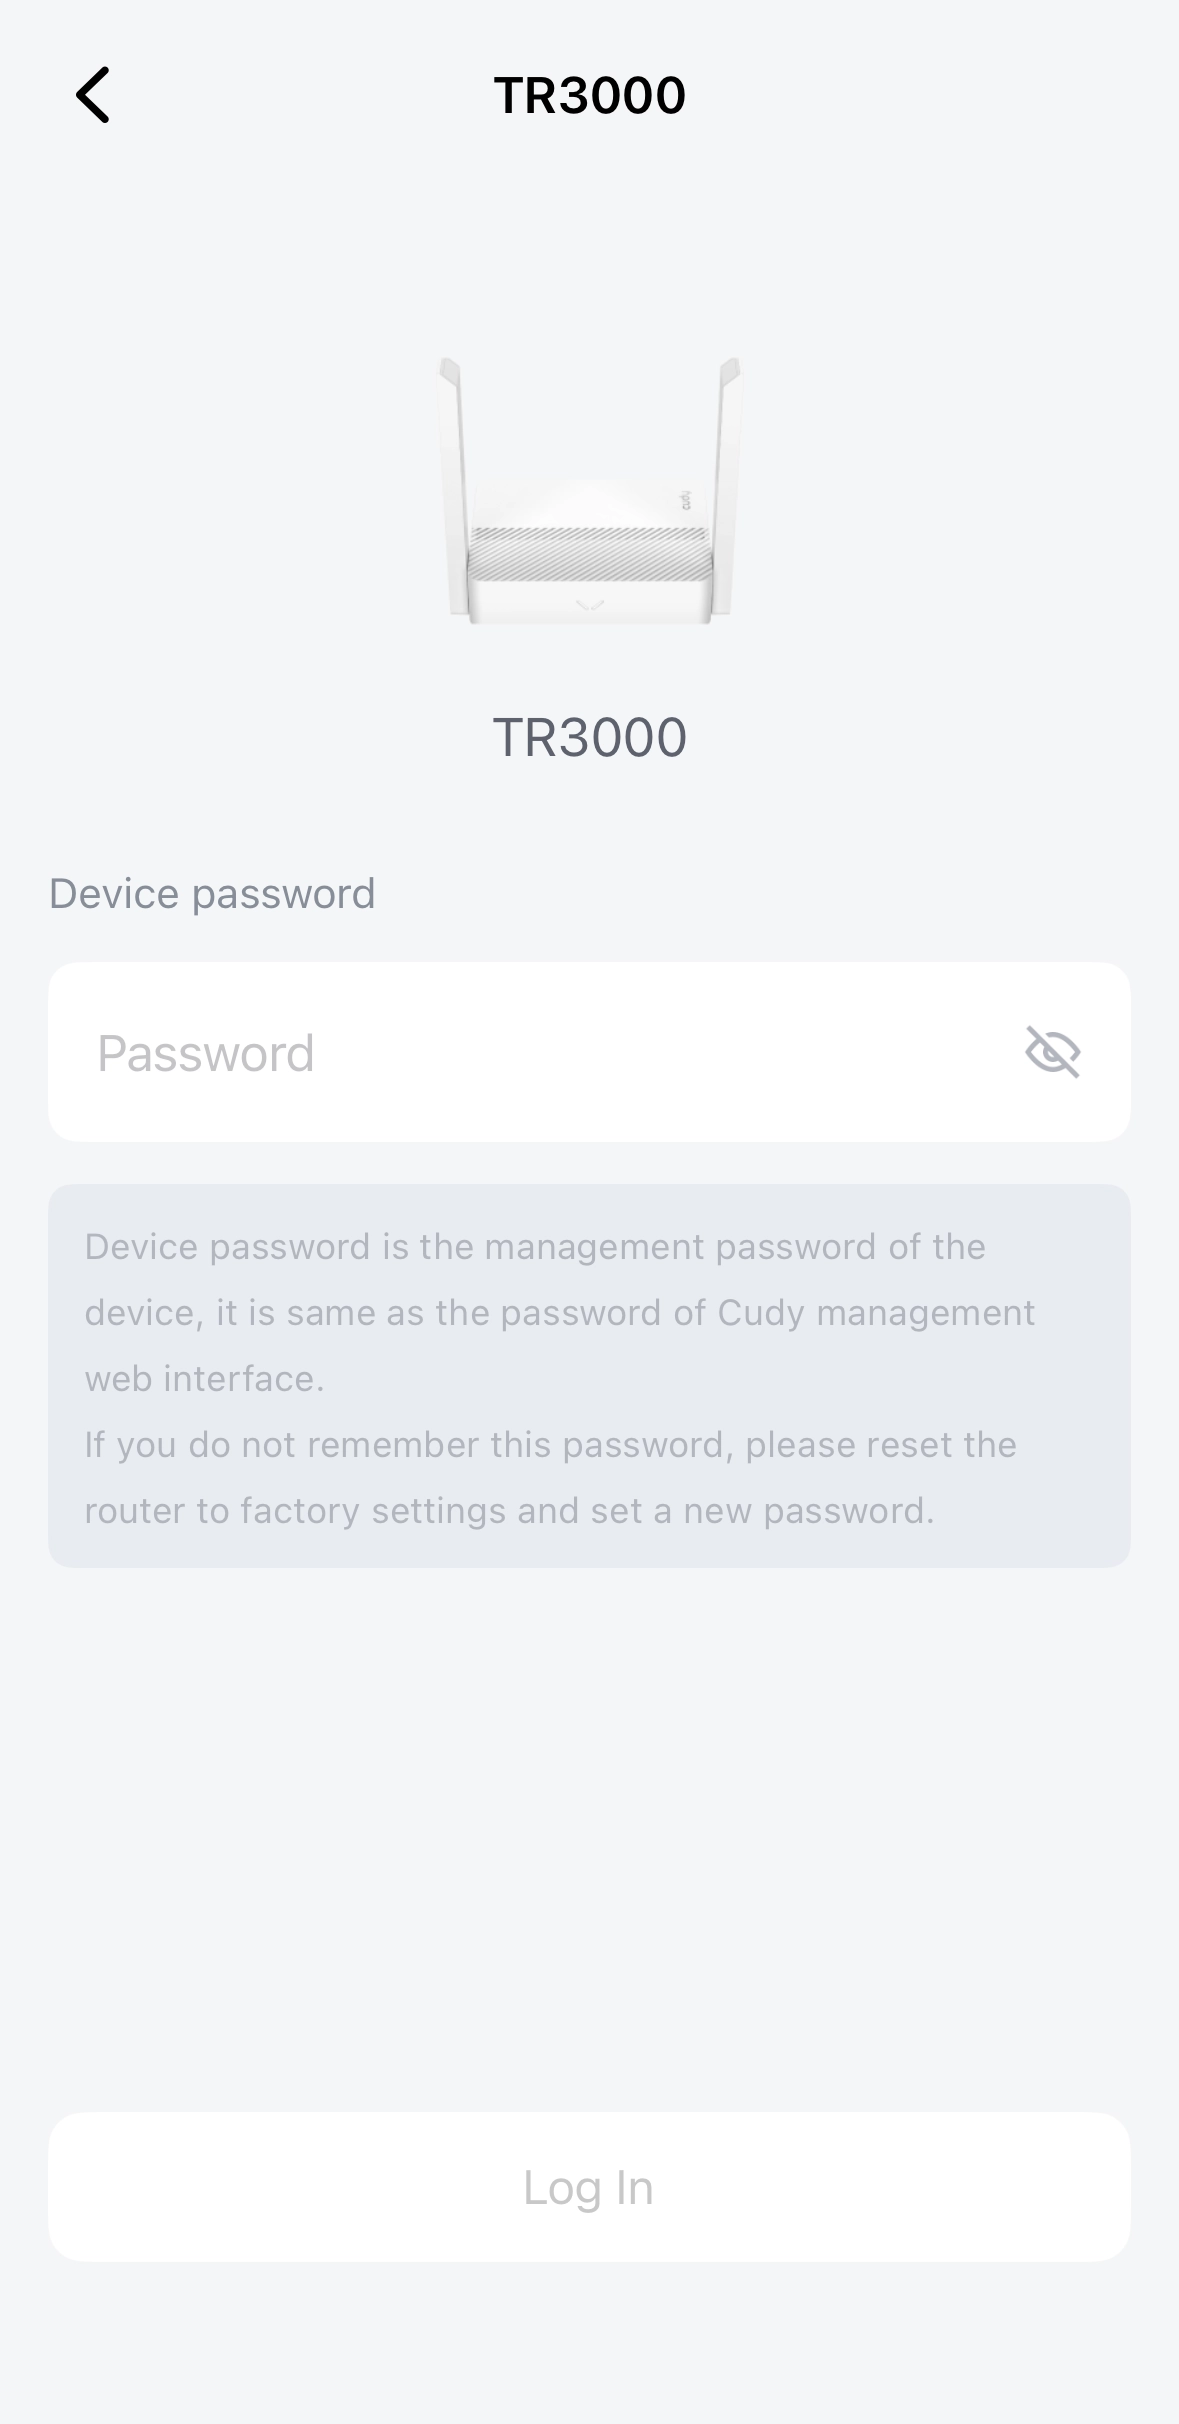
Enter the router's administrator password. Create one if this is your login for the first time.
-
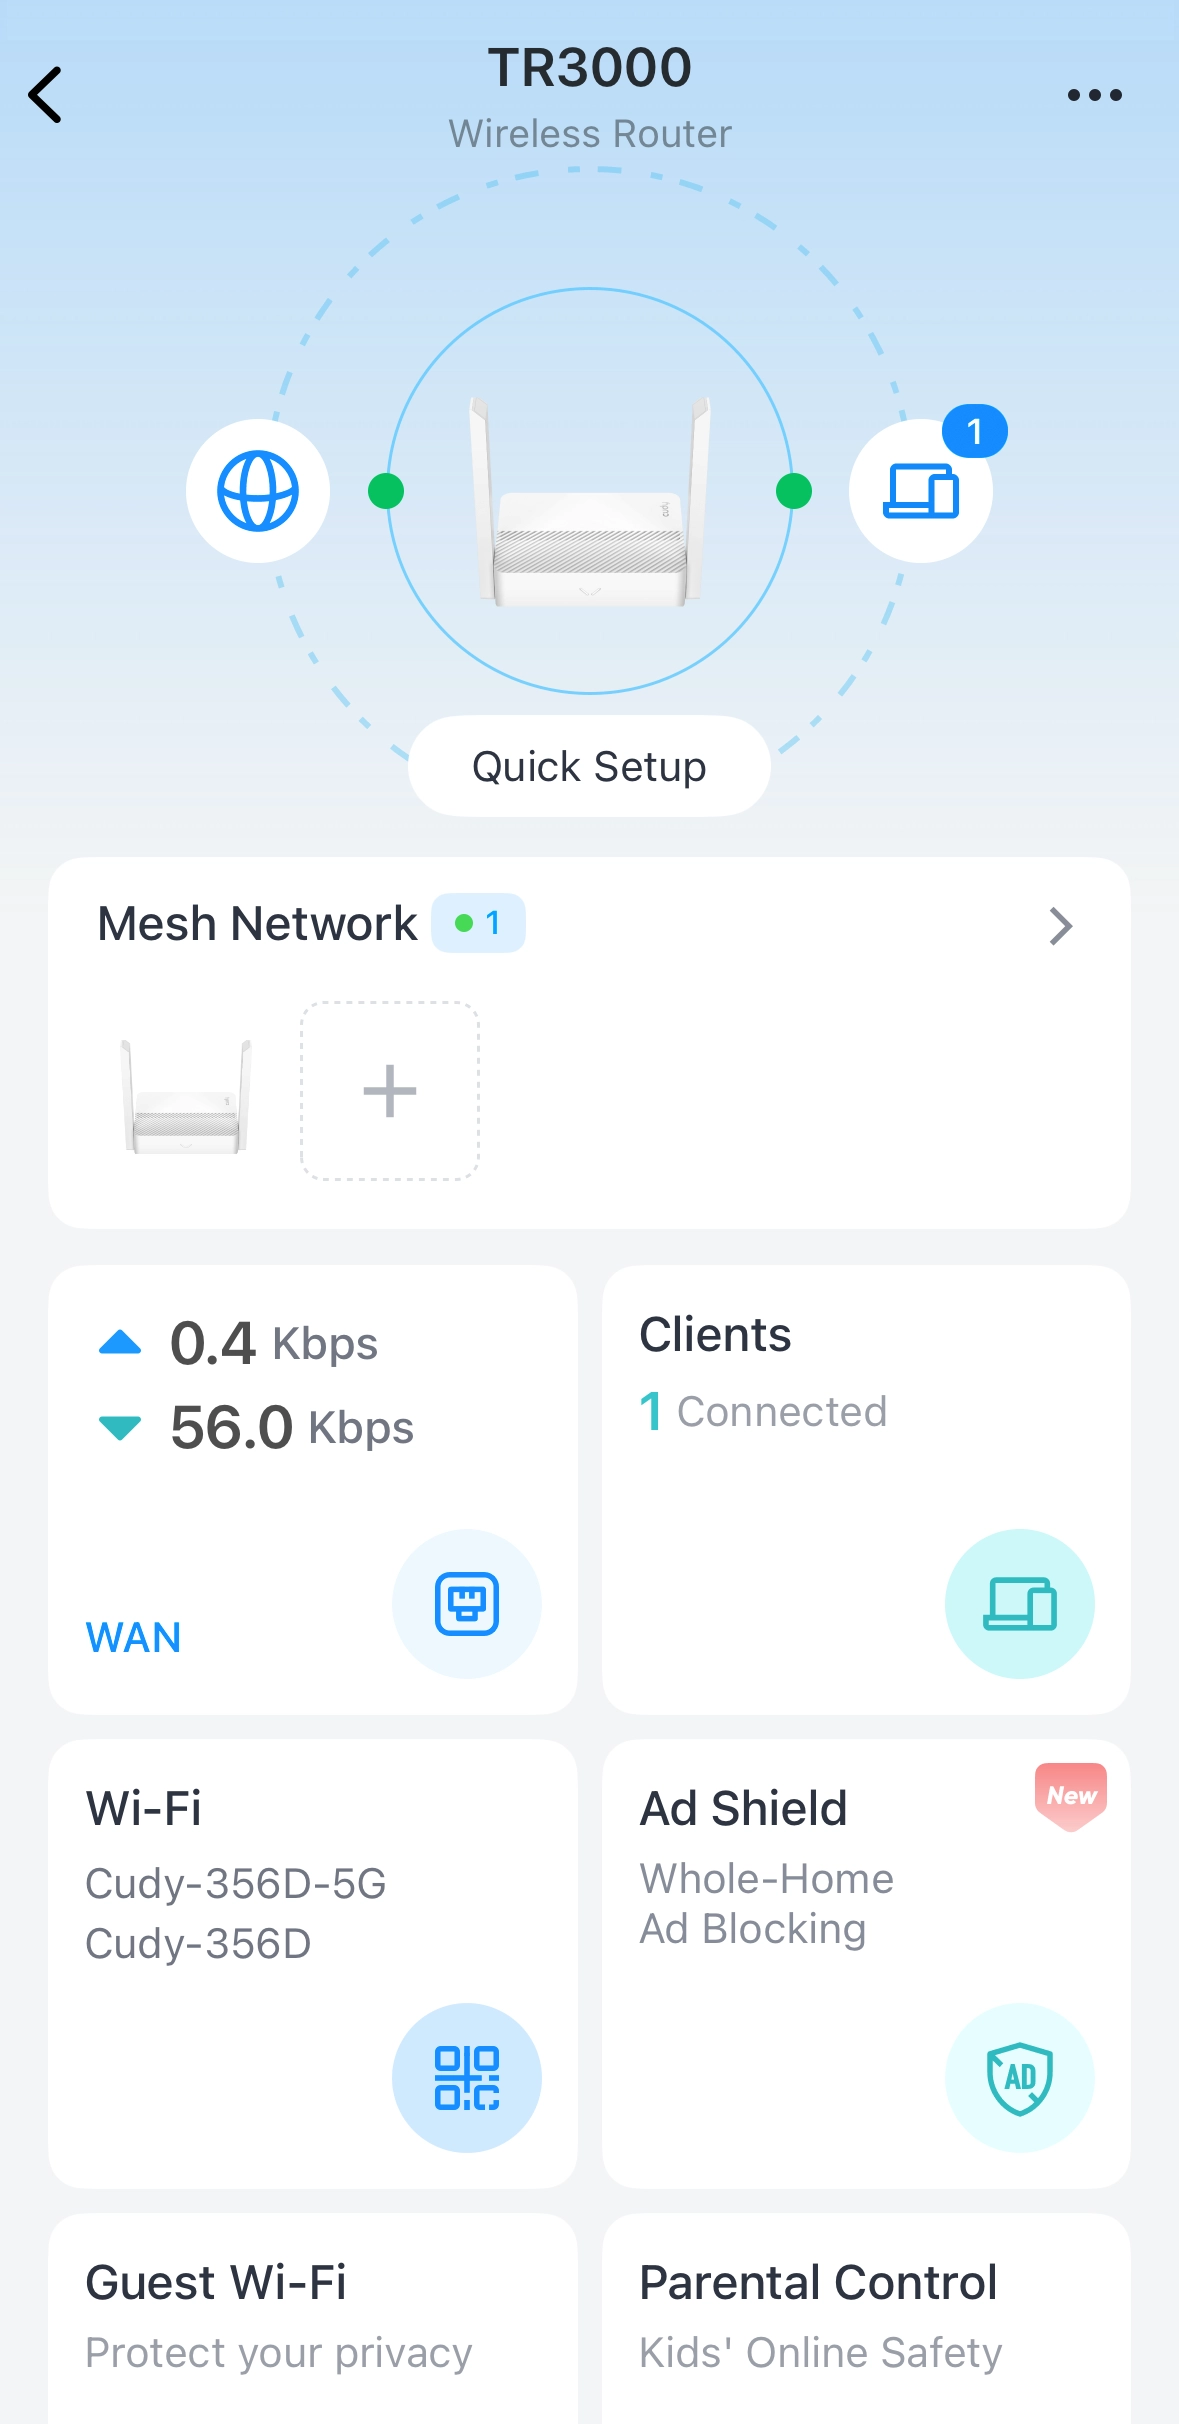
Tap Ad Shield.
-
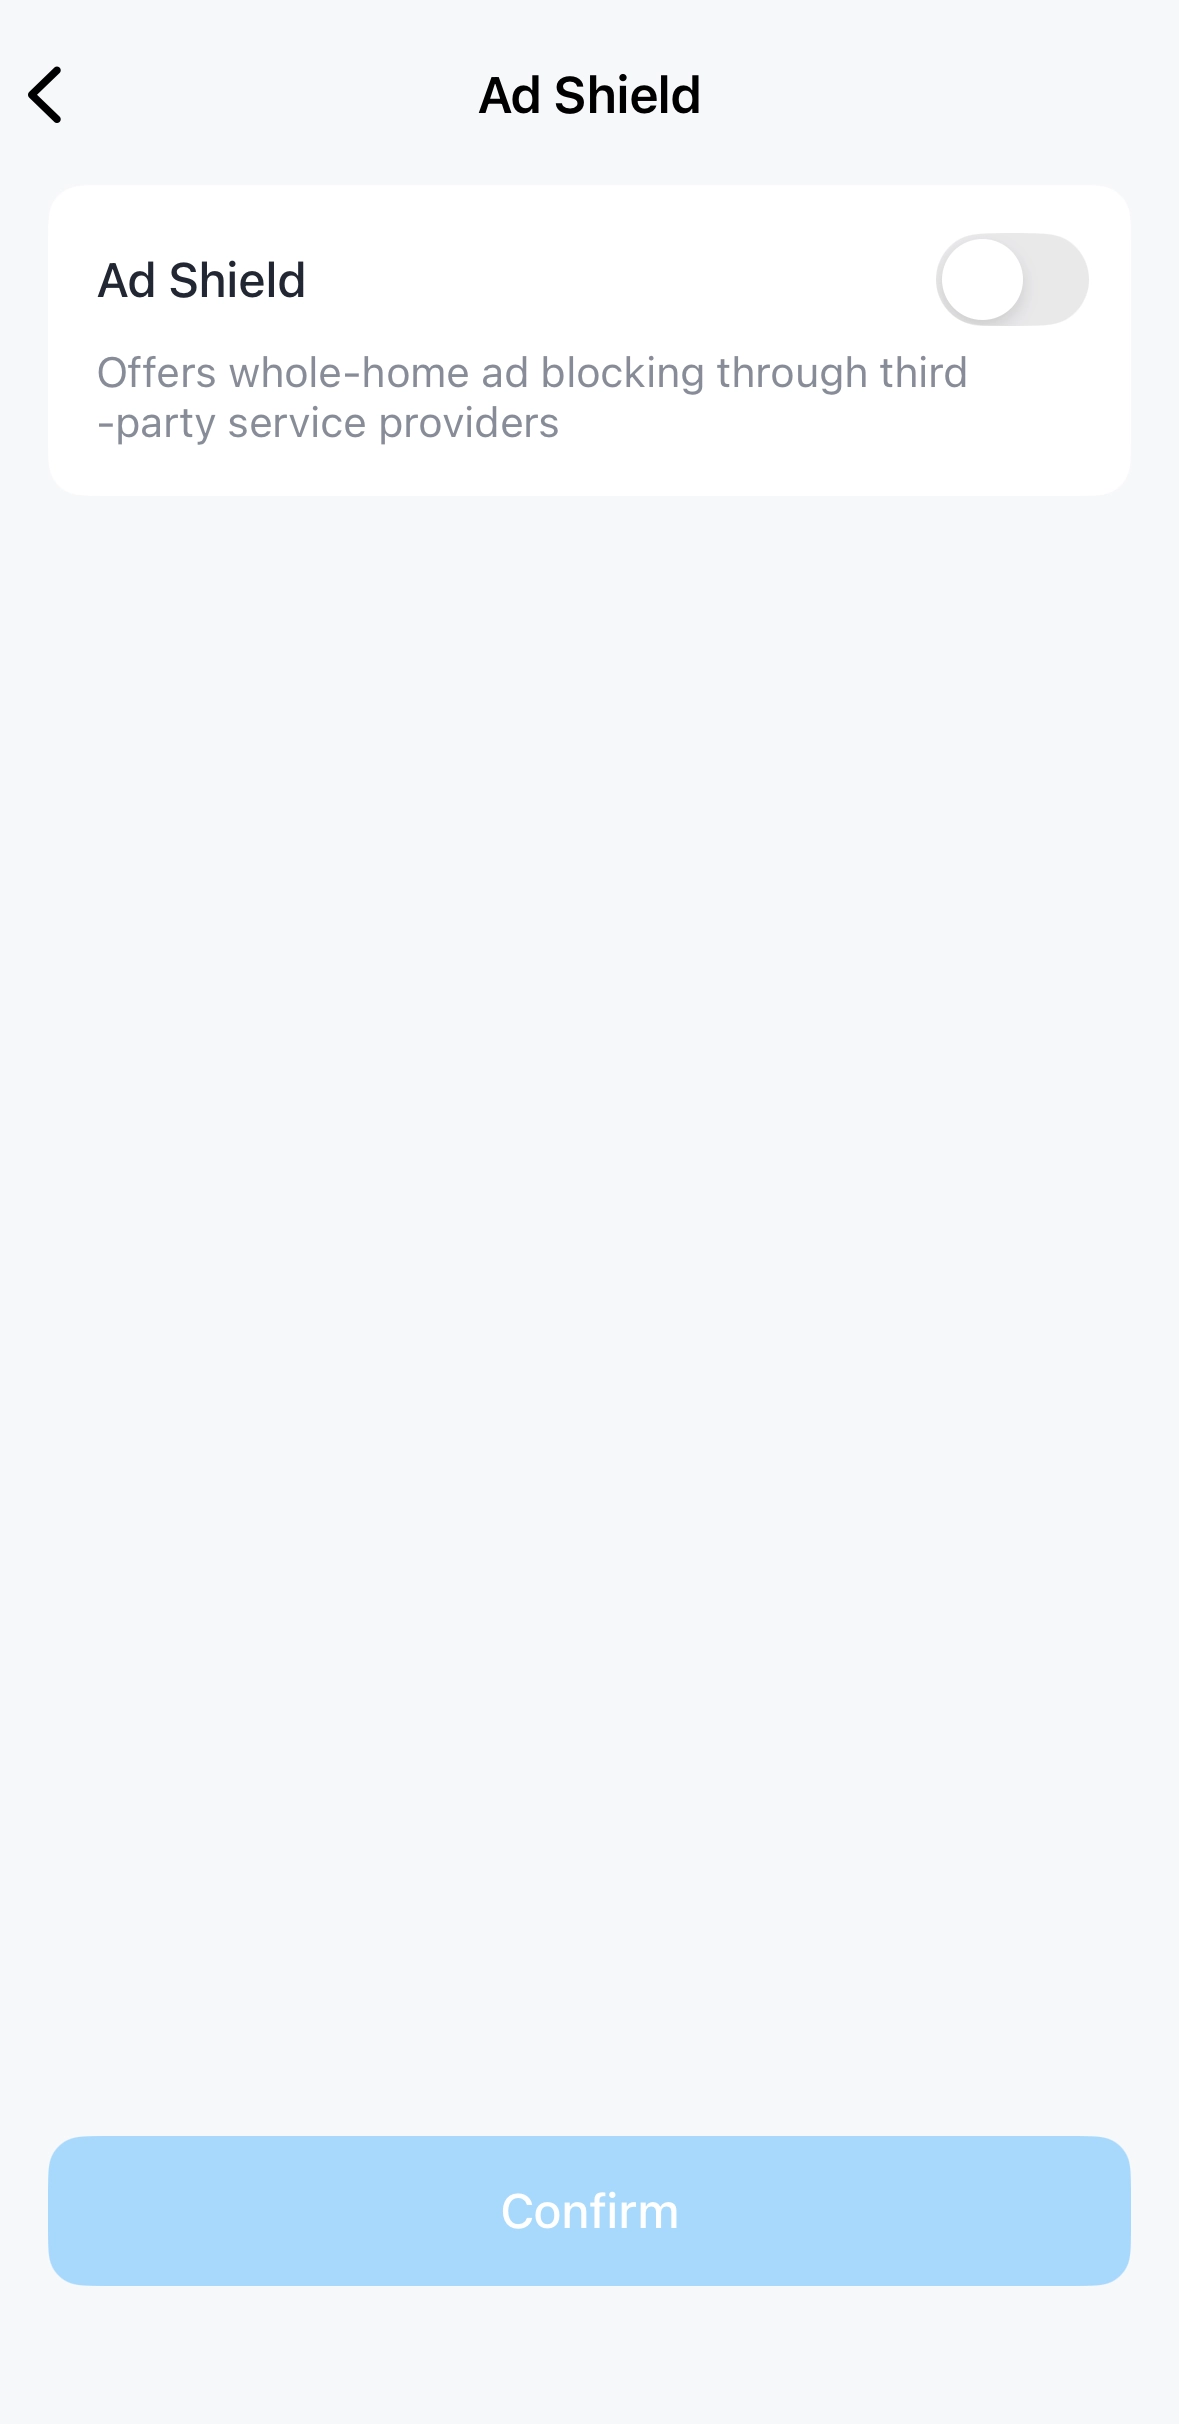
Toggle on to enable Ad Shield.
-
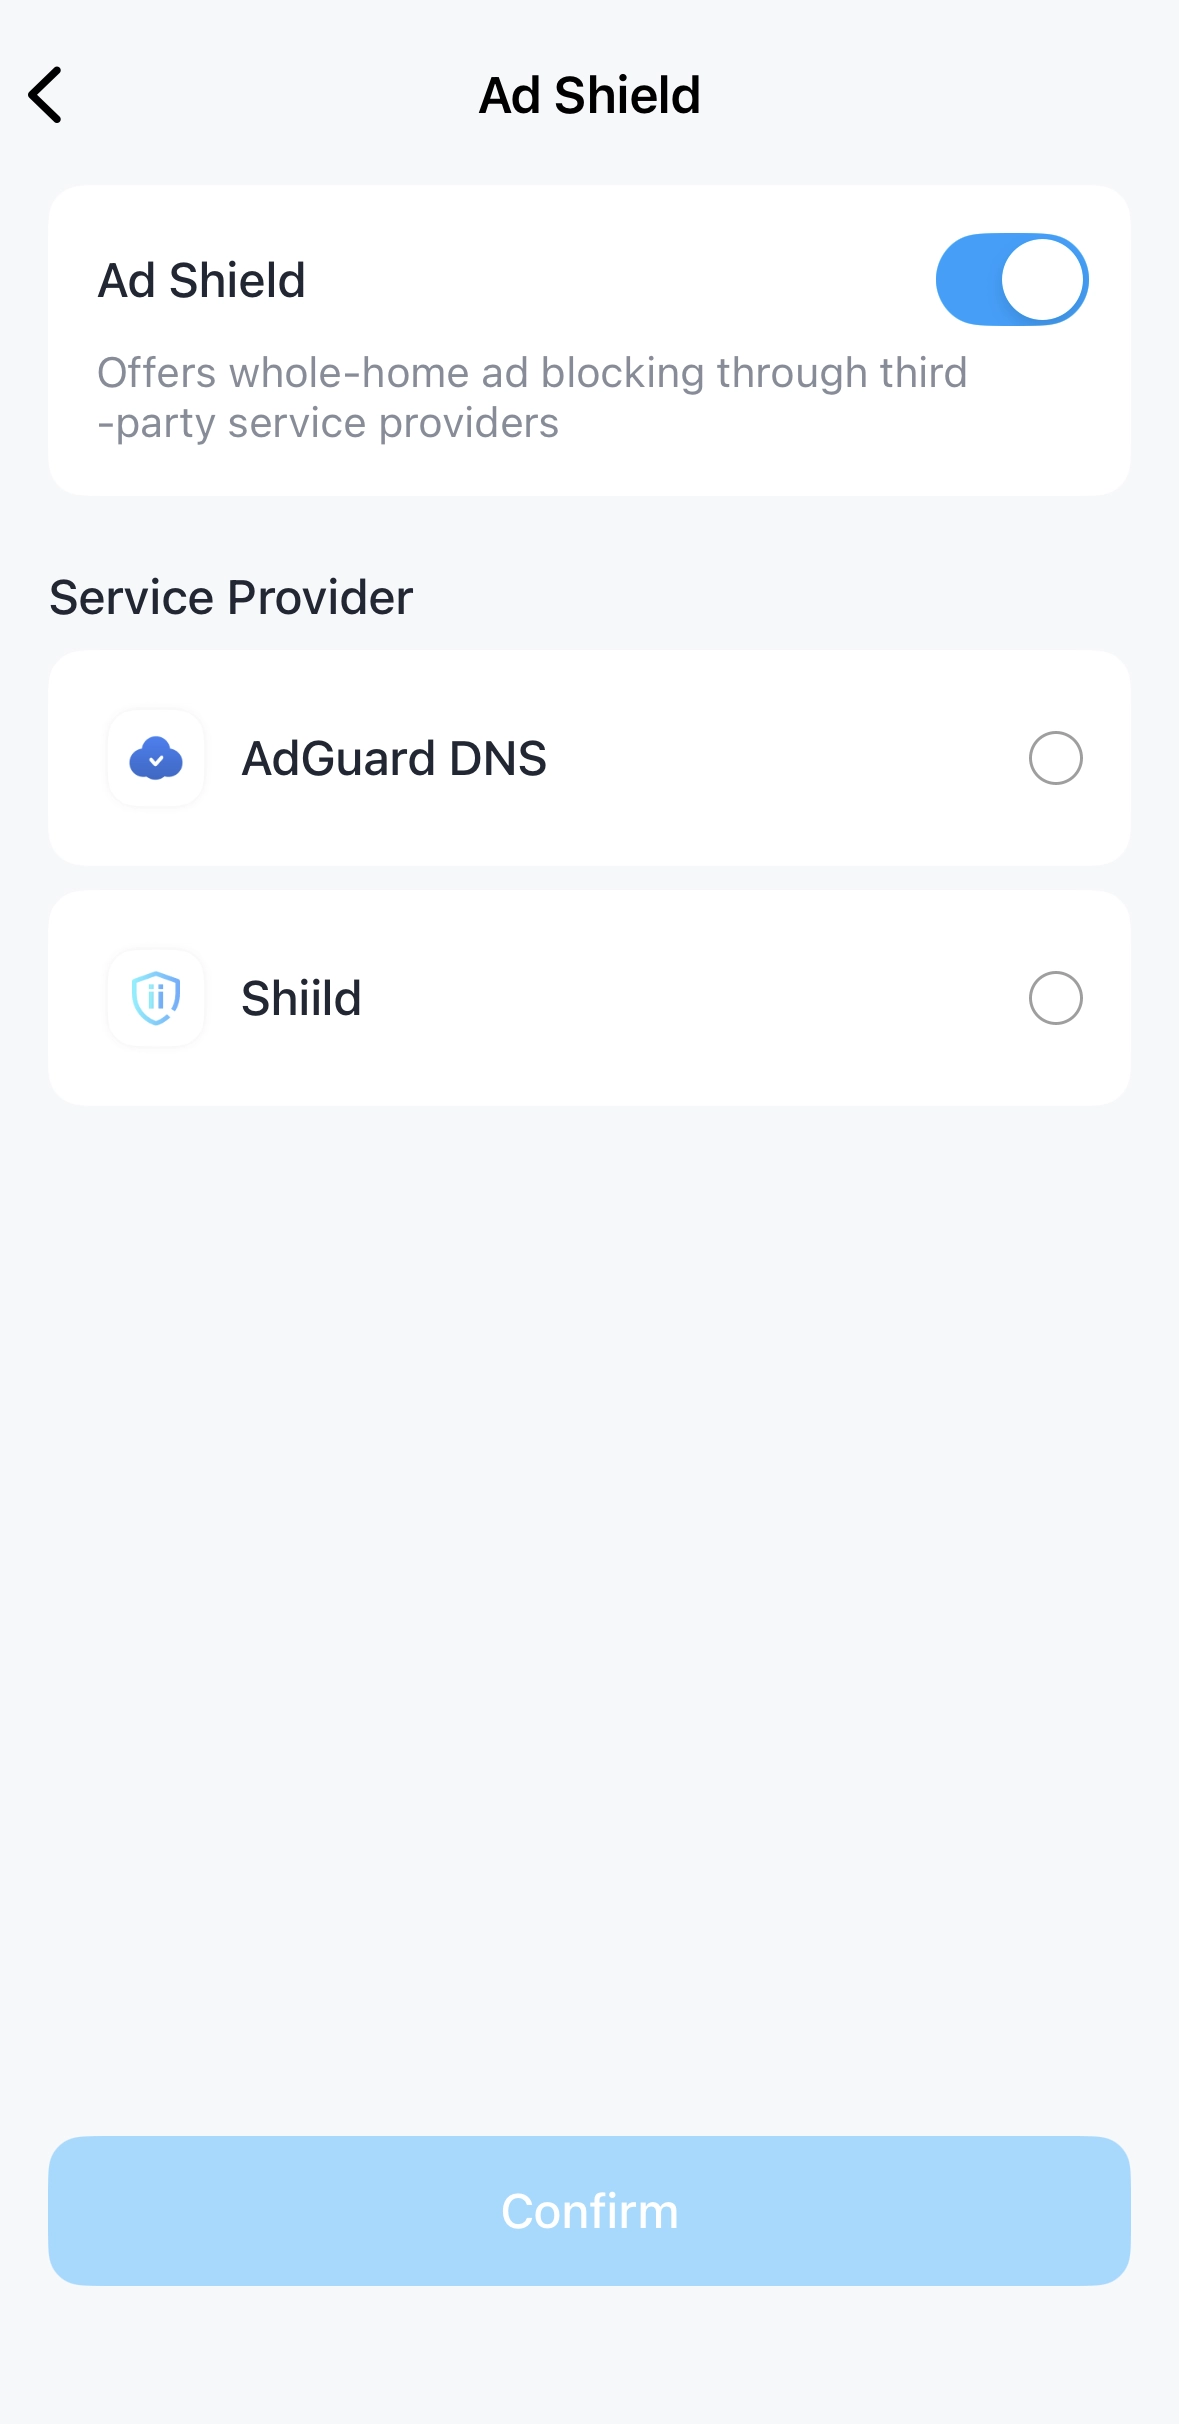
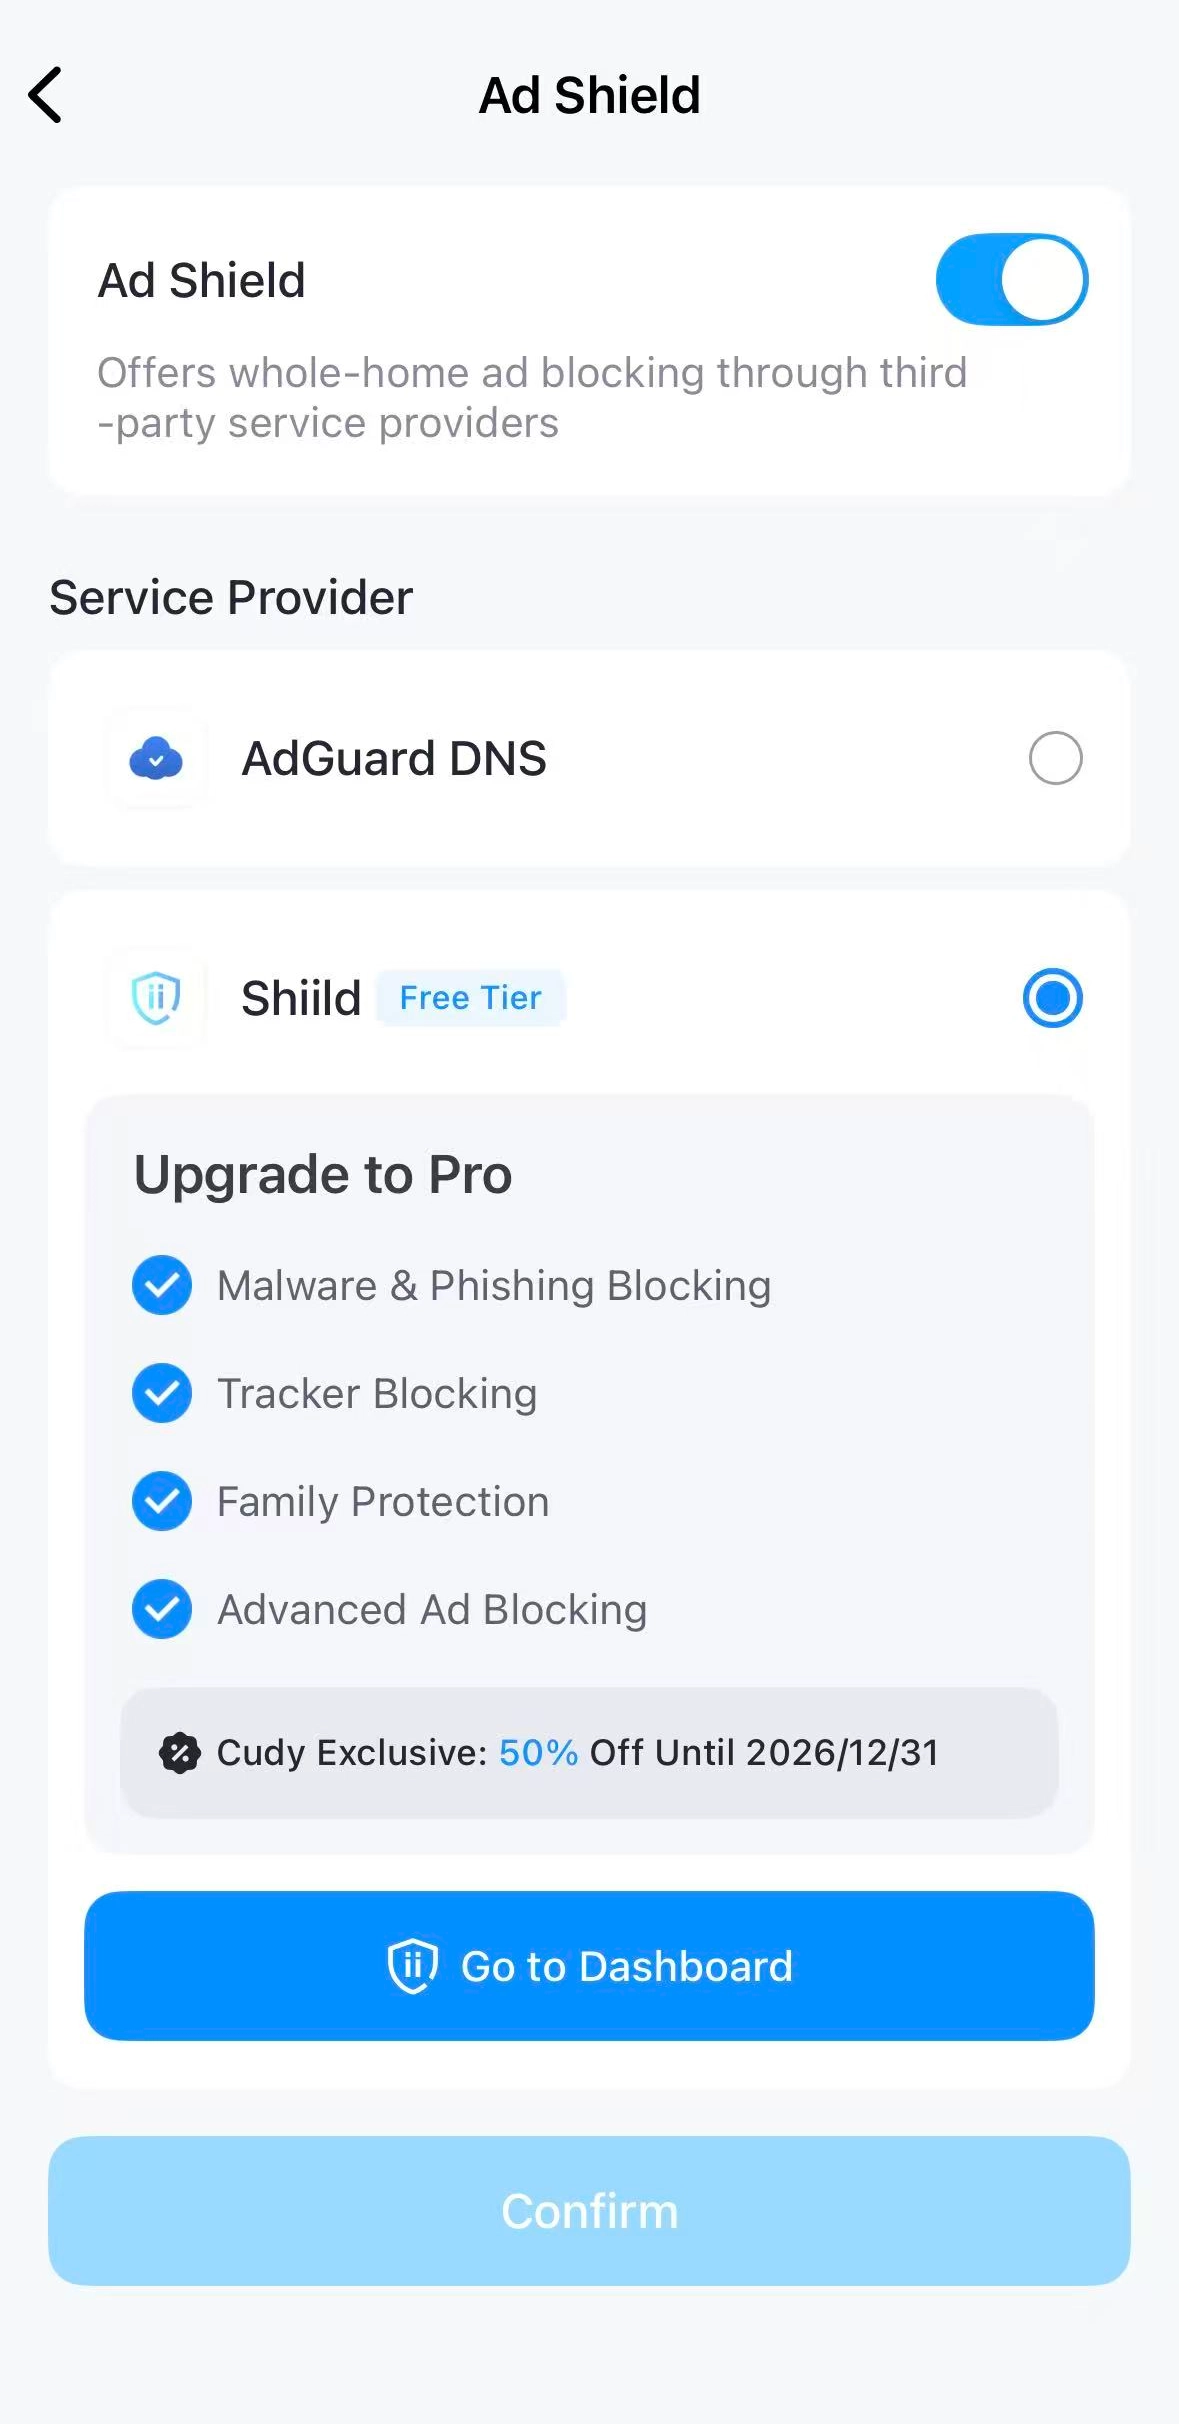
Select a Service Provider, and continue with the following steps accordingly.
Note
AdGuard DNS requires Cudy App V1.5.5+; Shiild requires Cudy App V1.5.2+.
If selecting AdGuard DNS:
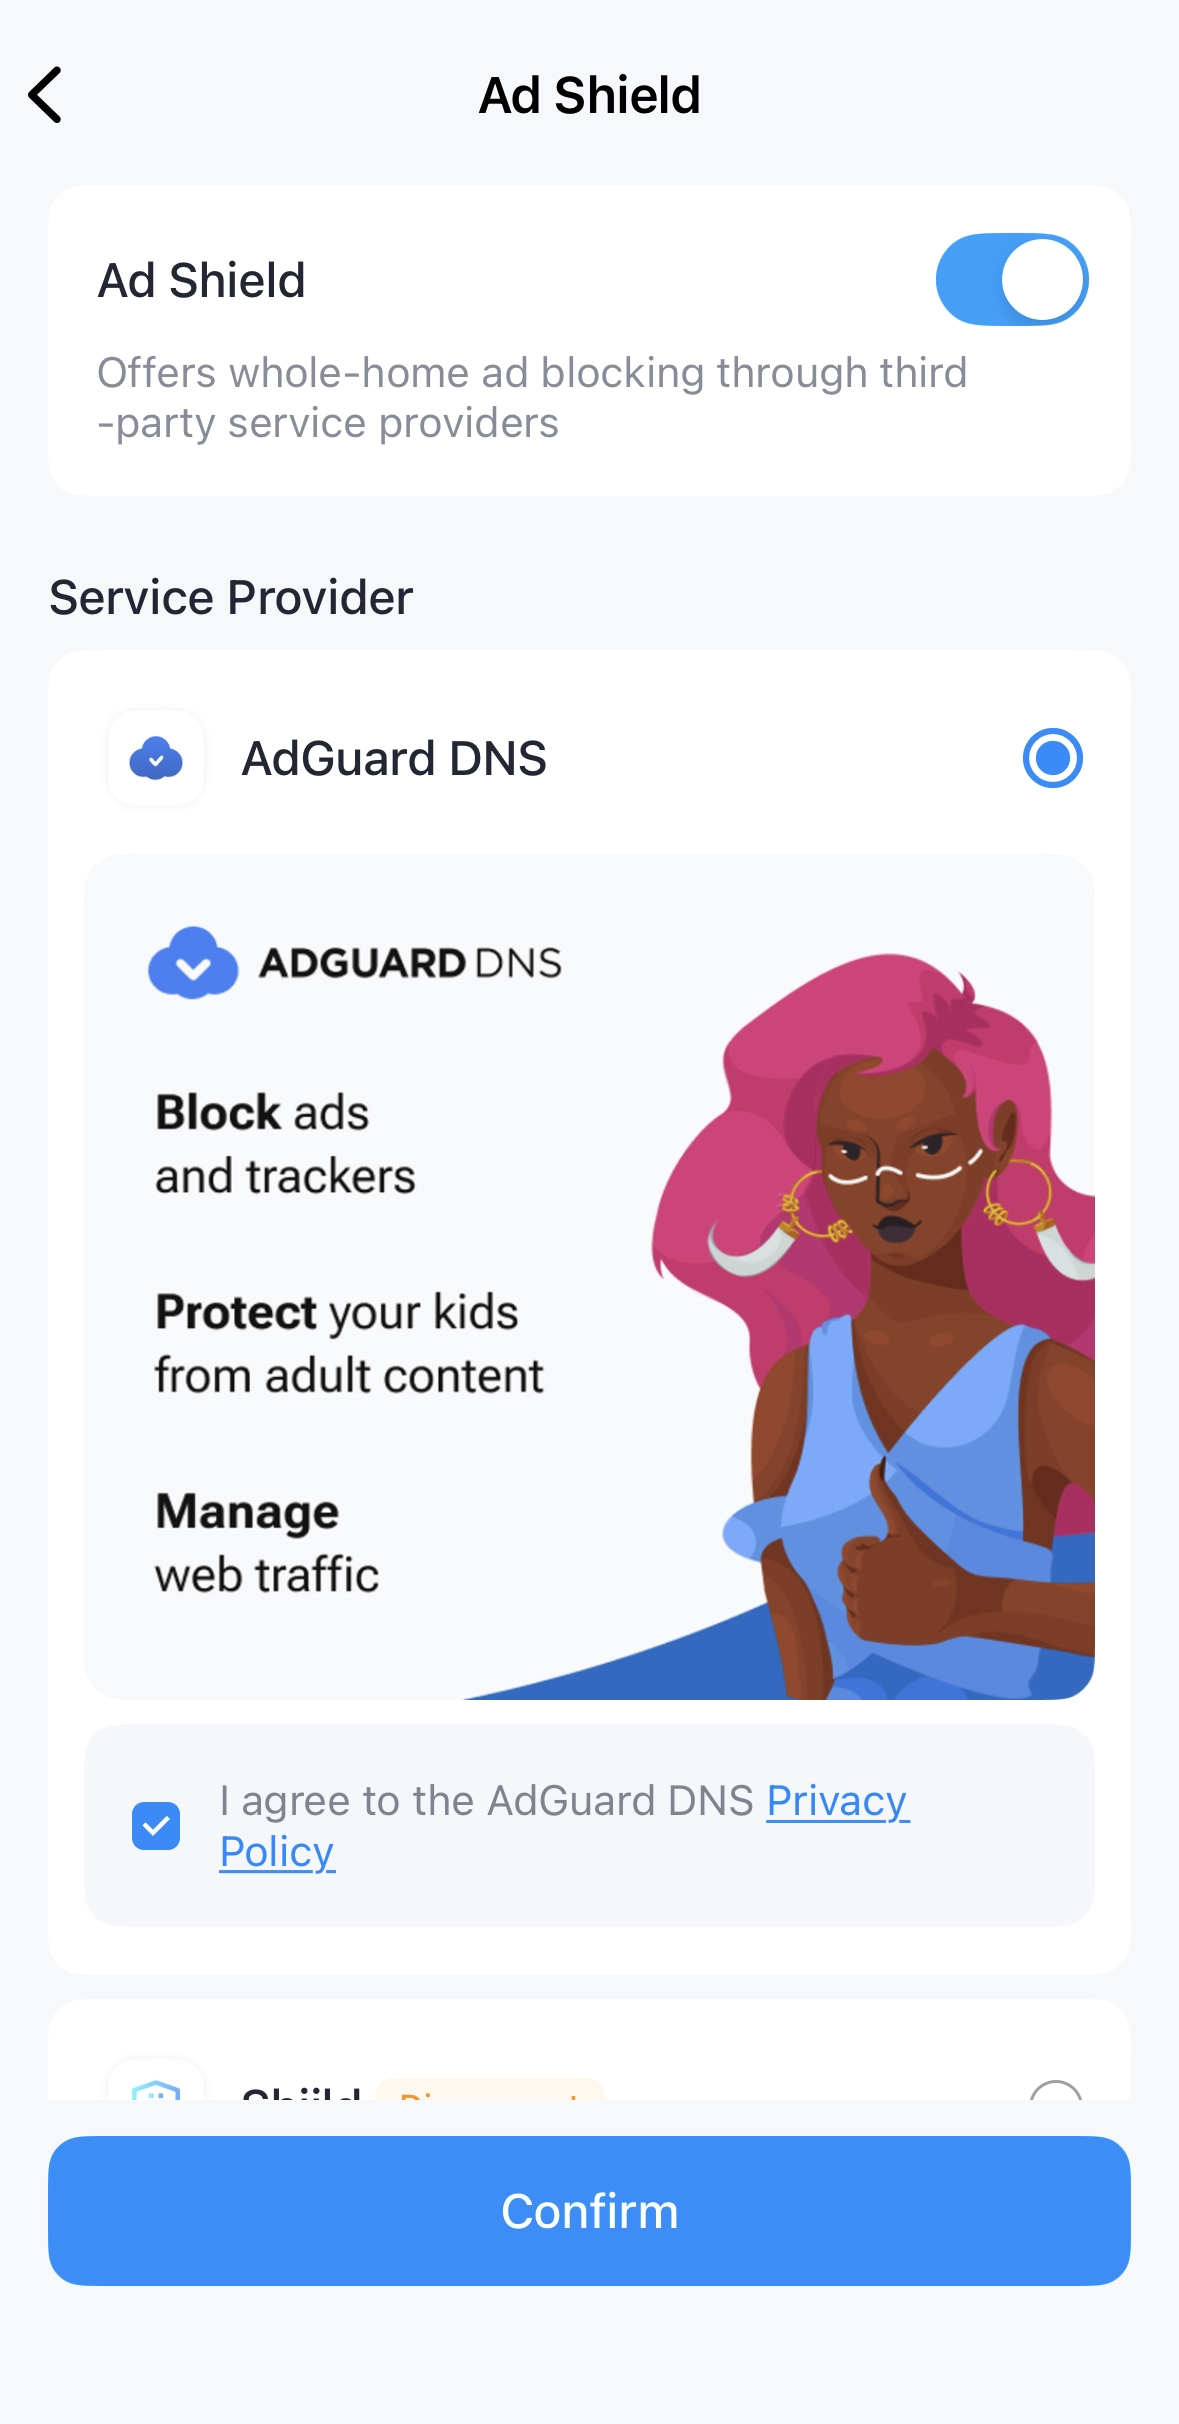
(1) Tick I agree to..., and click Confirm.
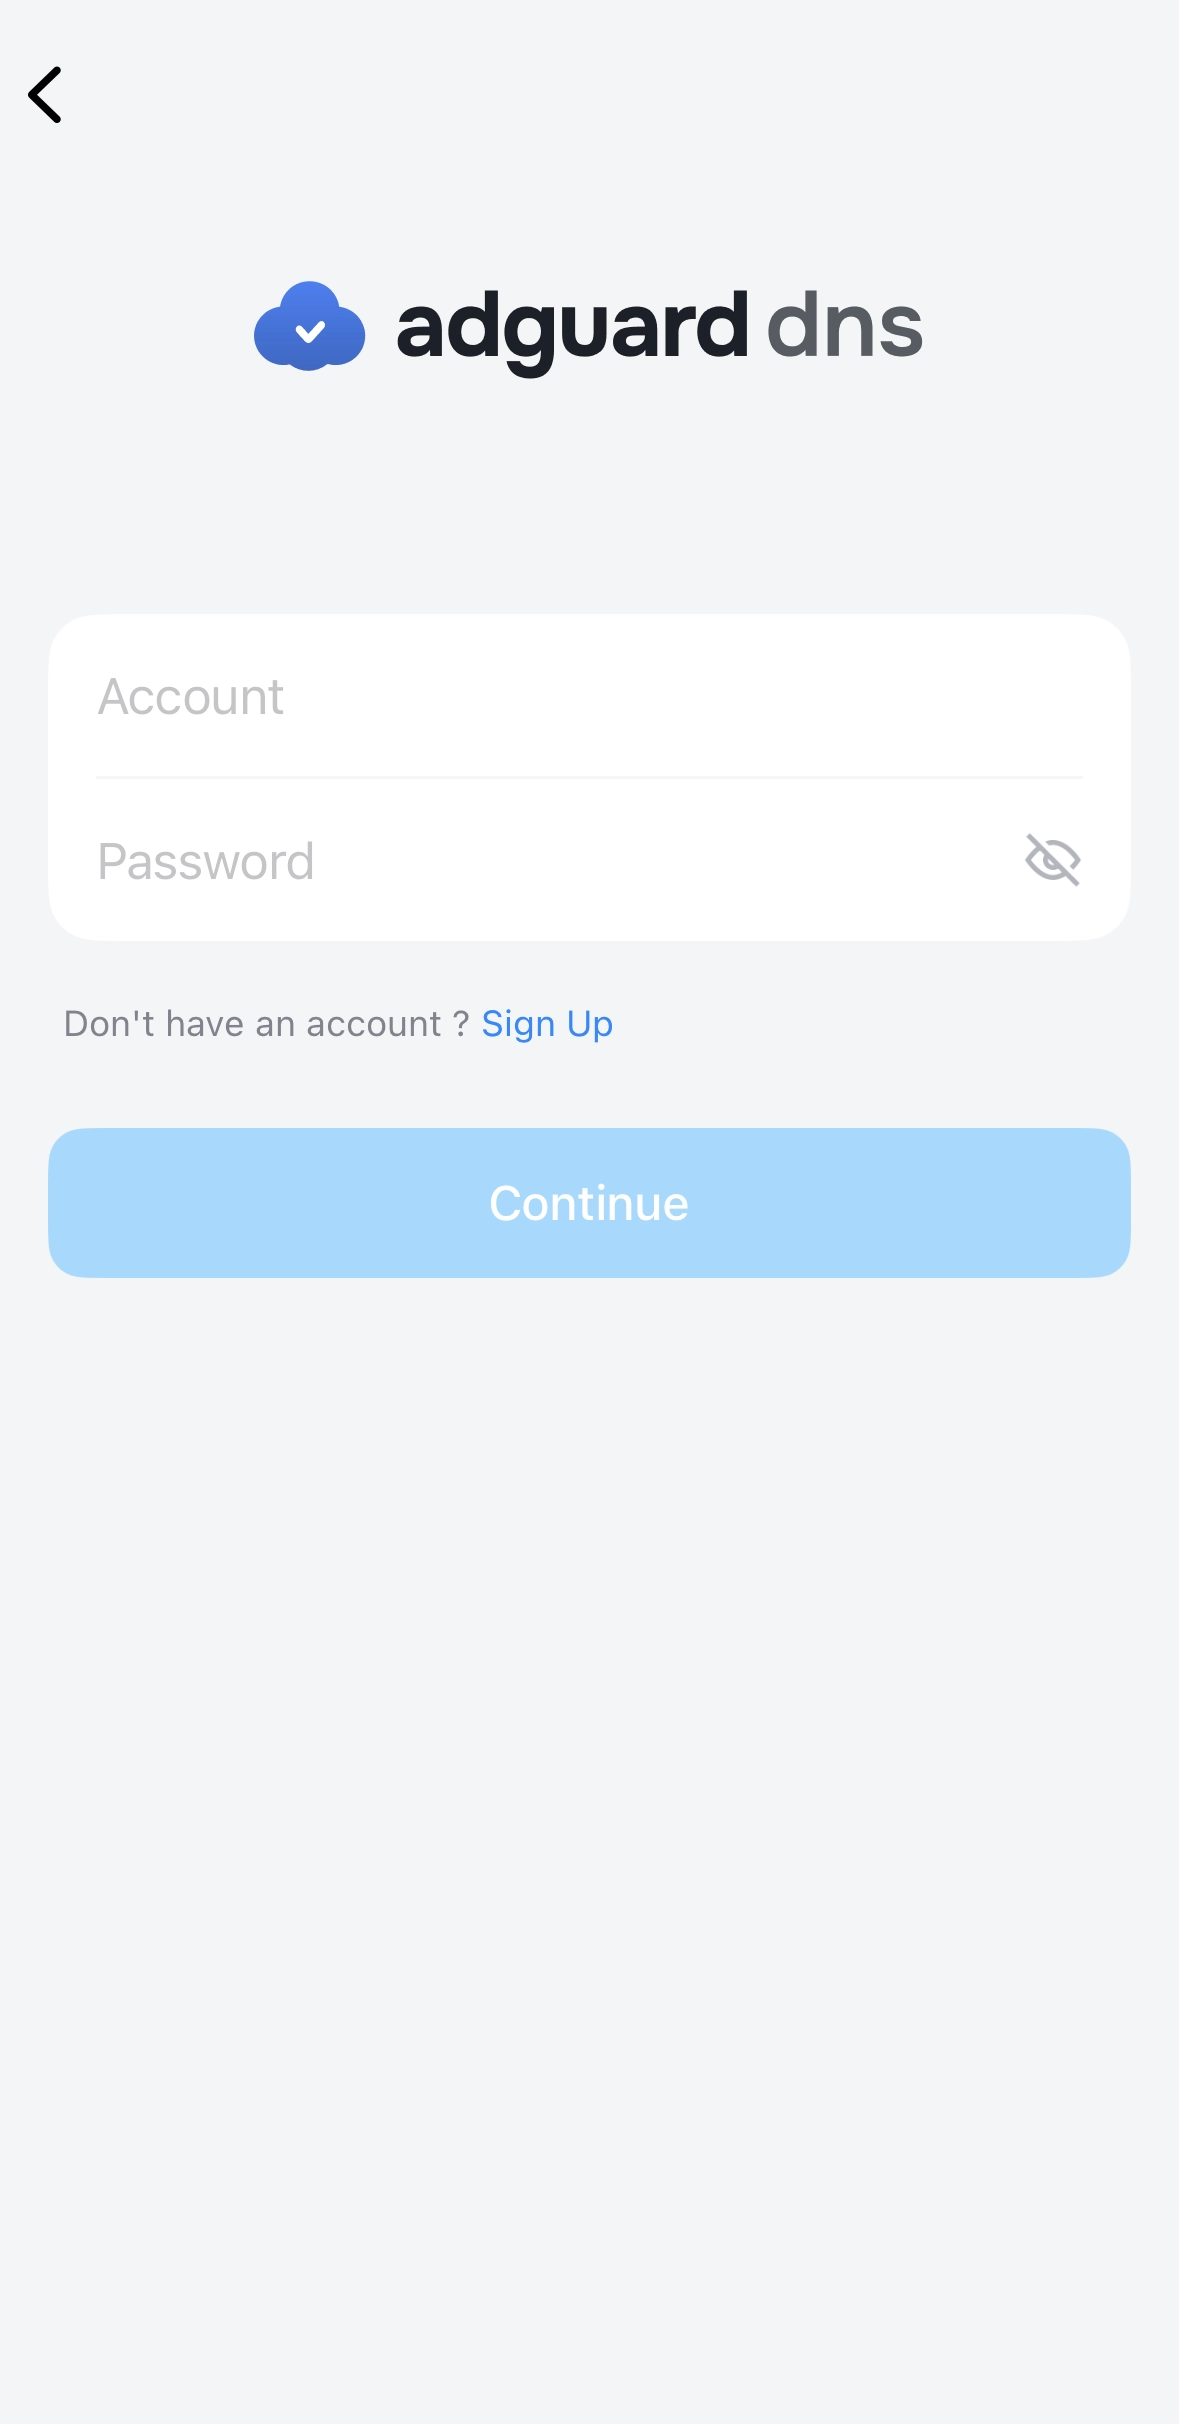
(2) Enter your AdGuard DNS account Username and Password, and click Continue.
Tip
Don't have an account yet? Click Sign Up to create one. Visit our partner link https://adguard-dns.io/ to learn more about available offers.
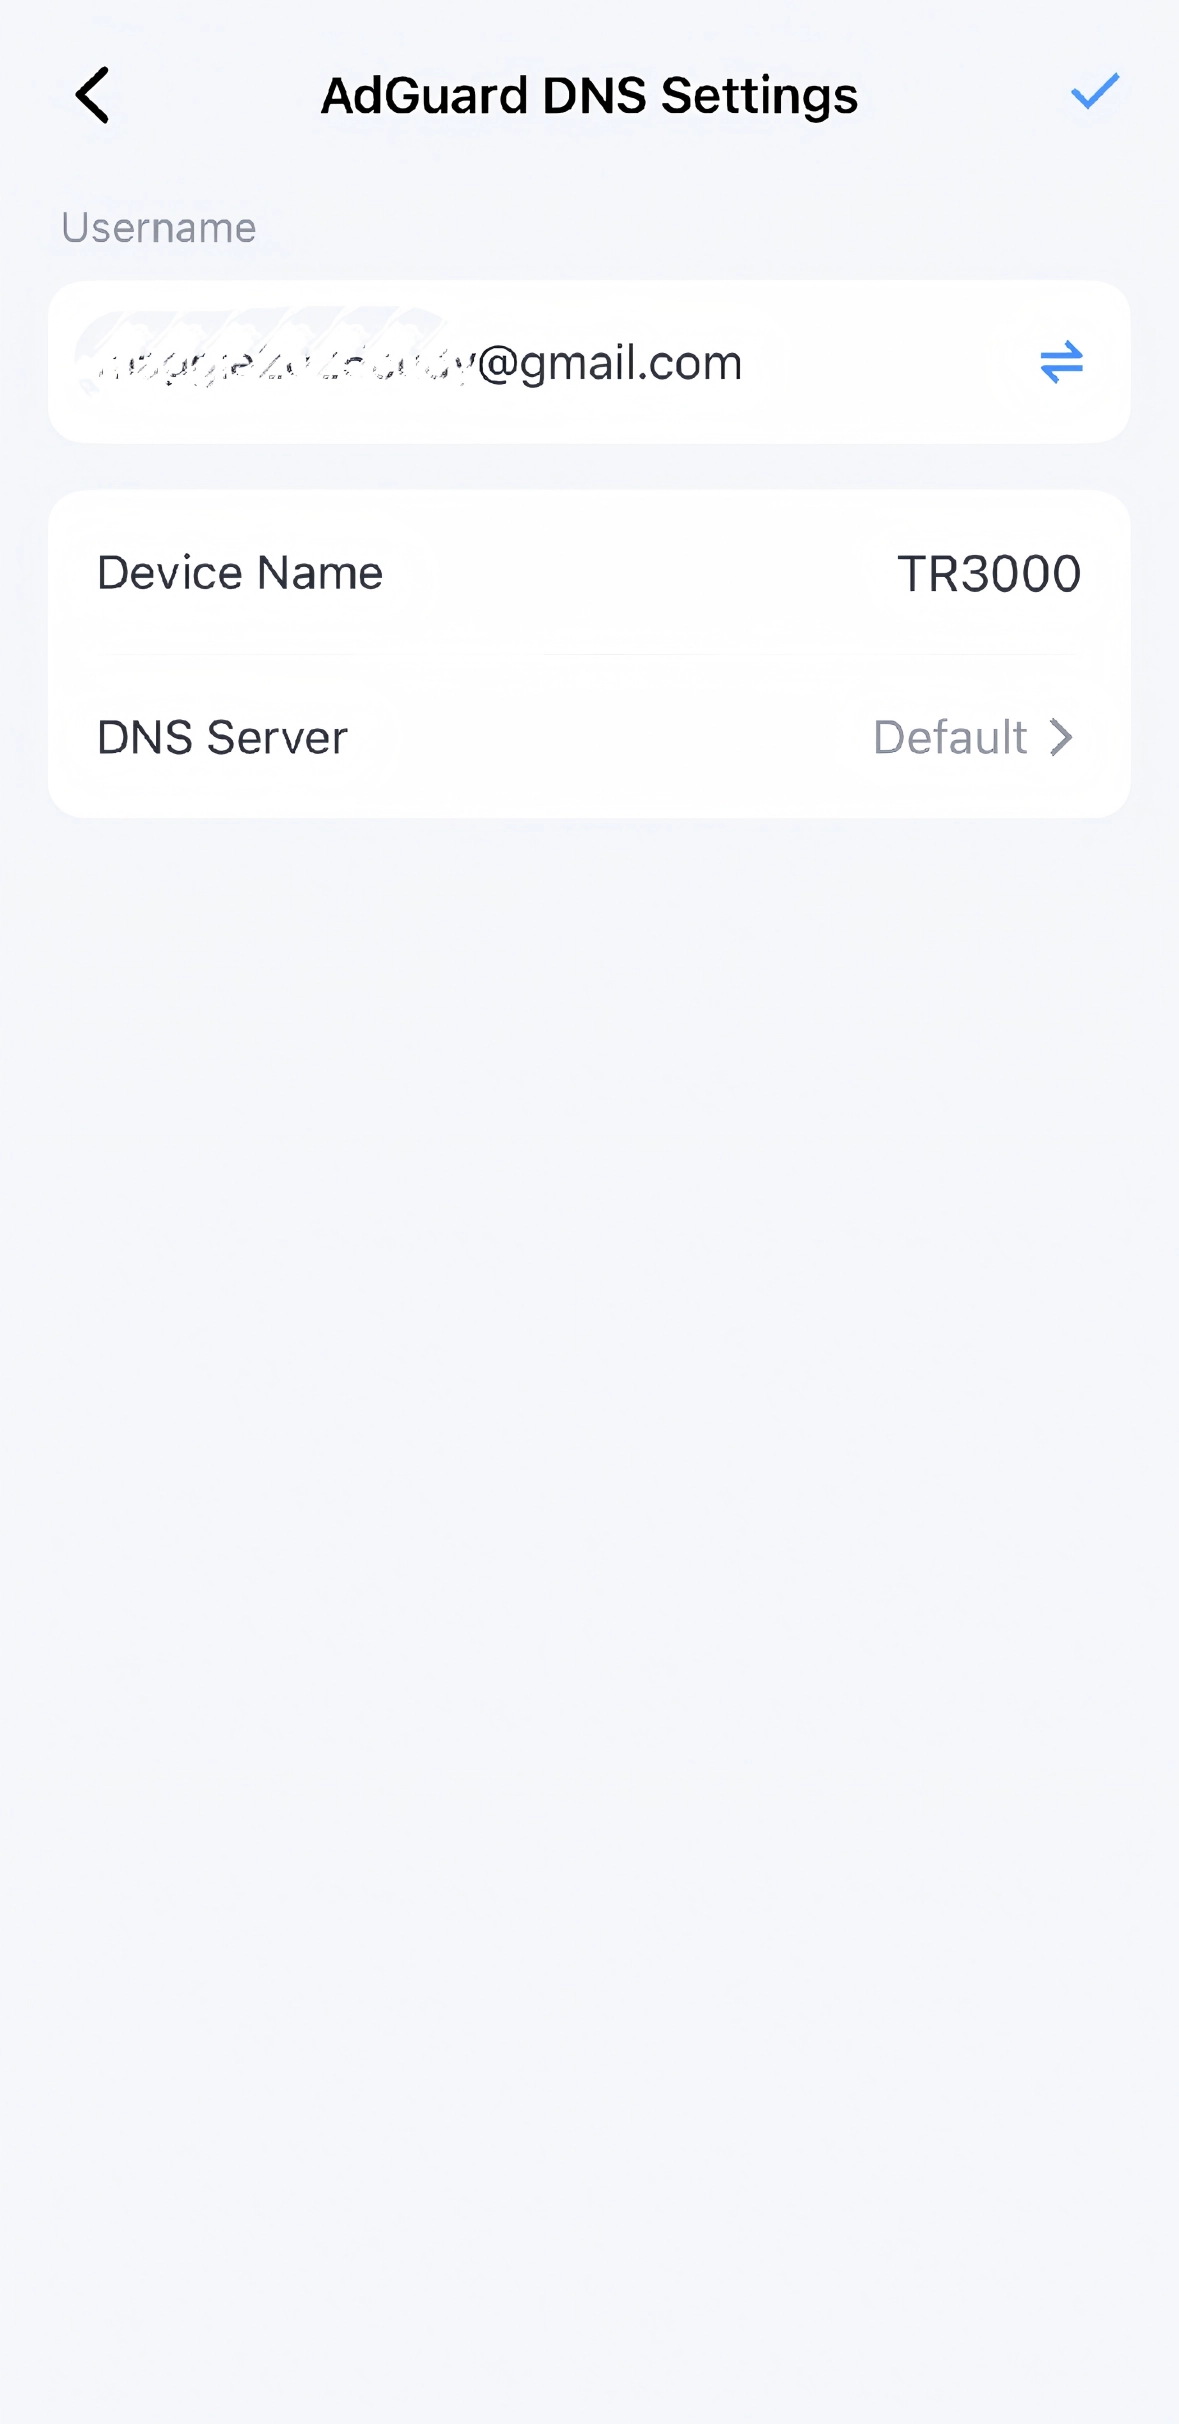
(3) Set a Device Name, keep DNS Server as Default, and tap the ✔ icon at the top right.
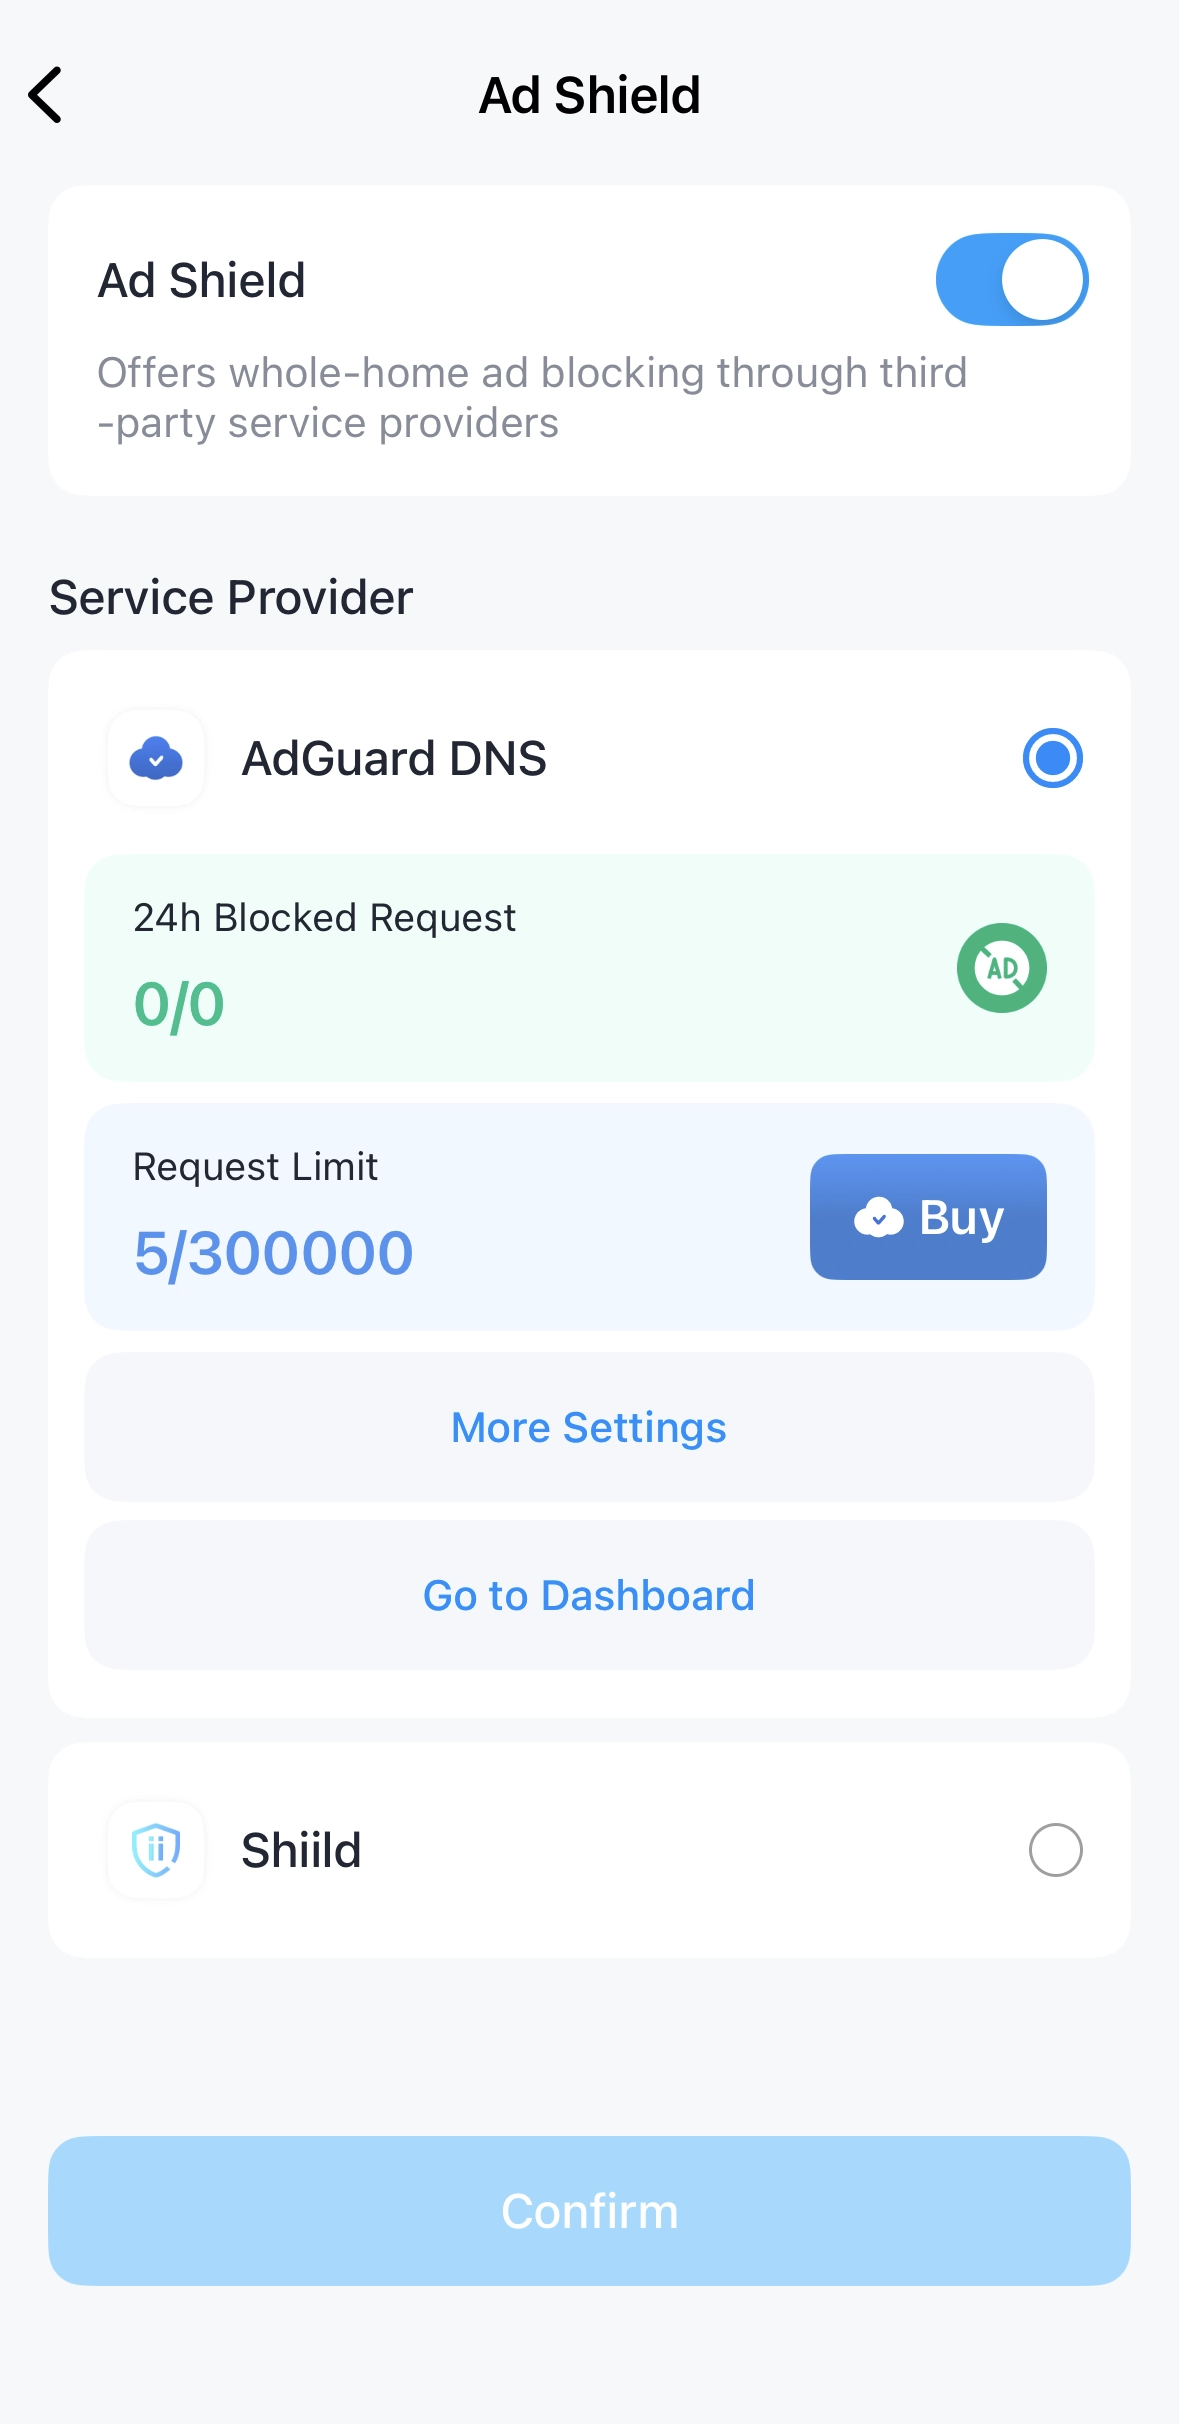
(4) Now AdGuard DNS is working to help block ads or other unwanted contents. You may tap Buy or Go to Dashboard for more settings on your AdGuard DNS account.
If selecting Shiild:
(1) Tick I agree to..., and click Confirm.
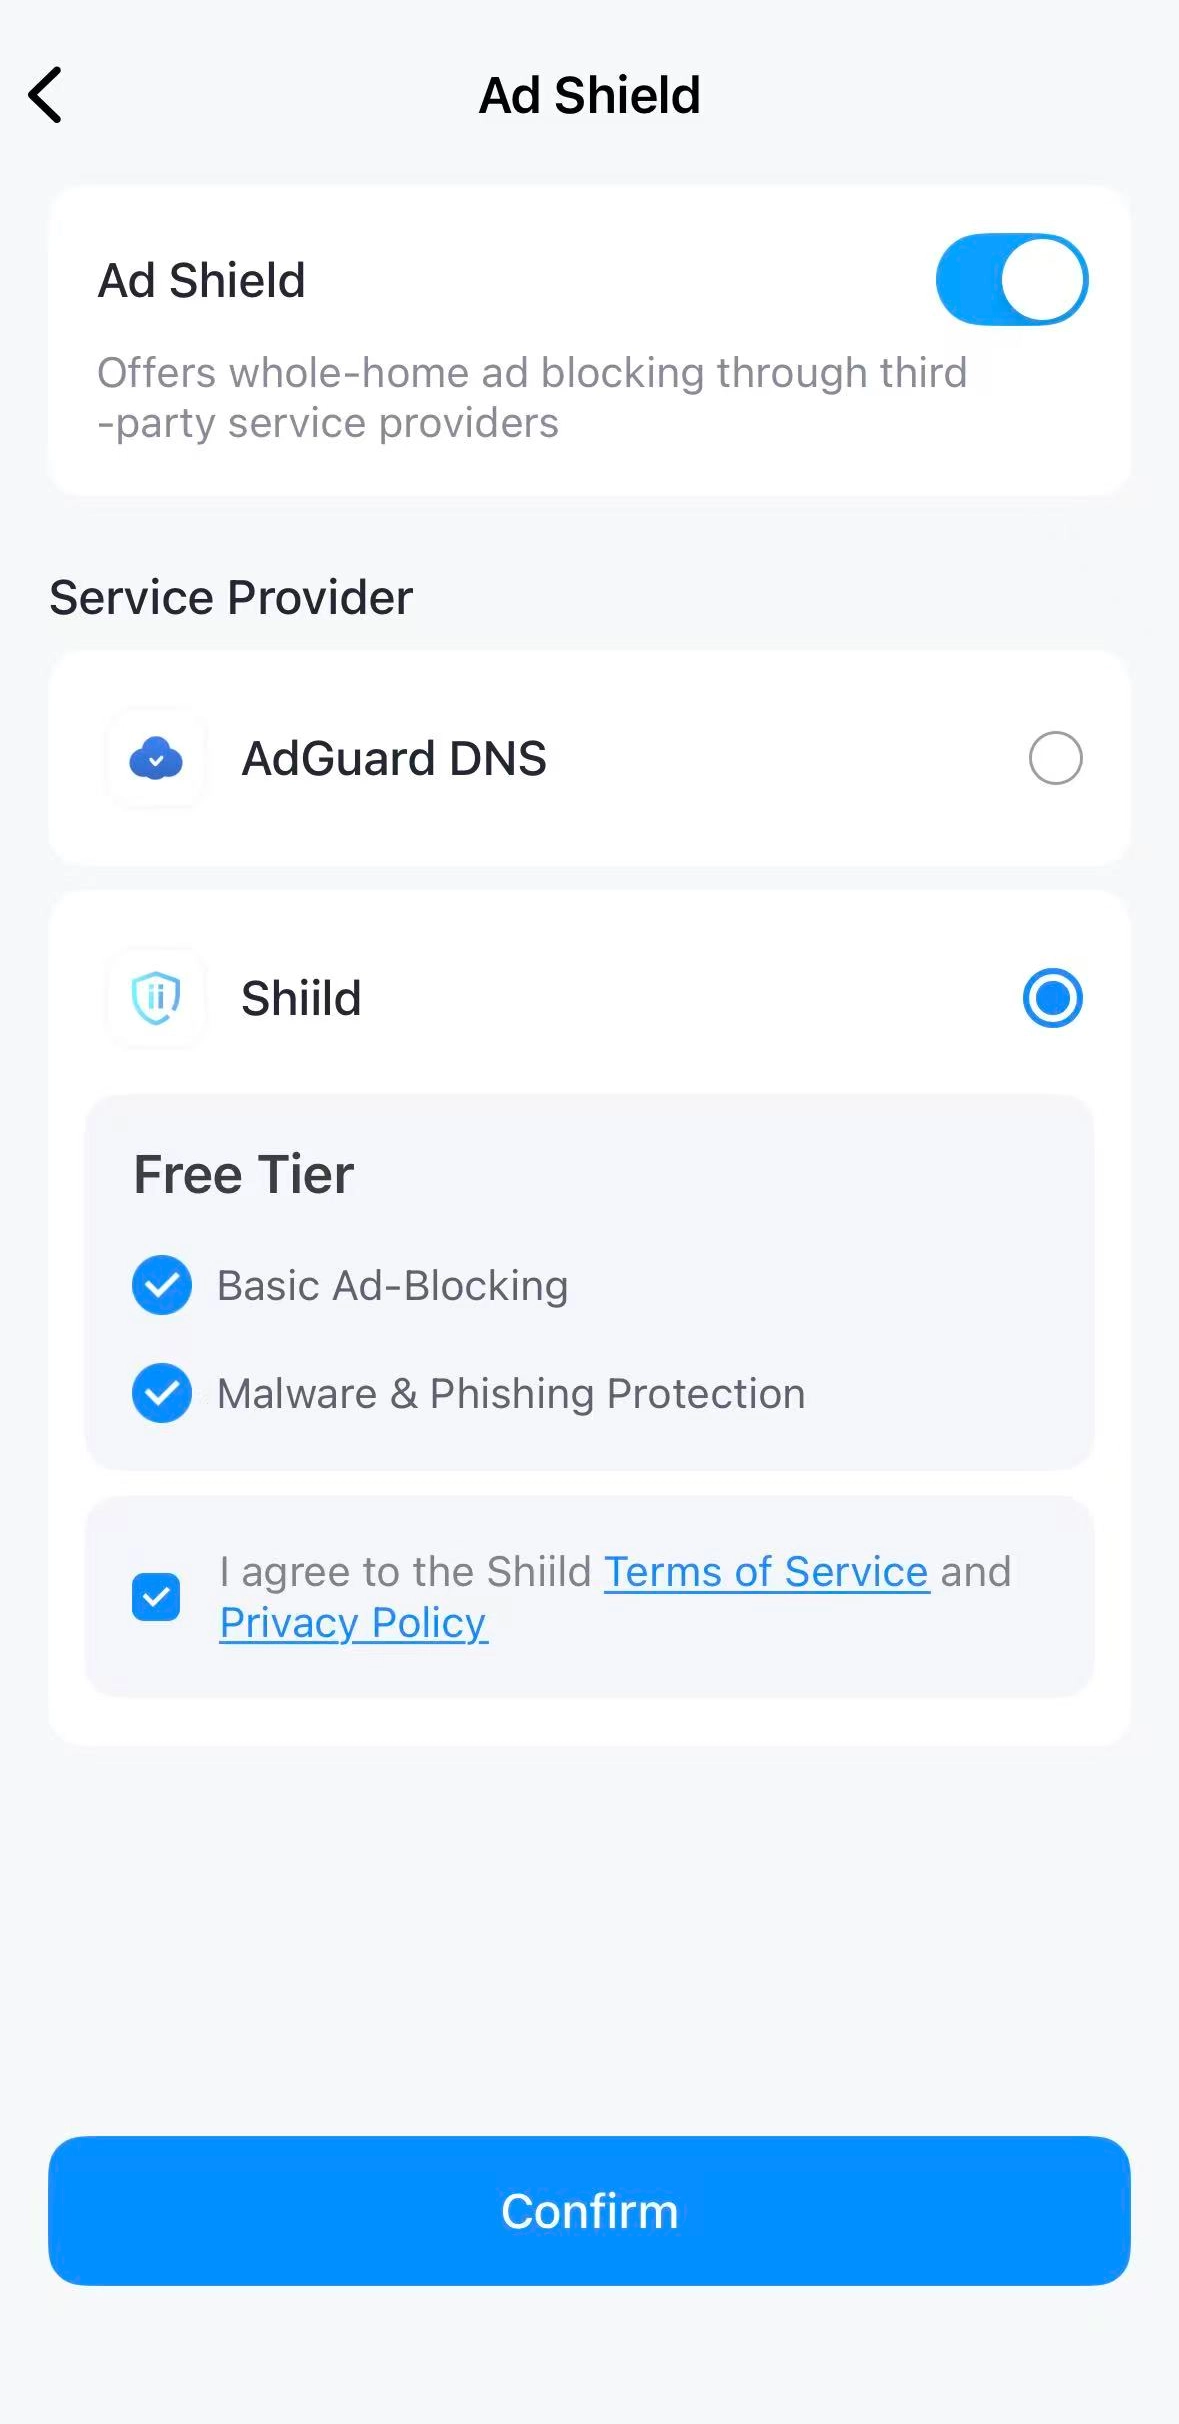
(2) Enter your email and click Send verification email to keep Shiild Security Free active.
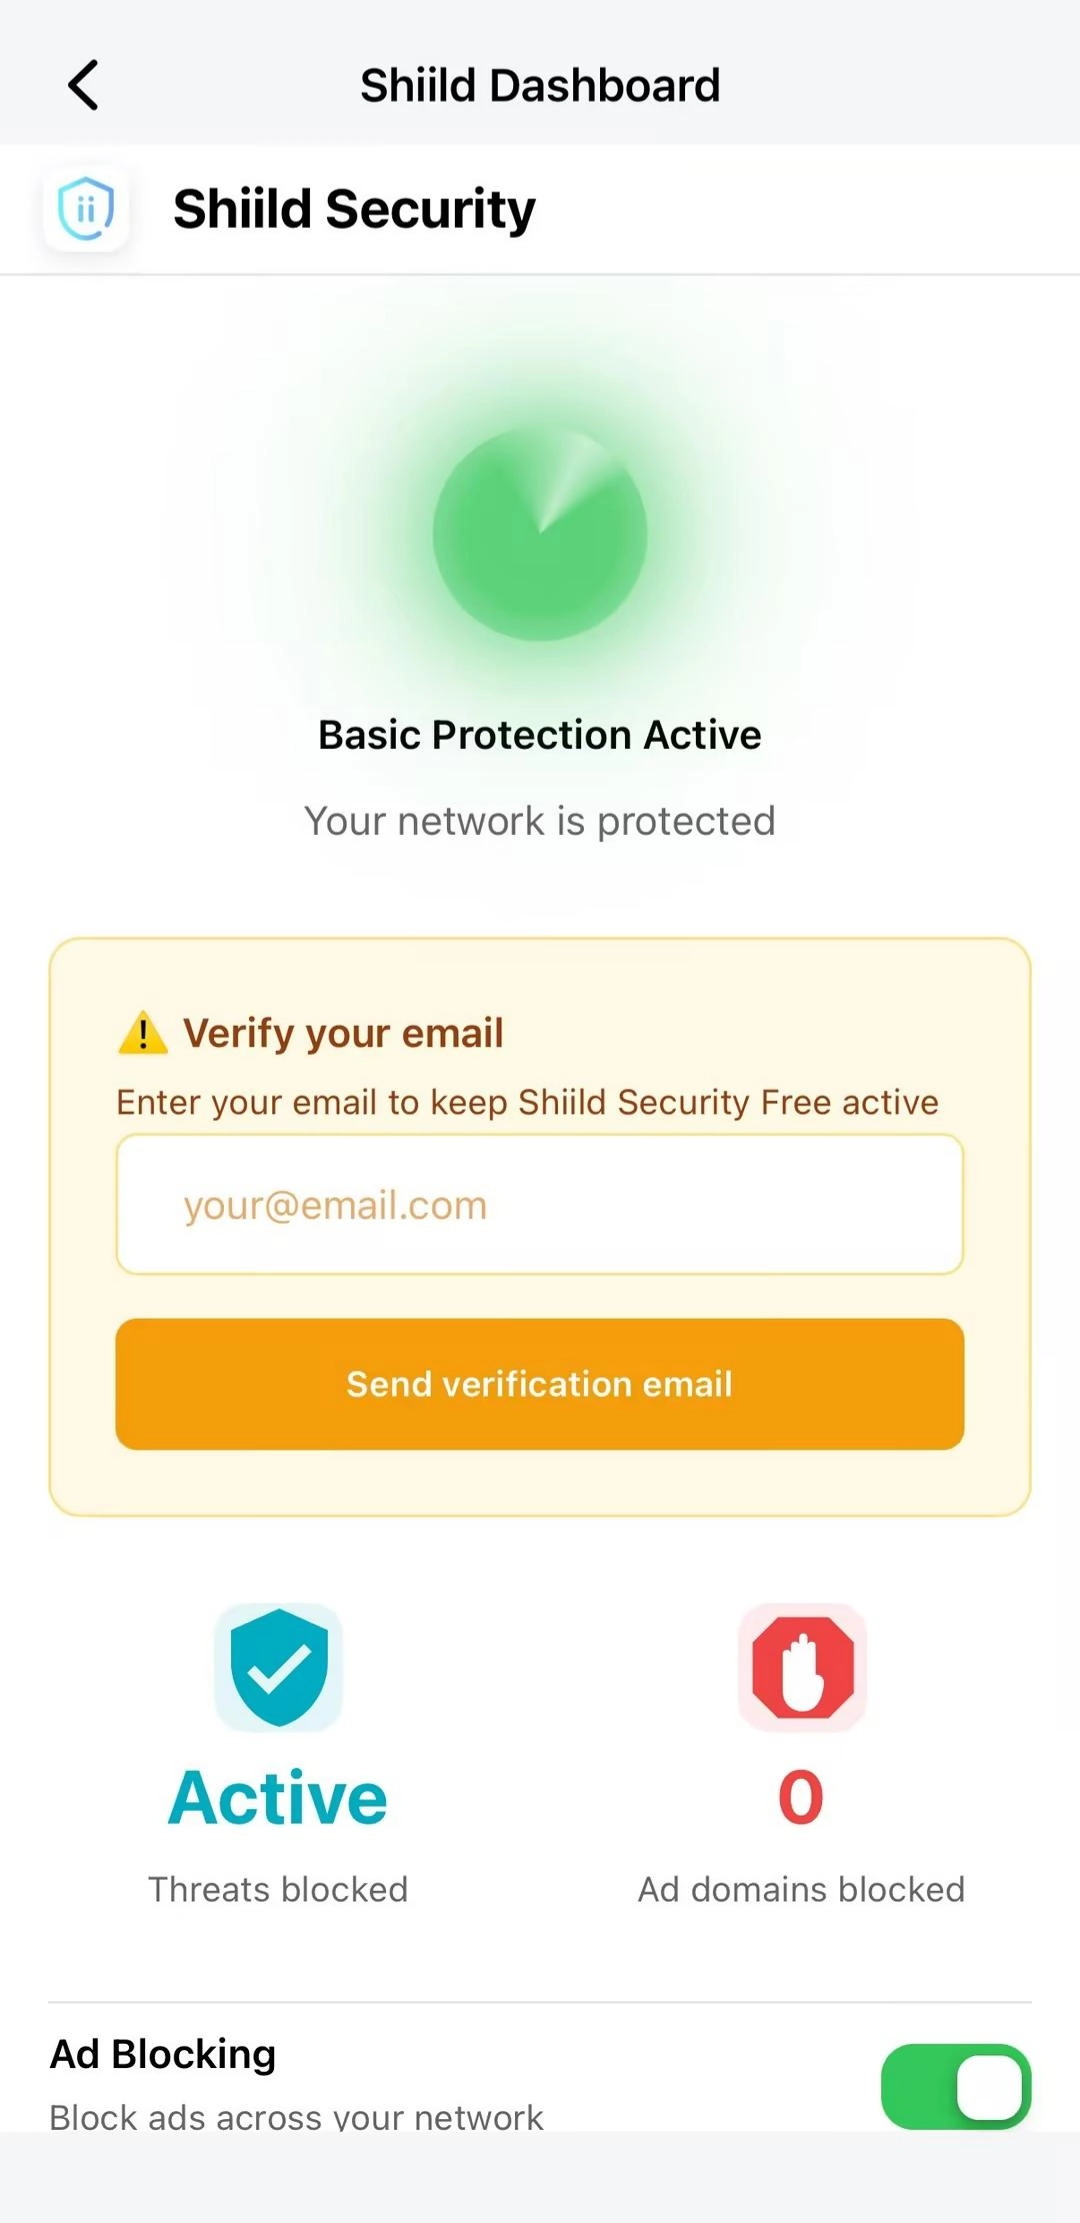
(3) Now Shiild is working to help block ads or other unwanted contents. You may tap Go to Dashboard to upgrade to Pro or for more settings on your Shiild account.
Using Web Interface
-
Log in your router's web interface at cudy.net (or 192.168.10.1).
-
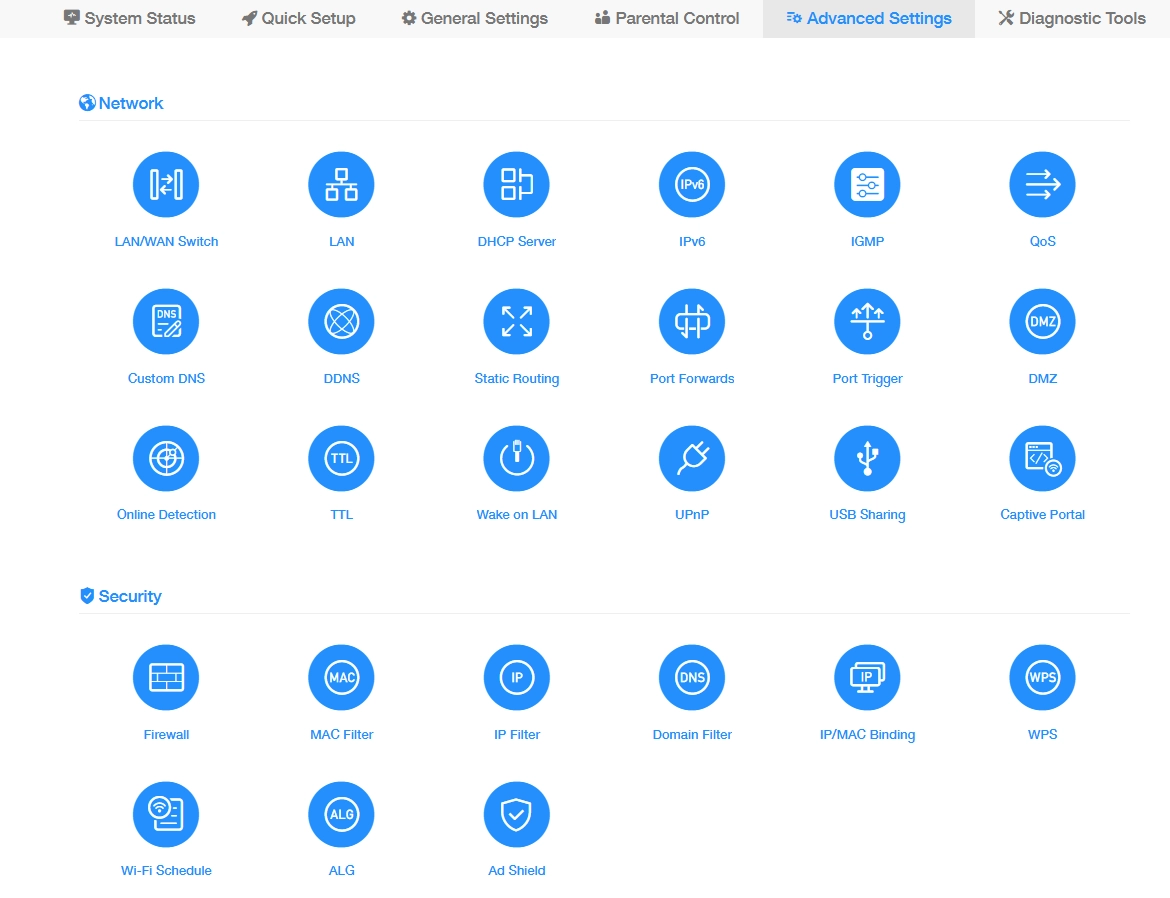
Go to Advanced Settings > Security > Ad Shield.
-
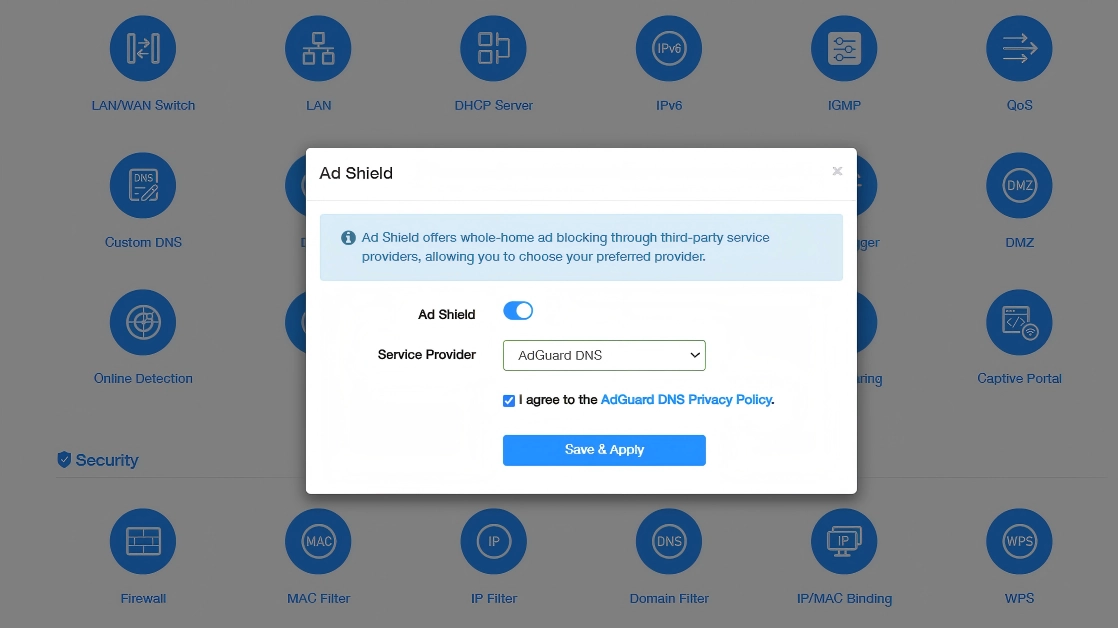
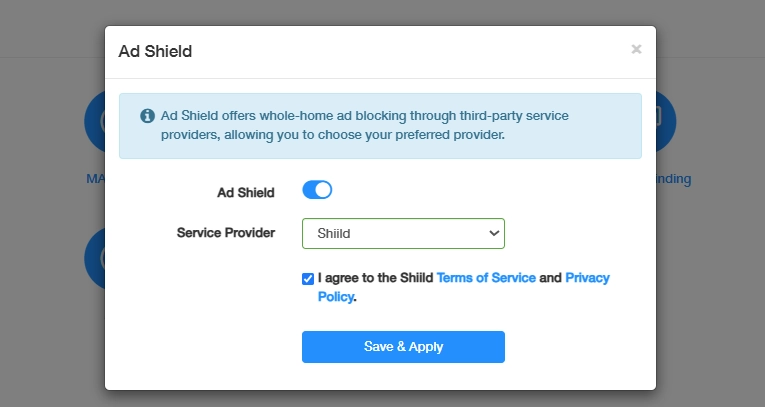
Enable Ad Shield, select AdGuard DNS or Shiild as the service provider, and continue with the following steps accordingly.
If selecting AdGuard DNS:
(1) Tick I agree to ..., and click Save & Apply.
(2) Sign in your Adguard DNS account with the username and password, and click Continue.
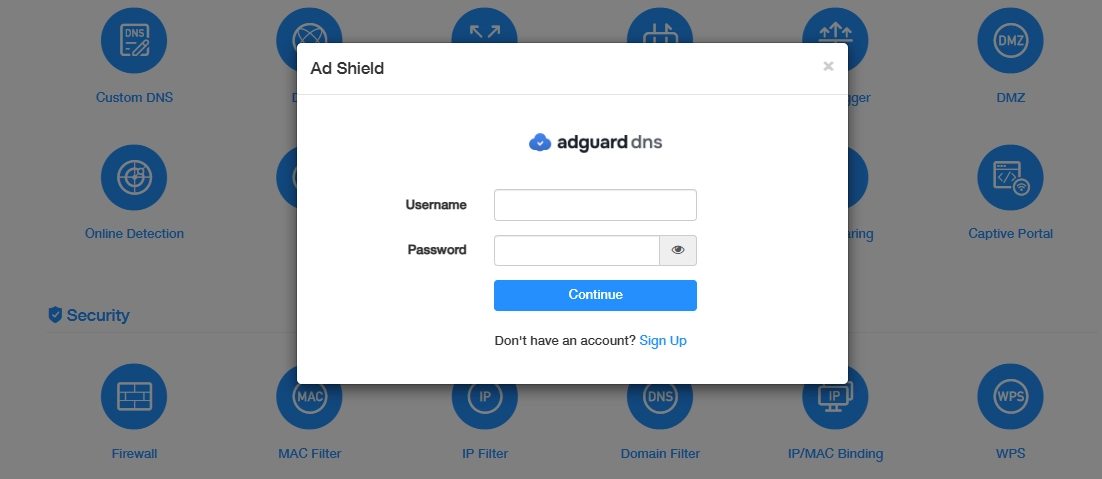
Tip
Don't have an account yet? Click Sign Up to create one. Visit our partner link https://adguard-dns.io/ to learn more about available offers.
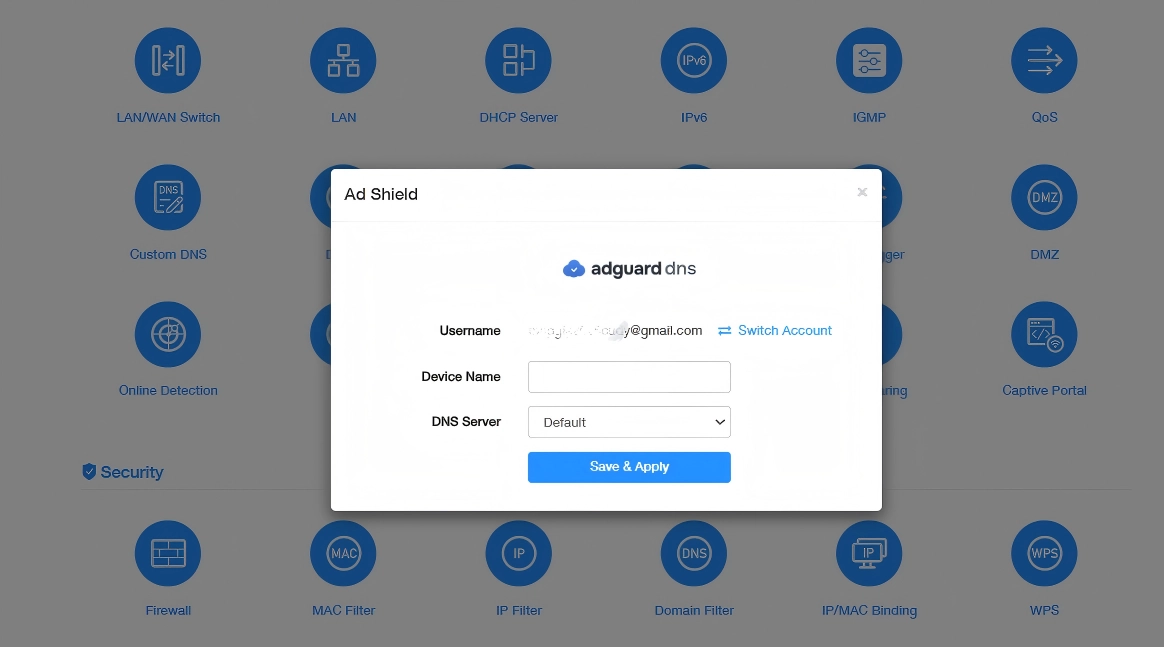
(3) Set a Device Name, select Default as the DNS Server, and click Save & Apply.
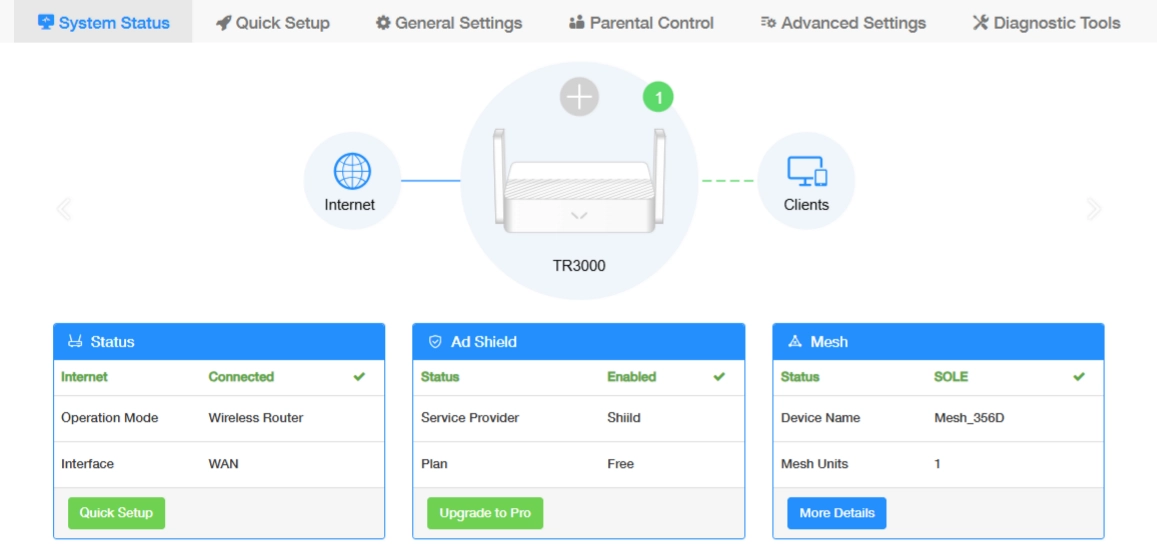
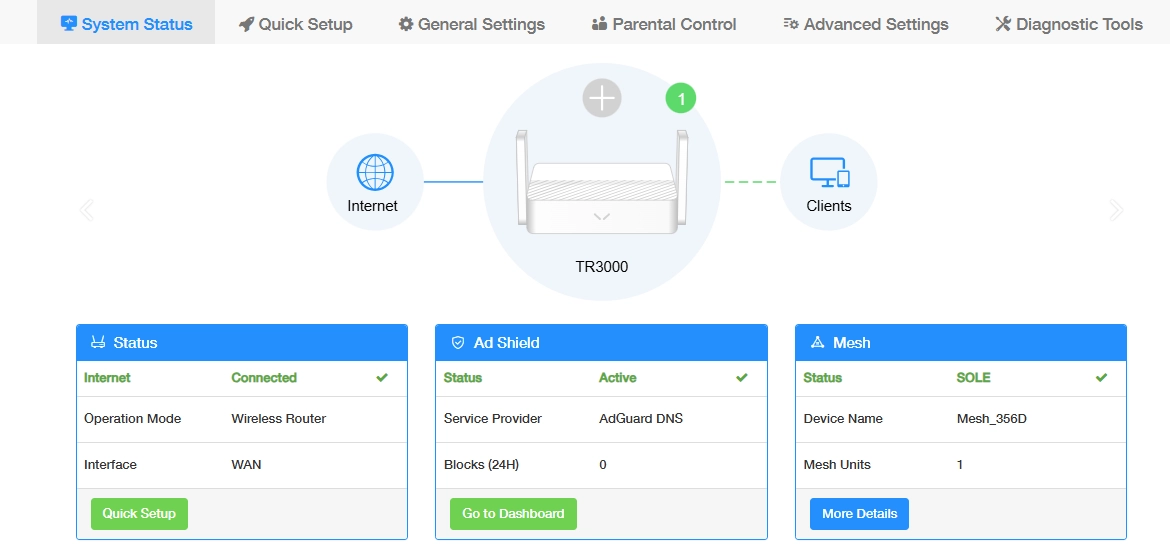
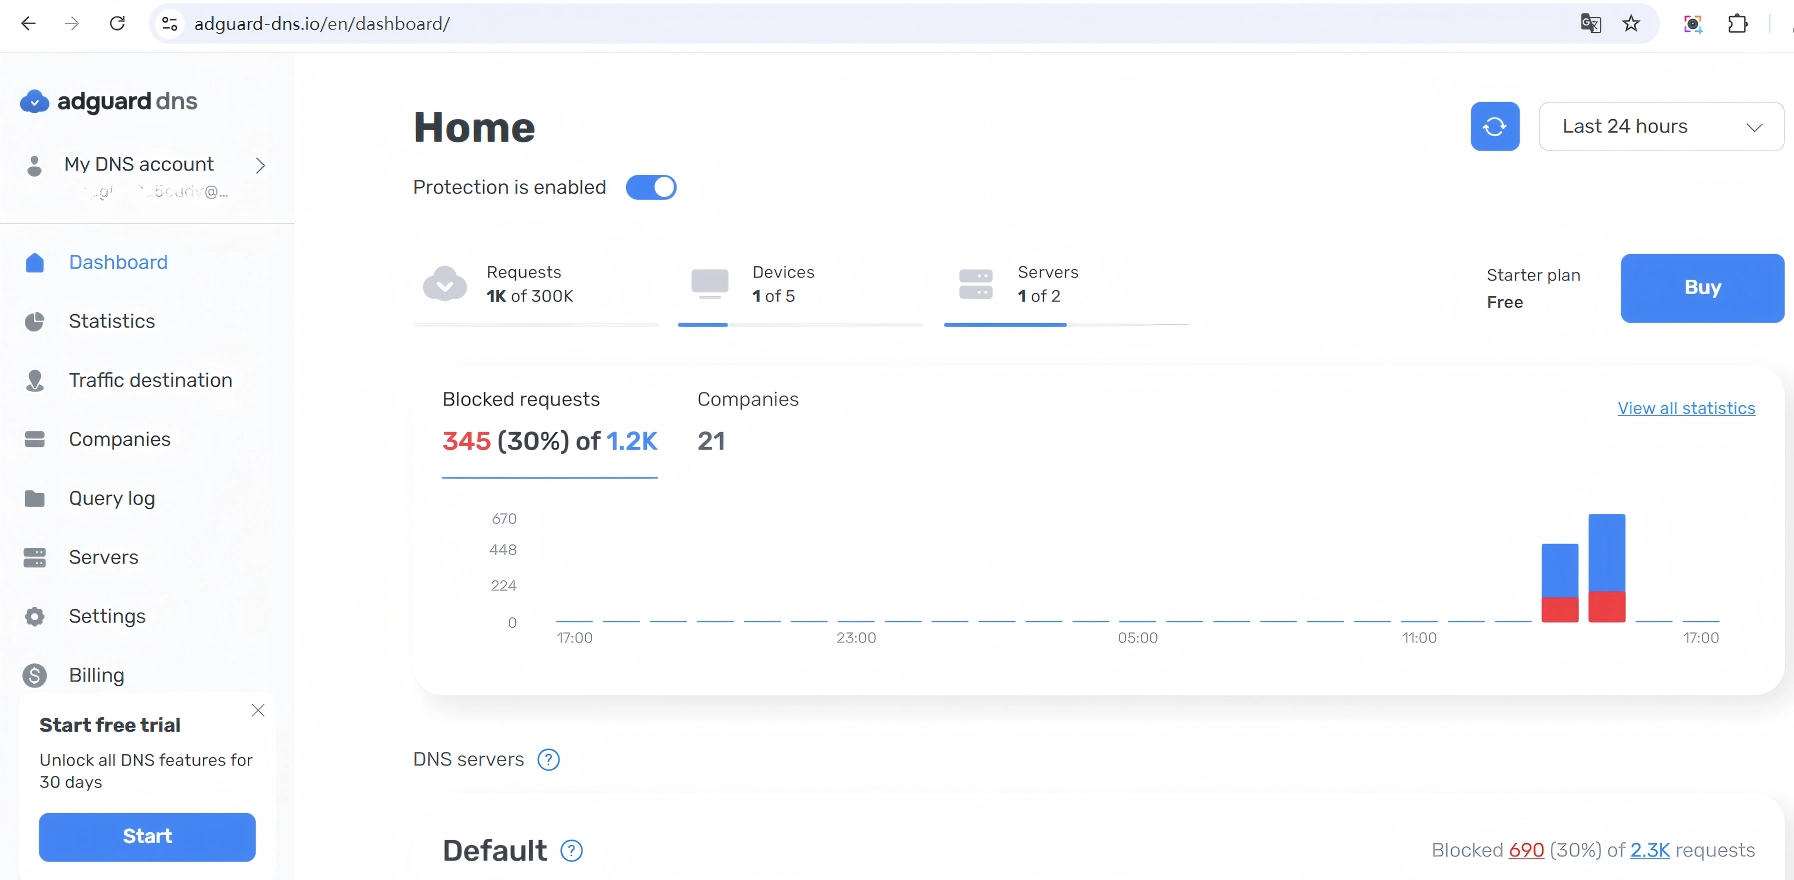
(4) Check the Active status on System Status > Ad Shield, and more details on Go to Dashboard.
If selecting Shiild:
(1) Tick I agree to ..., and click Save & Apply.
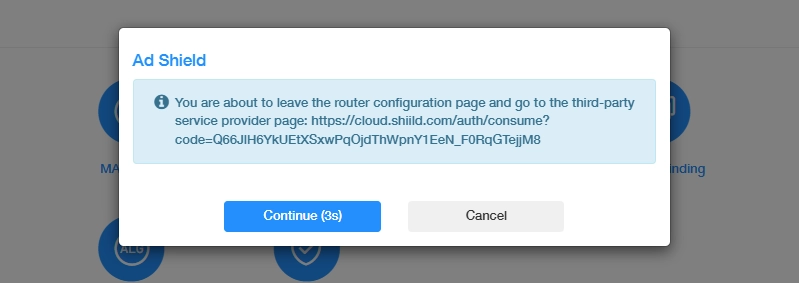
(2) Click Continue and go to the Shiild Security page.
(3) Enter your email and click Send verification email to keep it active.
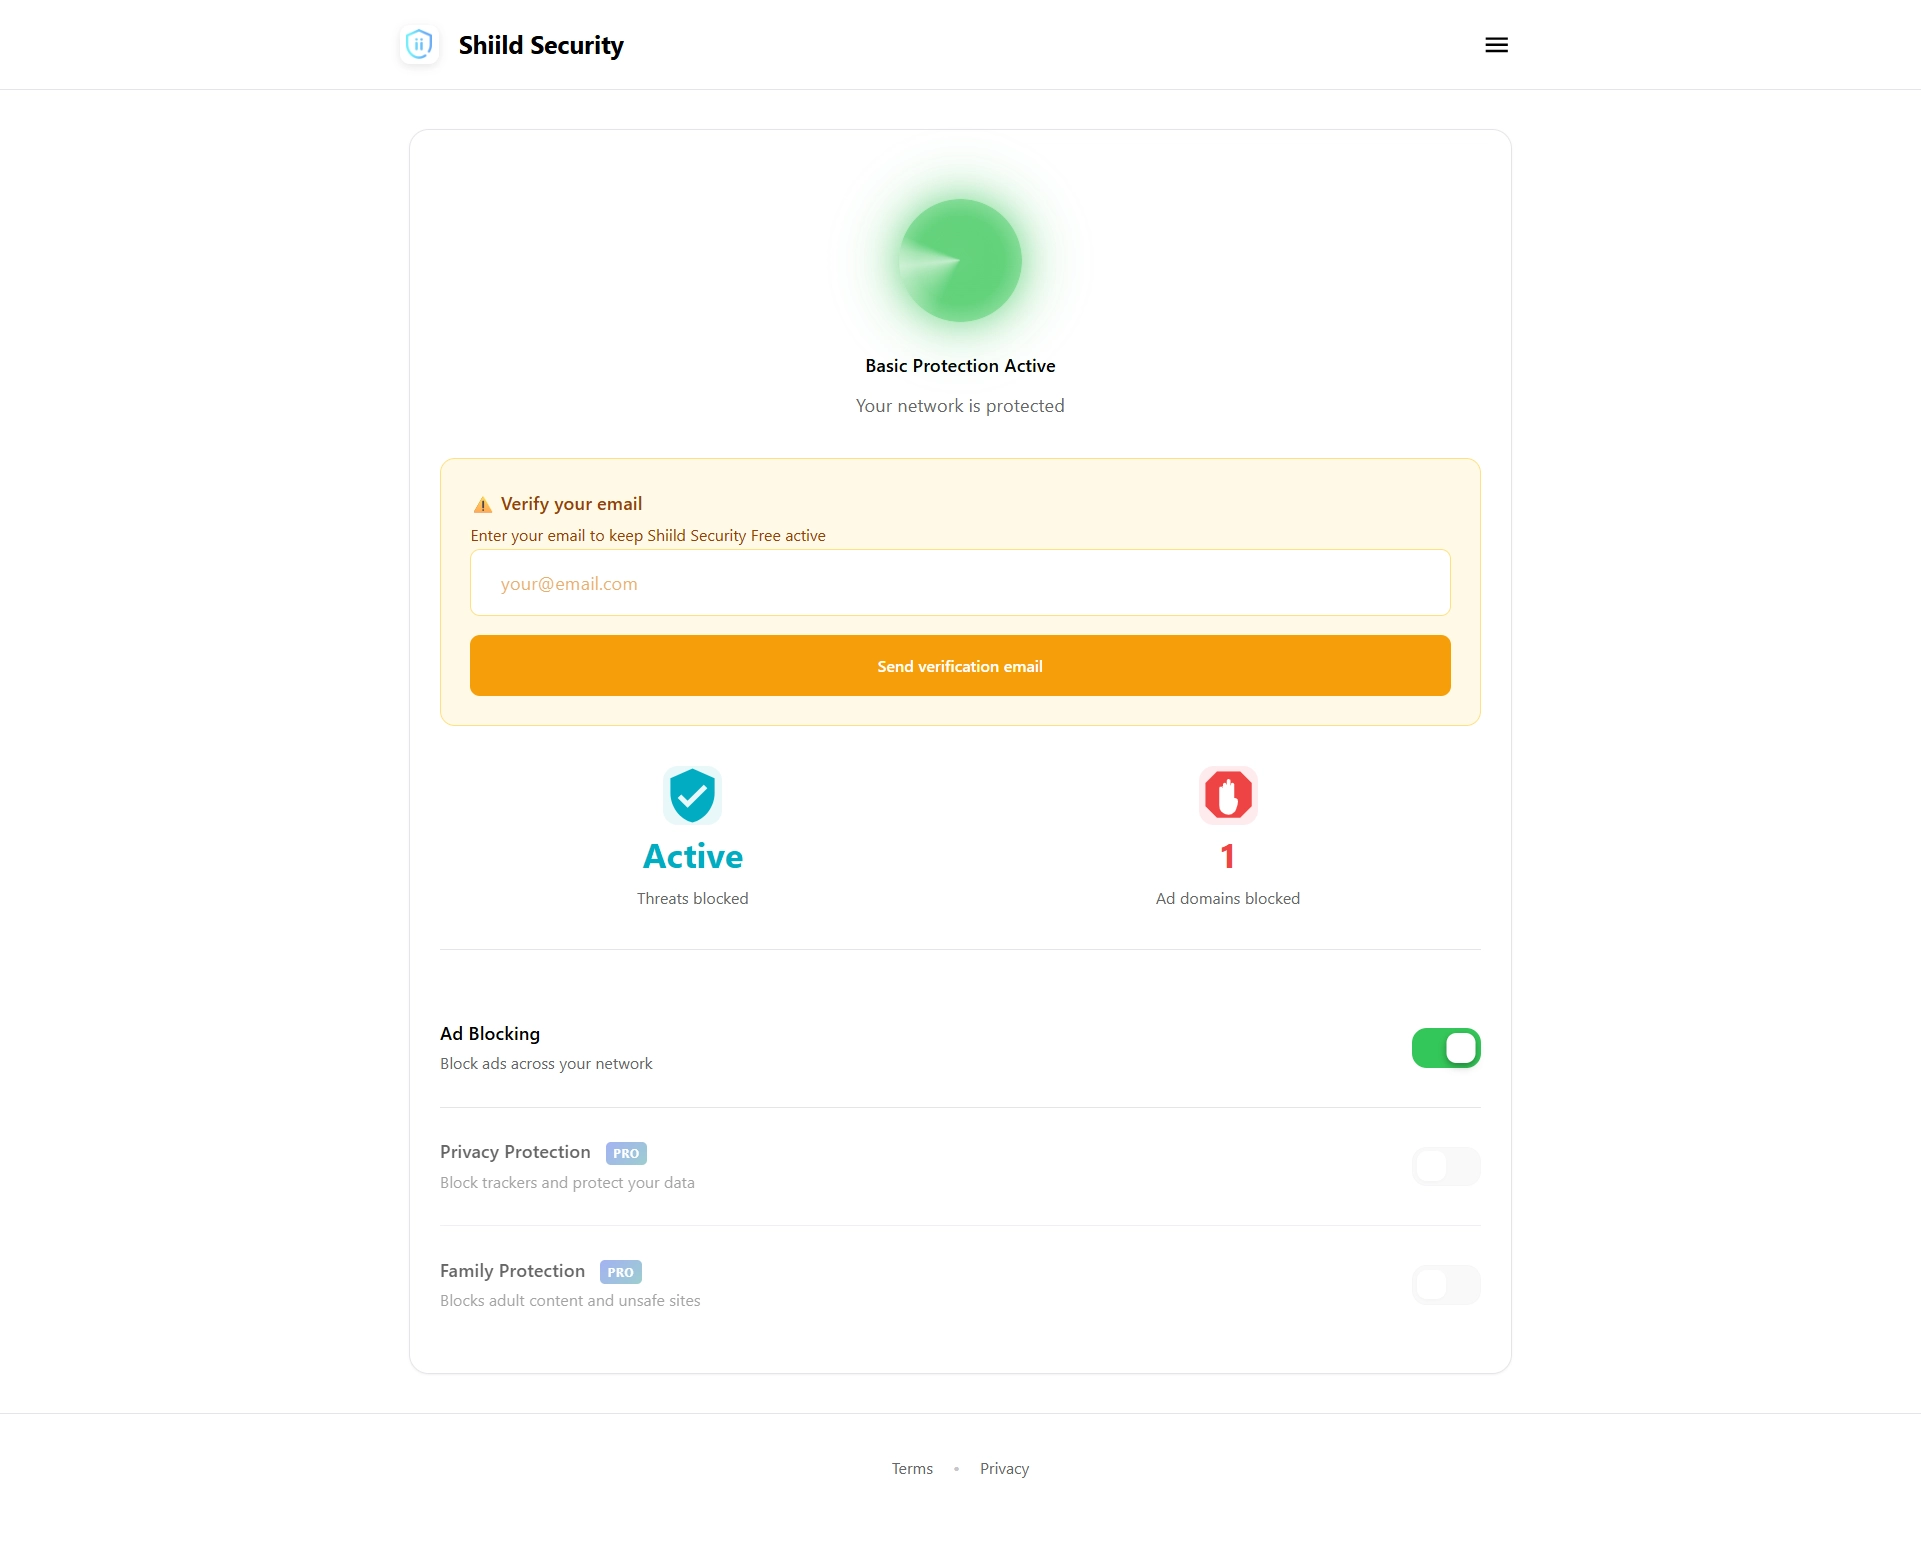
(4) Check the Enabled status on System Status > Ad Shield. Upgrade to Pro if needed.