Captive Portal
Captive Portal allows you to design a portal page for network access verification. Customers are directed to view an advertisement or accept set terms before being granted Internet access. In this way, it offers unique marketing opportunities for small businesses to improve brand awareness and deliver marketing messages.
Cudy Router comes embedded with six captive portal providers (HotspotSystem, Iron Wi-Fi, WorldSpot.net, ObiFi, VulaCoin and WiFiMAX). The setup process is quite simple. After creating an account with the listed providers, users can input the configuration value to enable the captive portal.
To set up Captive Portal, please follow the steps below.
-
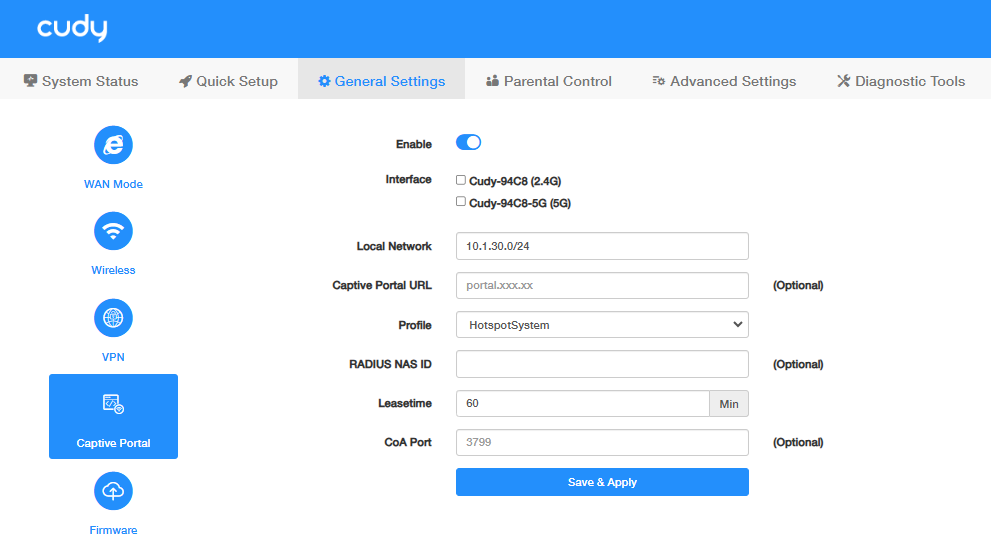
Enable Captive Portal.
-
Select Interface for portal authentication. Recommend to select both.
-
Enter your Local Network address. Recommend to keep it as default.
-
(Optional) Enter the Captive Portal URL. Newly connected clients will be redirected to this specified URL. This could be a welcome page, terms of use, or any other relevant information you want them to see.
-
Select the Profile and enter the corresponding parameters.
- For Profile HotspotSystem/Iron Wi-Fi/WorldSpot.net/ObiFi/VulaCoin, Leasetime is required. It is an authentication timeout when a client has to reconnect to the network.
- For Profile WiFiMAX, UAM Server address or hostname and Leasetime are required.
- For Profile Manual, UAM Server address, Preferred DNS, and Lease time are required.
-
Click Save & Apply.
Note
- Captive Portal is available only when the Router works in Wireless Router mode.
- The third-party Captive Portal solutions may have varying levels of compatibility and security risks, which may require additional configuration and troubleshooting.