Install
Note
GS1018PS2 is for illustration below. Your actual product may differ.
Rack Installation
To install the switch in an EIA standard-sized 19-inch rack, follow the steps below:
- Check the efficiency of the grounding system and the stability of the rack.
-
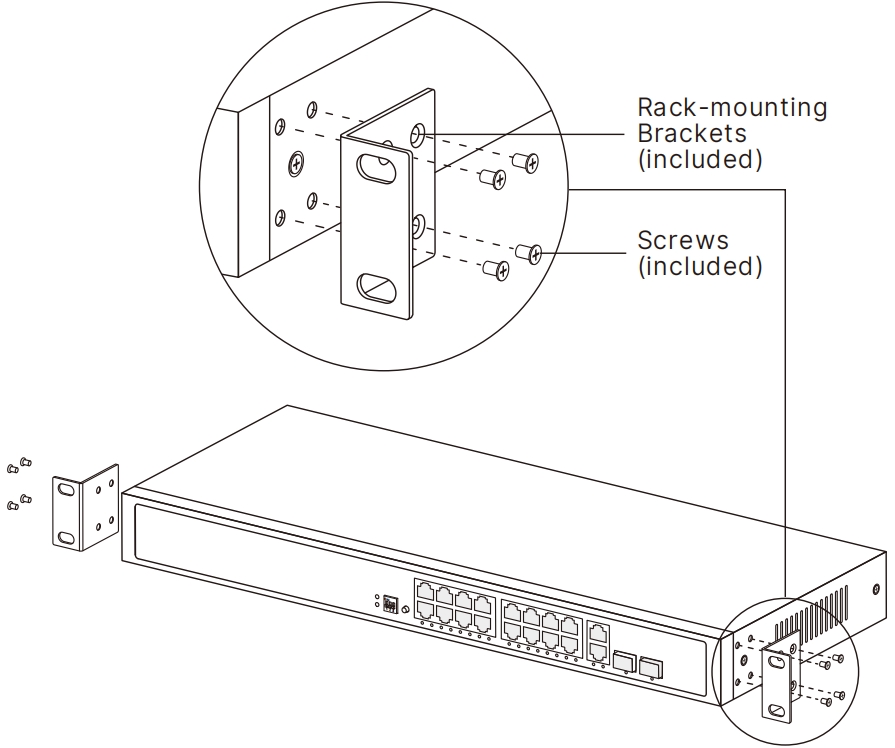
Secure the rack-mounting brackets to the Switch with screws, as illustrated below.
-
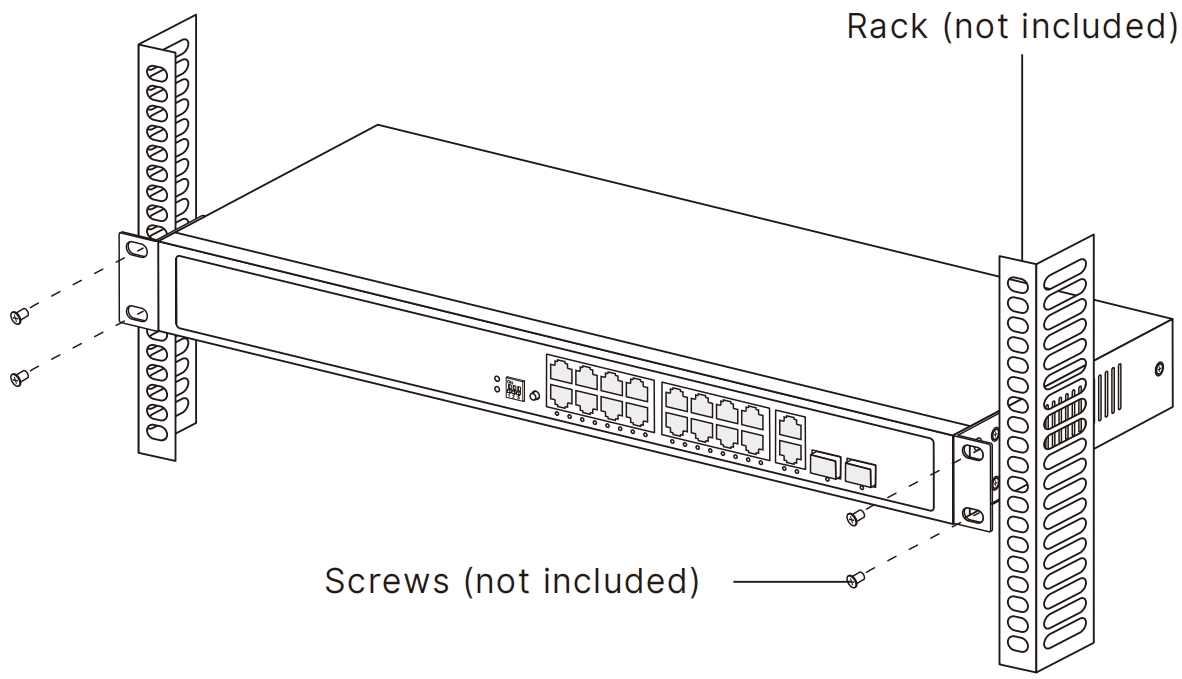
Secure the brackets to the rack with suitable screws, as illustrated below.
Note
- Leave 5 to 10 cm gaps around the devices for air circulation.
- Avoid placing heavy things on the device.
- Mount devices in sequence from the bottom to top of the rack and ensure a certain clearance between devices for the purpose of heat dissipation.
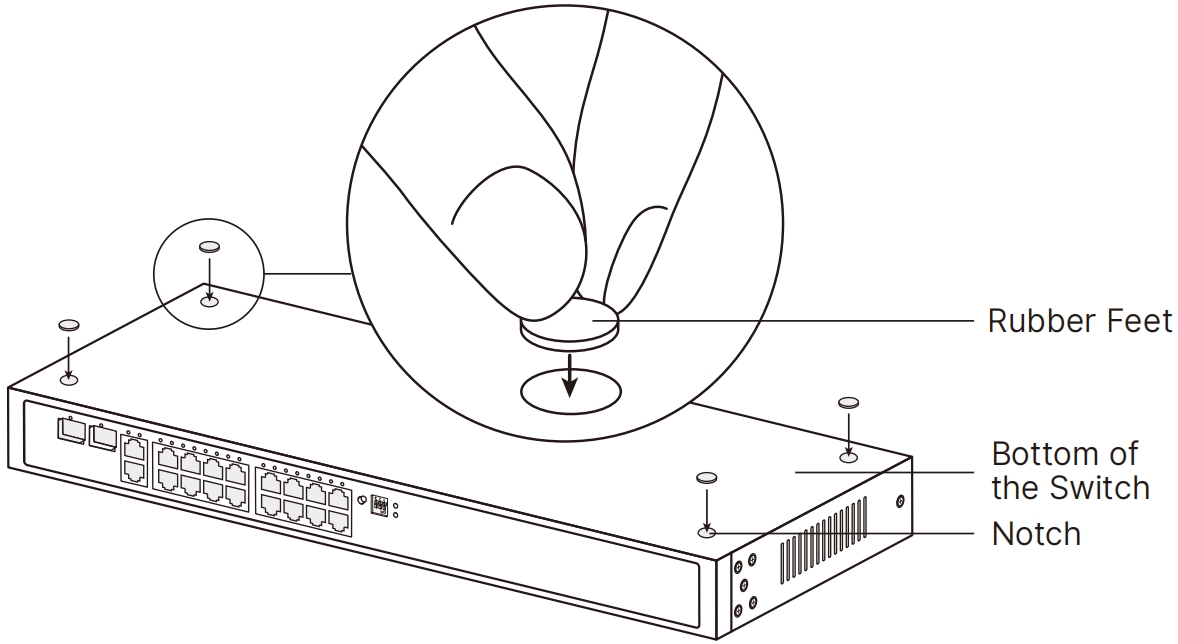
Desktop Installation
To install the switch on the desk, follow the steps below:
- Place the switch on a flat surface, which is strong enough to support the entire weight of the device with all fittings.
- Remove the adhesive backing papers from the rubber feet.
- Attach the rubber feet to the bottom of the device to prevent it from slipping when placed on a desktop.