Admin
GPON Settings
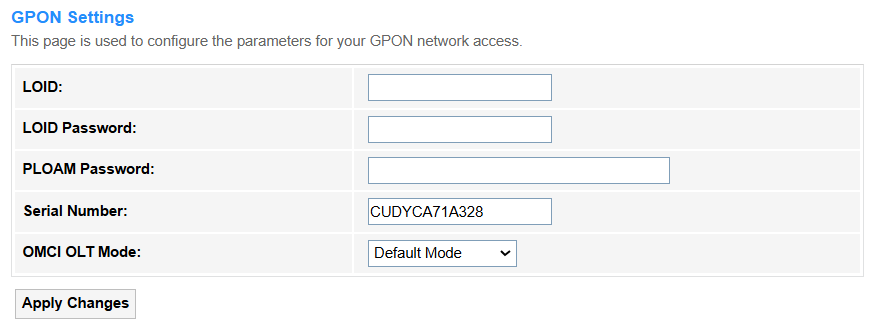
GPON (Gigabit Passive Optical Network) is to be established and managed the router connection to, including authentication (e.g., LOID/PPPoE), VLAN tagging, and bandwidth allocation for fiber-optic broadband services.
• LOID: Enter the unique identifier (Logical ONU ID) assigned by your ISP for GPON authentication.
• LOID Password: Enter an optional security credential paired with LOID for enhanced authentication (if required by ISP).
• PLOAM Password: Enter the Encryption key used in GPON's physical layer authentication (typically pre-configured by ISP).
• Serial Number: Input the ONT's hardware identifier (SN/MAC), sometimes used as backup authentication.
• OMCI OLT Mode: Select a management protocol compatibility.
- Default Mode: Uses standard OMCI protocol for basic ONU management, compatible with most OLTs.
- Huawei OLT Mode: Optimized for Huawei OLTs, supporting vendor-specific extensions like enhanced VoIP/SLA features.
- ZTE OLT Mode: Tailored for ZTE OLTs, enabling proprietary functions such as advanced diagnostics.
- Customized Mode: Allows manual configuration of OMCI parameters for non-standard OLT/ONU scenarios.
• Apply Changes: Click to activate all the settings or changes.
OMCI Information
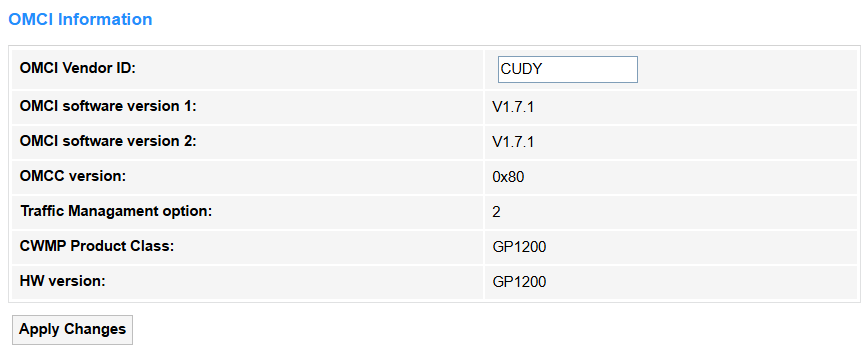
• OMCI Vendor ID: Identifies the manufacturer of the ONU device. Typically follows IEEE standards but can be modified for proprietary network integrations.
• OMCI Software Version 1/2: Displays the primary/secondary firmware versions running on the ONU.
• OMCI Version: Specifies the OMCI protocol standard supported.
• Traffic Management Option: Indicates QoS/bandwidth control capabilities.
• CWMP Product Class: Defines the device model for TR-069 auto-configuration.
• HW Version: Shows the hardware revision of the ONU.
• Apply Changes: Click to activate all the settings or changes.
Remote Management
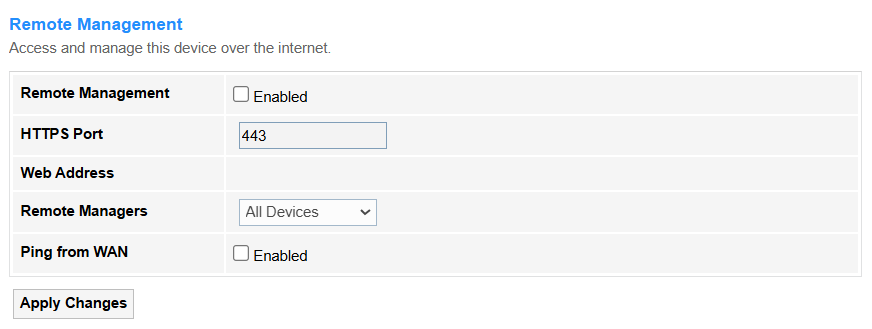
• Enable: Tick to turn on/off remote management, to allow external access to router settings.
• HTTPS Port: Specifies the secure port (e.g., 443) for encrypted remote access.
• Web Address: The URL or public IP used to access the router externally.
• Remote Managers: Select *Specified Device* (with its IP Address) or *All Devices* to allow connection and management.
• Ping from WAN: If enabled, external devices will be allowed to ping the router’s WAN IP (useful for testing but risky).
• Apply Changes: Click to activate all the settings or changes.
Reboot

Reboot the router to refresh its system, resolve temporary glitches, or apply critical updates, in cases like firmware updates, network instability, or scheduled maintenance. It may cause a brief network disconnection for about 1~3 minutes.
• Reboot: Click to start rebooting. When it is finished, you will be popped up to log in again.

Multi-lingual Settings

Multi-lingual Settings supports the web interface or app to display in multiple languages (e.g., English/中文) to improve accessibility for global users.
- Auto: Select to allow the router to automatically detect the system language and display.
- Other Language: Select your target language and click Update selected language to change the display language.
Backup/Restore
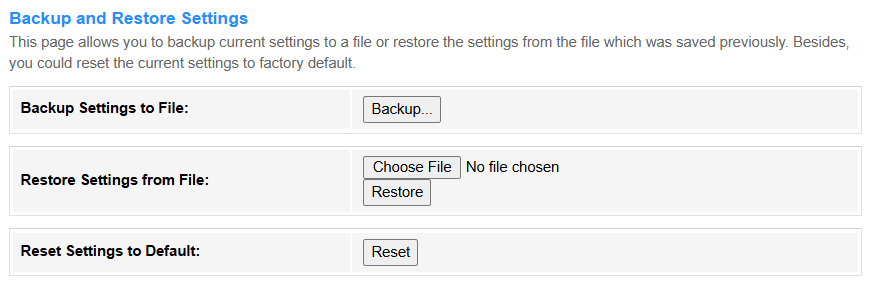
Backup/Restore supports saving the router's current configuration (e.g., Wi-Fi passwords, port rules) to a file for backup, and later restoring it to recover settings after a reset.
• Backup Settings to File: Click Backup... to download the current settings in a config.xml file.
• Restore Settings from File: Click Choose File to upload the config.xml file and then click Restore to update the settings.
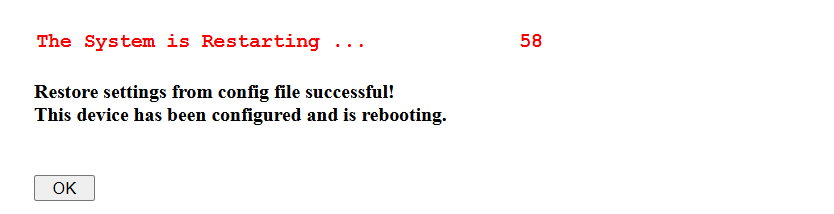
• Reset Settings to Default: Click Reset to restore the factory default settings.

System Log
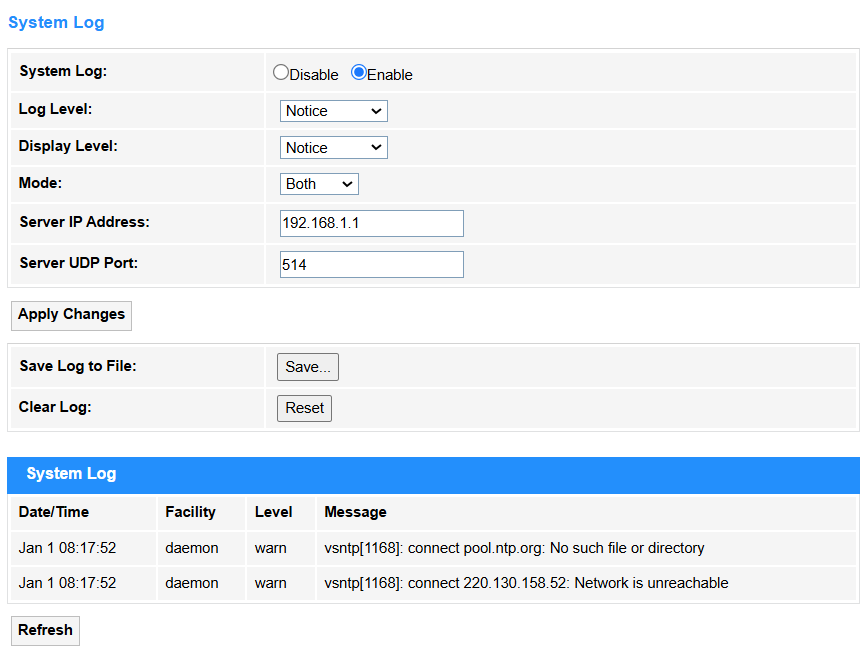
System Log records all critical router events (e.g., connections, errors, attacks) for troubleshooting and security monitoring.
• System Log: Select Enable to turn on the system log configuration.
• Log Level: Define severity filtering to control which events are recorded.
• Display Level: Set the minimum severity level shown in the router's log interface.
• Mode: Choose log storage and retention rule.
• Server IP Address: Enter the destination for remote syslog (e.g., 192.168.1.100) when using external logging.
• Server UDP Port: Specify the port (default:514) for syslog server communication.
• Apply Changes: Click to activate all the settings or changes.
• Save Log to File: Click Save... to save the system logs into a file.
• Clear Log: Click Reset to clear the system log recorded.
• Refresh: Click to update the System Log.
Password
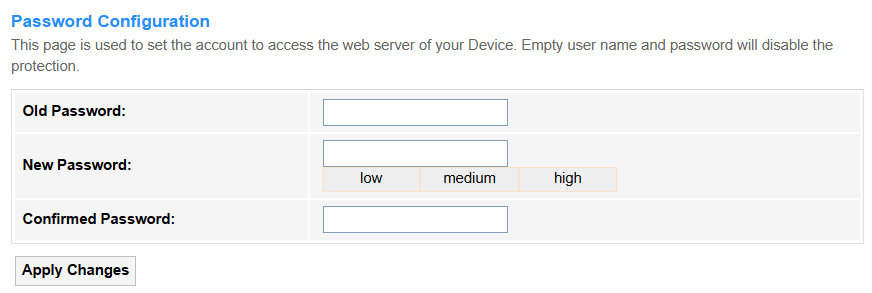
Password is the authentication credential (letters/numbers/symbols) required to access the router's admin interface, thus to prevent unauthorized changes.
• Old Password: Enter the current active password required for verification before changing to a new one.
• New Password: Enter a new credential to replace the old password, with strength indicators Low/Medium/High to rate complexity (length/symbols) thus preventing weak passwords.
• Confirmed Password: Re-entered the new password to ensure typing accuracy and avoid lockouts.
• Apply Changes: Click to activate all the settings or changes.
Firmware Upgrade
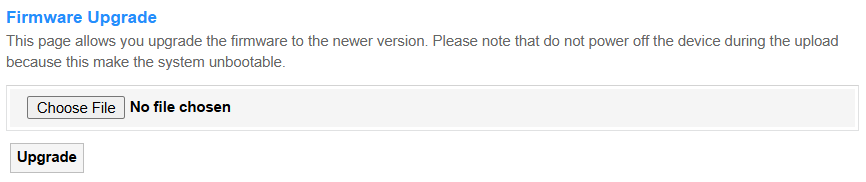
Firmware Upgrade updates the router's operating system to patch vulnerabilities or add features (requires stable power/internet).
• Choose File: Click to locate and upload the firmware file (e.g., GP1200-xxxxxx.bin) to be upgraded.
• Upgrade: Click to start upgrade process.
Time Zone
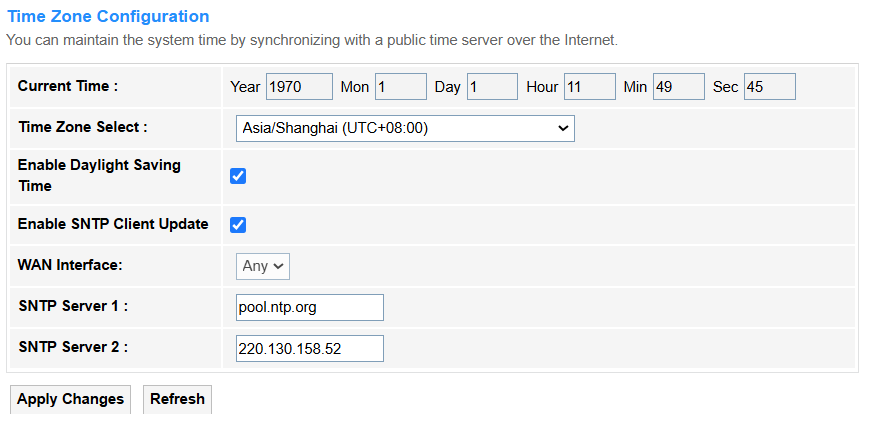
Time Zone configuration sets local time for accurate logs/schedules (e.g., parental controls).
• Current Time: Displays the router's current local time based on configured time zone and daylight saving settings.
• Time Zone Select: Select the geographic time zone (e.g., UTC+8) to synchronize the router's clock.
• Enable Daylight Saving Time: Tick to enable automatically adjusting the clock forward/backward for daylight saving periods.
• Enable SNTP Client Update: Tick to enable the router syncs time with an external SNTP (Simple Network Time Protocol) server.
• WAN Interface: Select to specify which internet-facing network interface (e.g., PPPoE) is used for SNTP time updates.
• SNTP Server 1/2: Enter the primary and backup server addresses (e.g., pool.ntp.org) for fetching accurate time data.
• Apply Changes: Click to activate all the settings or changes.
• Refresh: Click to update the Time Zone.
TR-069
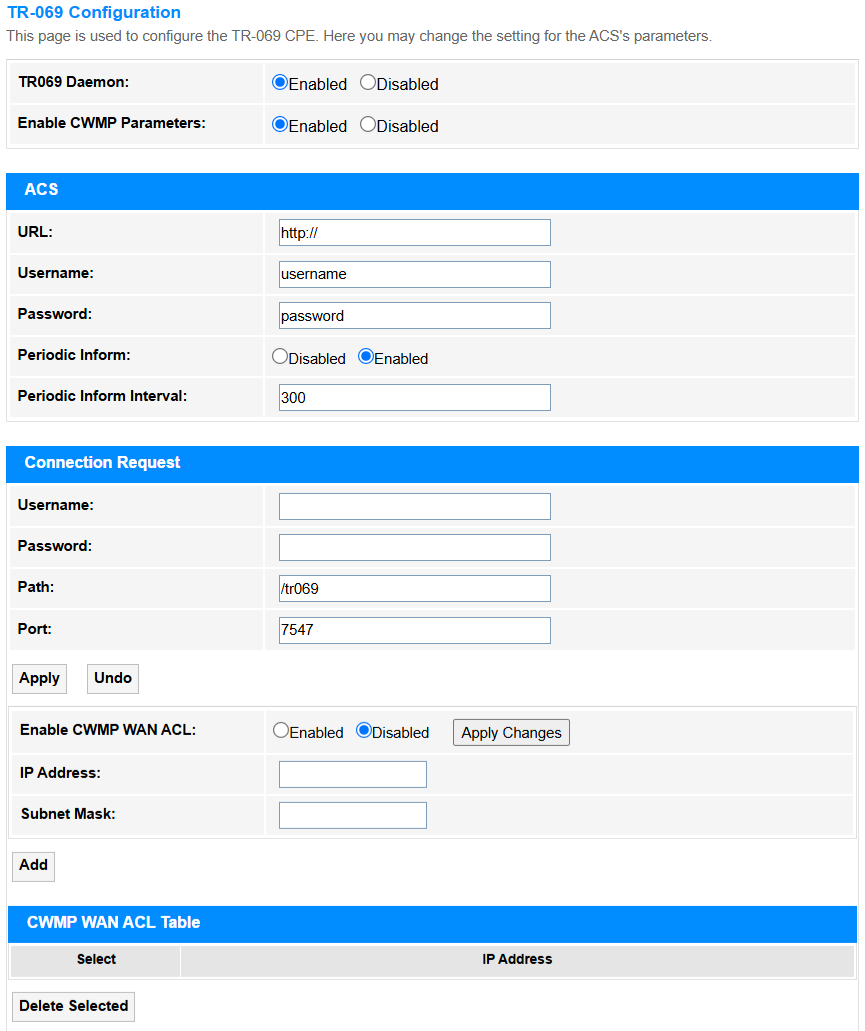
TR-069 configuration enables remote ISP management (auto-configuration/troubleshooting).
• TR069 Daemon: Select to enable TR069 Daemon which is the background service that manages TR-069 (CWMP) protocol for remote router configuration and monitoring by the ISP.
• Enable CWMP Parameters: Select to enable the router to comply with the TR-069 (CWMP) protocol, permitting remote management, configuration, and updates by the ISP's Auto-Configuration Server (ACS).
- ACS
• URL:Enter the ISP's Auto-Configuration Server (ACS) address for remote management.
• Username/Password: Enter the credentials for authenticating the router with the ISP's ACS server.
• Periodic Inform (Interval): Select to enable and enter the interval when the router sends regular status updates to the ACS.
- Connection Request
• Username/Password: Enter the credentials used by the ACS to initiate a reverse connection to the router.
• Path/Port: Enter the endpoint path (e.g., /tr069) and port (e.g., 7547) for ACS communication.
• Enable CWMP WAN ACL: Select to enable and restrict TR-069 (CWMP) remote management access only to specified IP ranges, thus enhancing security by blocking unauthorized WAN connections.
• IP Address: Specifies the starting WAN IP address (e.g., 203.0.113.10) permitted for TR-069 (CWMP) remote management, ensuring only authorized ISP servers can access the router.
• Subnet Mask: Defines the network range (e.g., 255.255.255.0 or /24) for the allowed IP addresses, controlling how many devices in the same subnet can establish TR-069 connections.
• CWMP WAN ACL Table: Lists allowed IP ranges for ACS access, enhancing security against unauthorized control.
• Apply: Click to activate all the settings or changes.
• Undo: Click the undo the changes before applying.
• Apply Changes: Click to activate all the settings or changes.
• Add: Click to add the configured entry into the table below.
• Delete Selected: Click to delete the selected entries in the CWMP WAN ACL Table.
Logout

Logout is to securely exit the admin interface to prevent unauthorized access.
• Logout: Click to log out the administration webpage.